Christmas Craft Challenge Inspiration – DIY Display
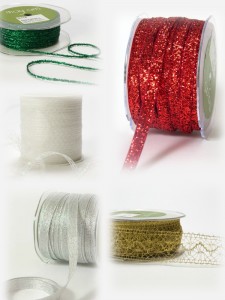
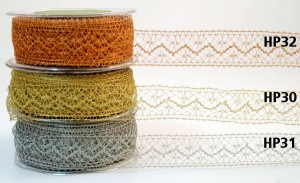
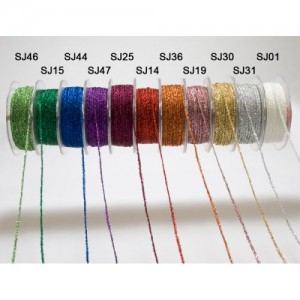
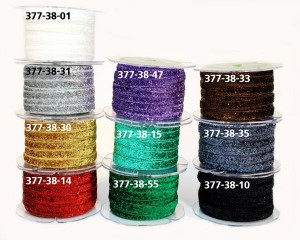
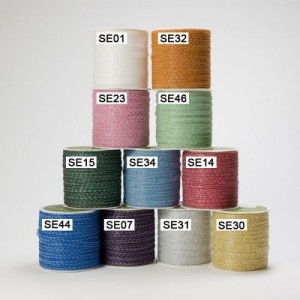
If you haven’t heard, we just announced our Christmas Craft Challenge – All That Glitters! We will be providing 20 participants with a selection of these ribbons:
to create a craft project with! So, all week long a different Ribbonista will be creating a Glittery Inspiration project. Today we have Prima Ribbonista, Lalo IK, with this DIY Christmas Display!
If you are interested in participating, go ahead & email me!!
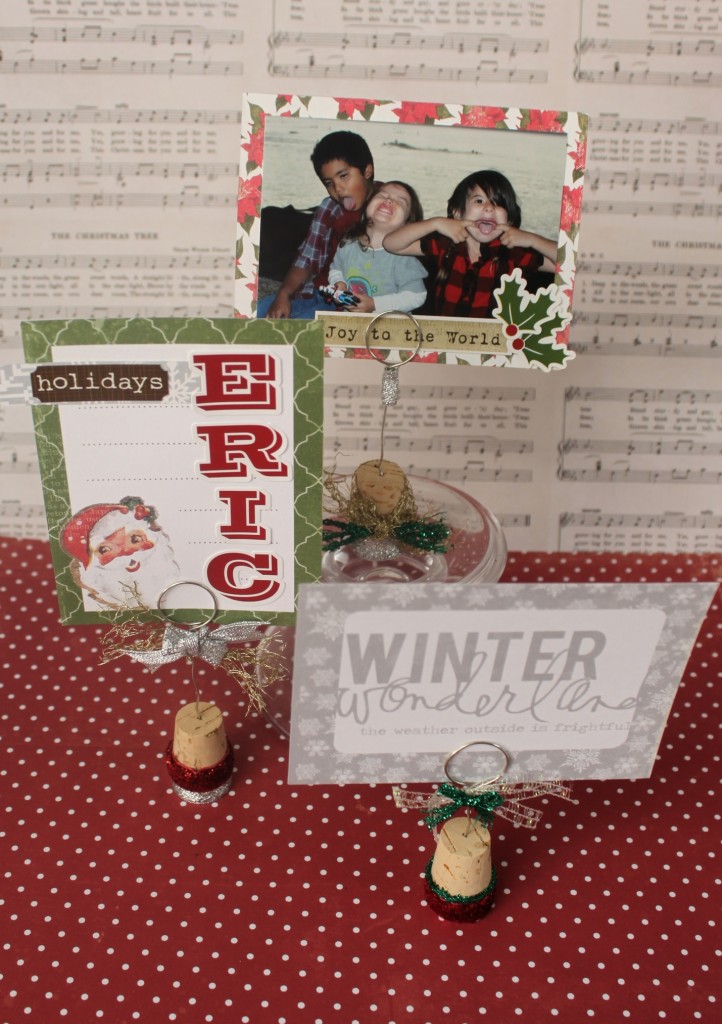
I hope this Holiday season your home will shine and it totally will with the Christmas “All That Glitters” Challenge. Lalo here and today I want to share these quick and easy DIY holiday holders made all glittery and beautified thanks to this months challenge.
Use them for displaying all your lovely cards and beautiful pictures, or as custom place seating for dinner parties.
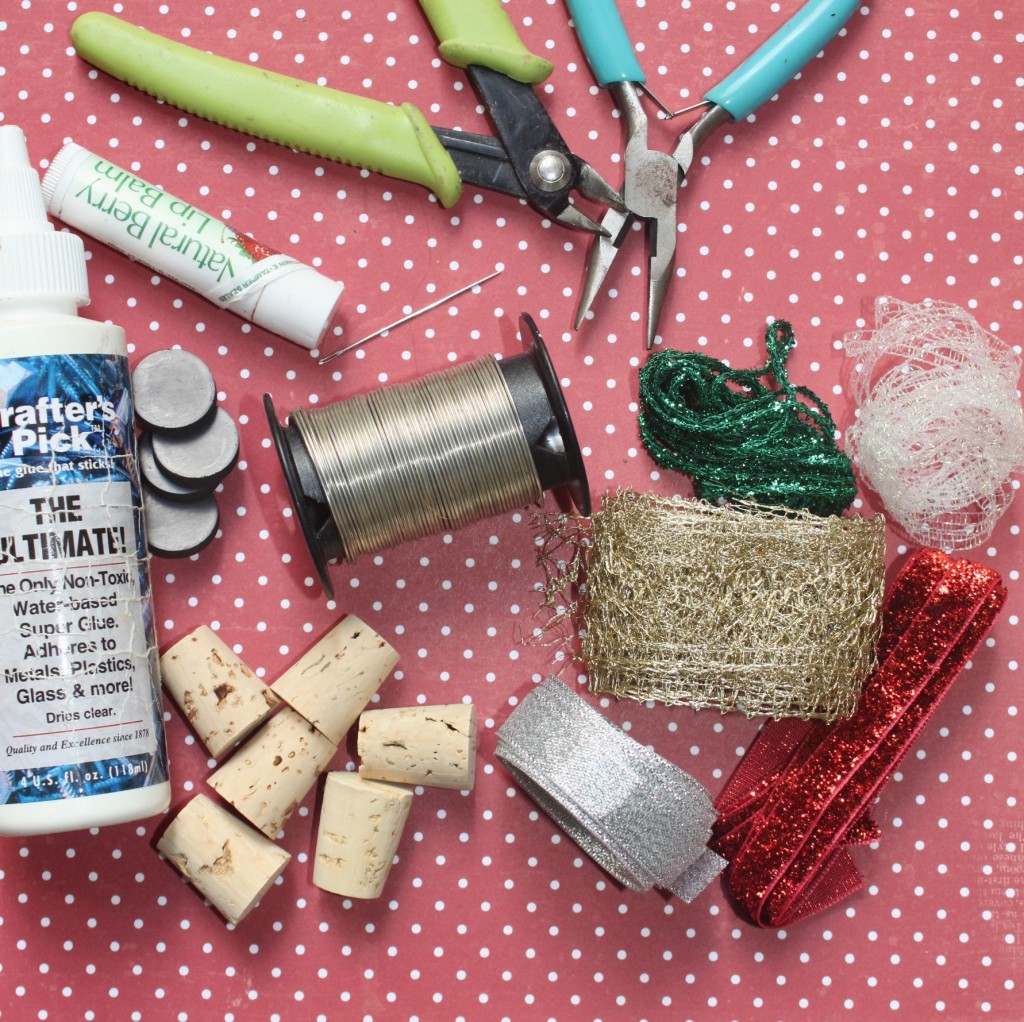
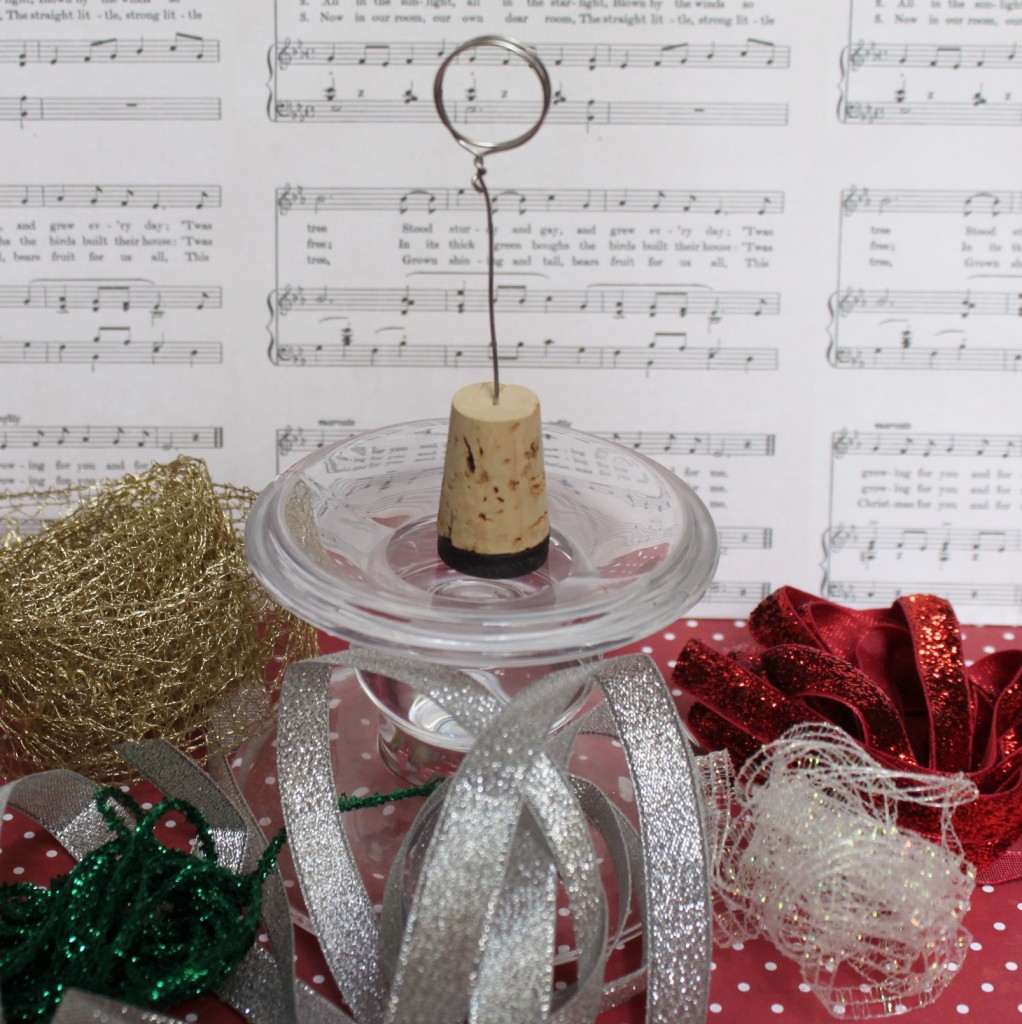
Here’s the things you’ll need (see below for a full supply list):
Now let’s get started!
First, you’re going to glue the bottom of your cork to the magnet. This is just to make the base stable.
Once the glue dries you make a whole into the middle of the cork using a needle and pliers. This will make inserting the wire easier.
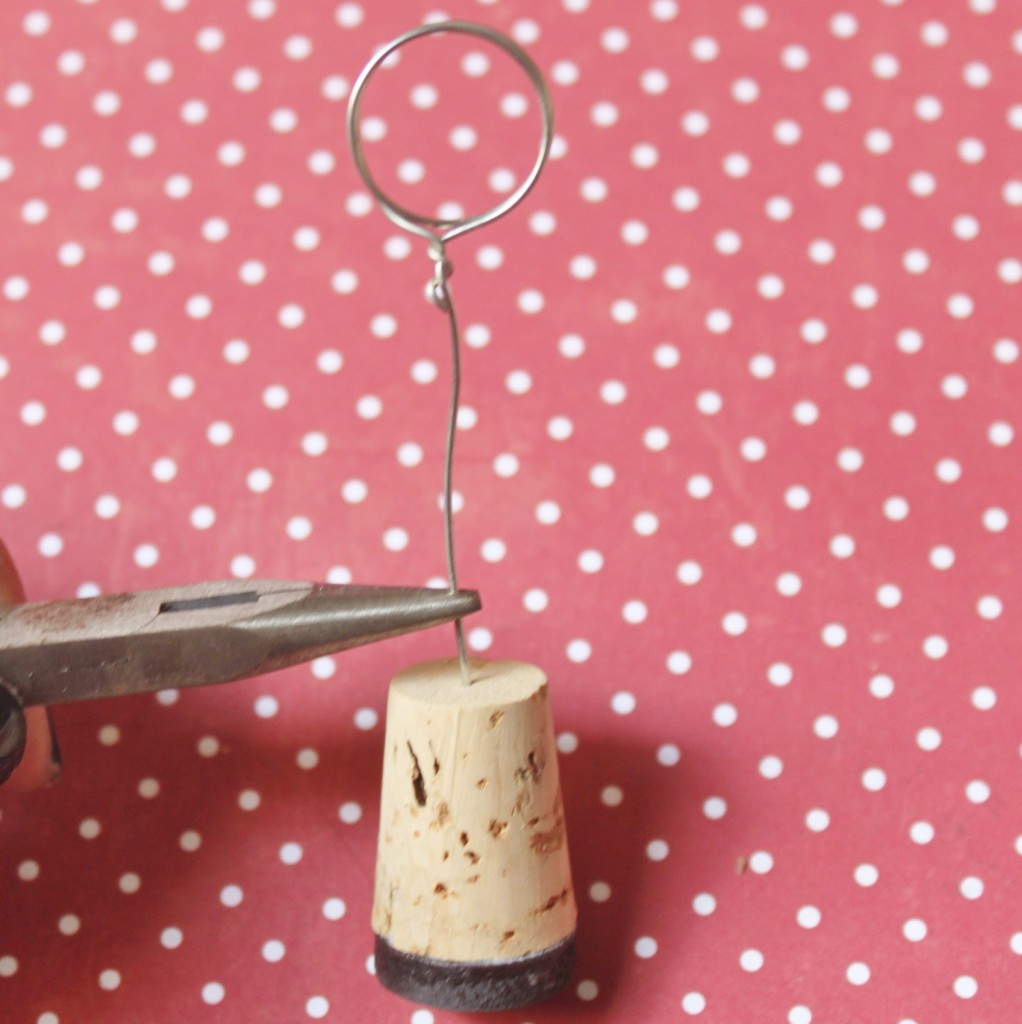
Next you’re going to take the wire by one end and wrap it around the cylinder twice. Then wrap the short end around the long end to form a knot.
Now using gentle pressure and your pliers, insert the wire into the whole you made with the needle earlier. Go a little at a time to make sure you don’t bend the wire.
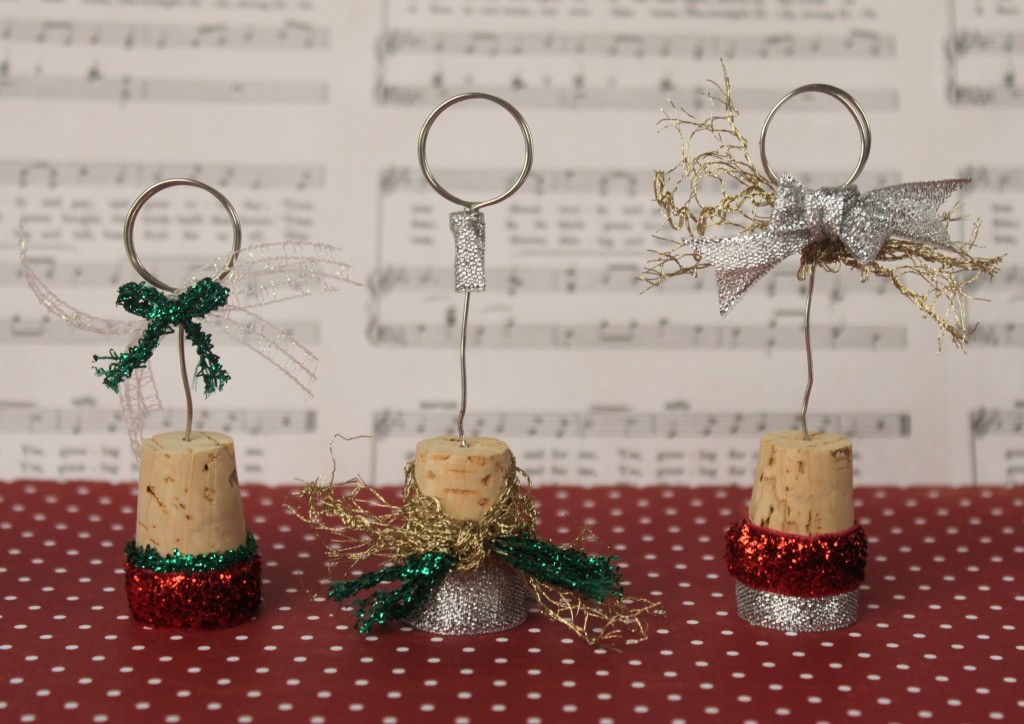
The last step is to gather up your glittery ribbon and start beautifying your holder.
Here’s how I gussied these up
To use your display just insert your paper creation between the two wires.
Blog post by: Lalo IK
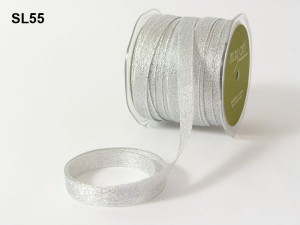
May Arts Ribbon Used:
Other Supplies Used:
- Corks (1” x ¾”)
- Magnets (3/4”)
- Wire (20 gauge, cut to 7”)
- A cylinder to wrap your wire around (lip balm is great for this)
- Strong glue
- Sewing needle
- Jewelry plier
- Wire cutters


