Ragamuffin Garland & a Giveaway {winners!}
Welcome to another Ribbonista group post! One day, while browsing Pinterest for ideas, I came across a pin for ragamuffin garland. Well, what a ribbony wonder was this and why haven’t I seen it sooner?! I immediately linked it up for the Ribbonistas to check out and soon enough we were planning this post. It has been so much fun to see the various interpretations from the same idea. But, enough of my rambling…on to the giveaway and ragamuffins!
The giveaway:
2 prizes of 1 spool each. That’s 2 chances to win! What you have to do: comment right here.
I will announce the winners right here on Monday, May 12th.
The ragamuffins:
This project was so much fun! My decorating style isn’t shabby chic but my gifting style is! Styled after some very pricey purses and made entirely from the scraps in my ribbon drawer, (except for just two ribbon styles), I think this gift bag would make an amazing gift for a wedding or baby shower. Click here for more details!
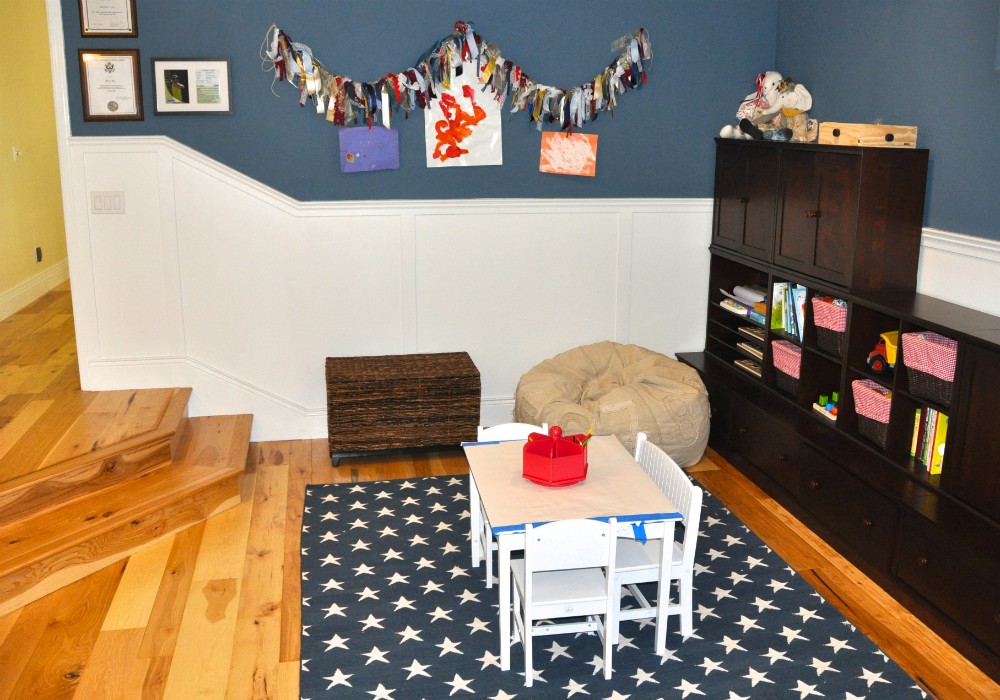
We were challenged to create a Ragamuffin project based on some inspiration. At first I was all jazzed to make it it into a baby mobile by using foam balls and then covering them. But… then this wall was SO bare in the play room that I just had to fill it with fabulous May Arts Ribbon as I will be able to use this for years and years! Click here for more details!
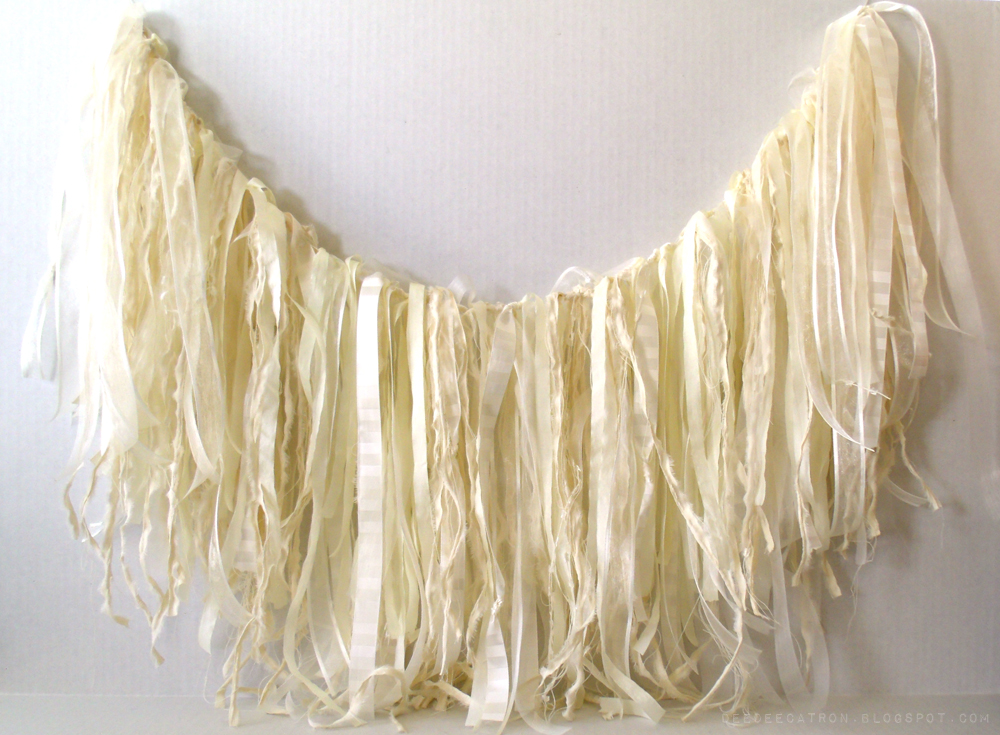
I took the term “Ragamuffin” pretty literally, and distressed up some of my favorite ribbons. Cutting them apart, knotting them up, tearing them, and more. I did a white on white version to anticipate using it year long in all my home decor bits! Click here for details!
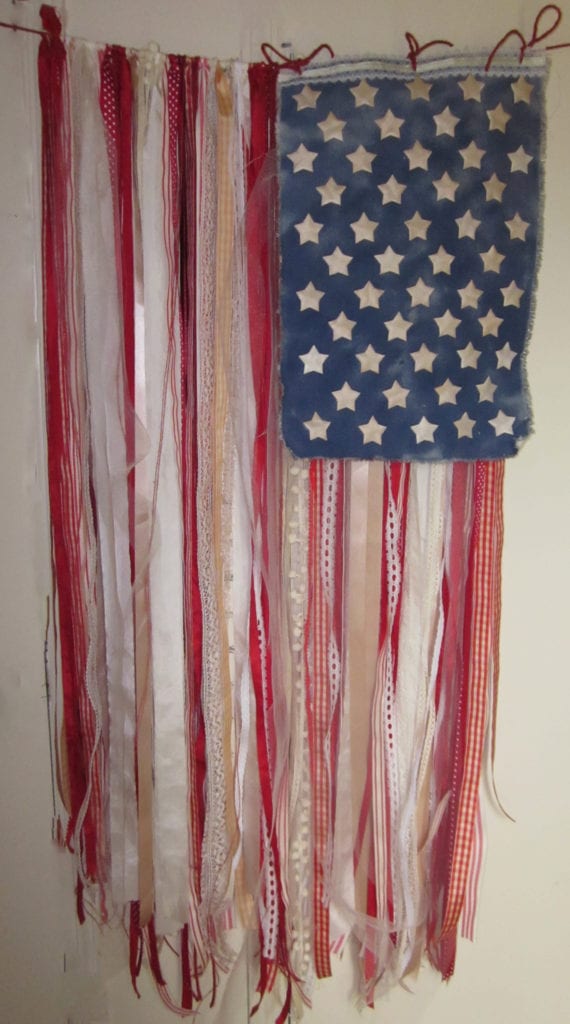
I was so excited when the Ribbon Lady asked if we would like to make a Ragamuffin project, because I had seen a flag similar to this one on Pinterest. Of course, I knew how beautiful it would be with May Arts ribbons. I tied all of my “stripes” onto burlap and then I was ready for the “stars”. The new star garland ribbon was just what I needed. I spritzed them with mist to them to make them look a little more vintage and glued them onto a piece of canvas that was misted a denim color. I just tied this over the ribbons and this Stars and Stripes project is ready to hang. Click here for the details!
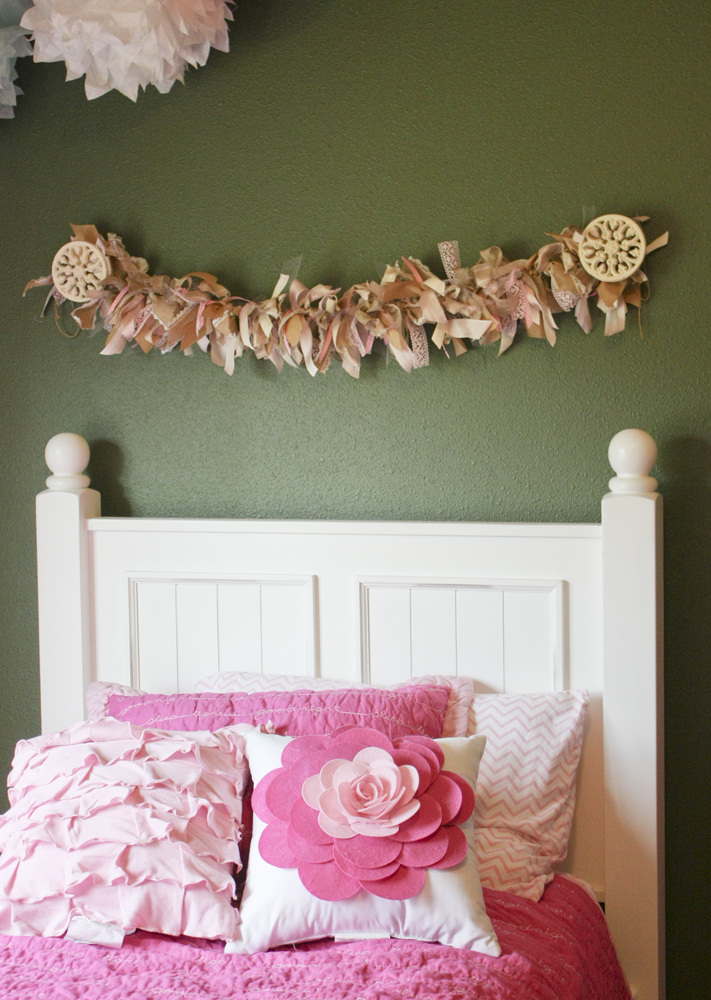
My ragamuffin project uses neutrals and pinks- it is perfect for my sweet girl’s bedroom! Head over to my blog for the details on all the ribbons I’ve used! Click here for details!
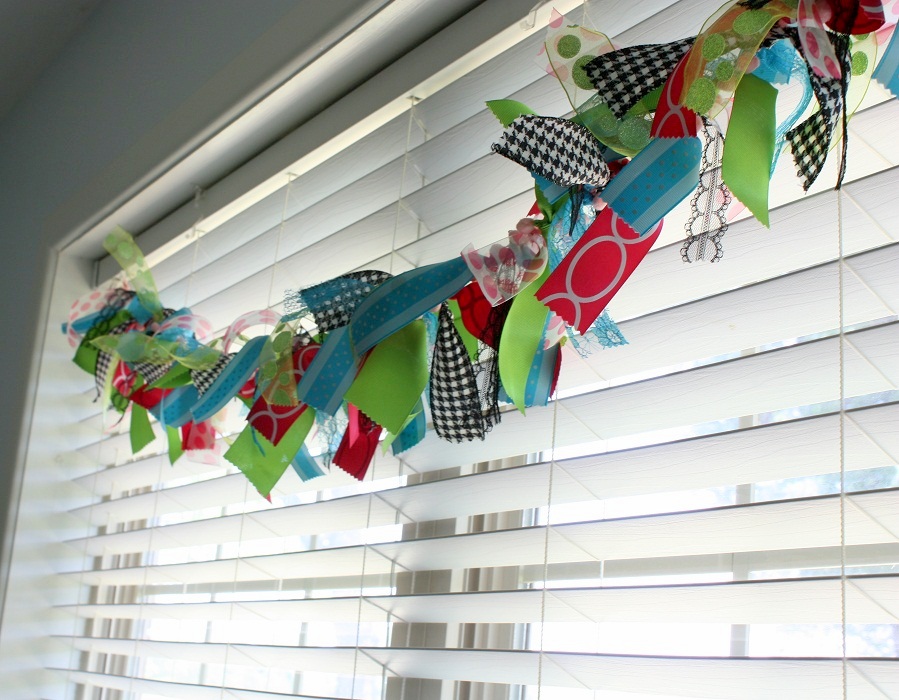
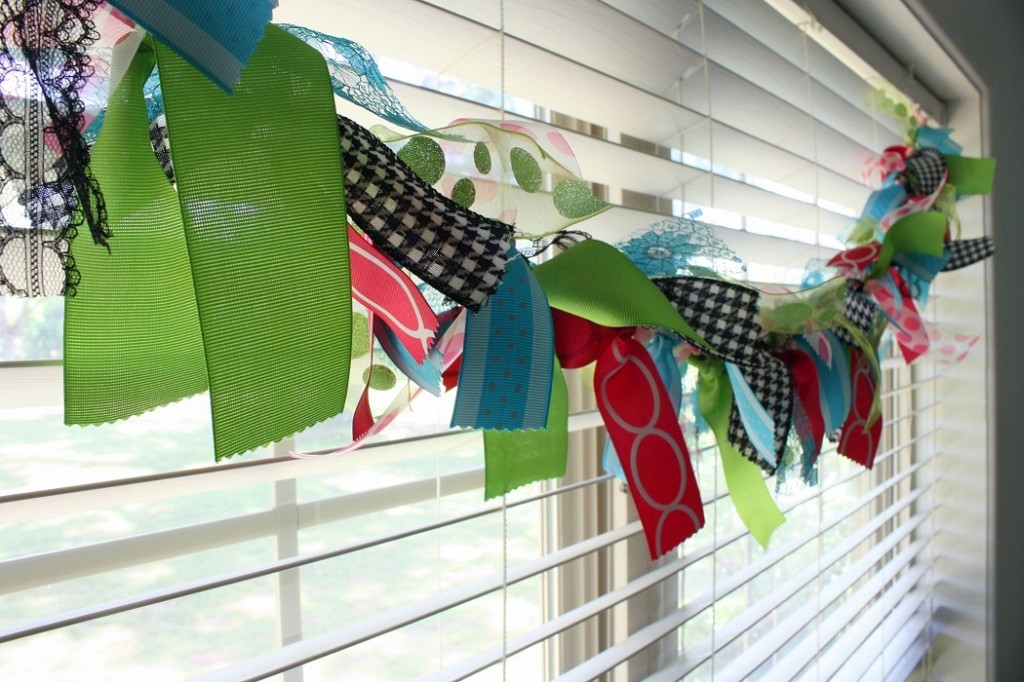
When choosing the ribbon for this project, I picked an array of textures such as lace, sheer and grosgrain in fun colors to match my daughter’s room. I took a 5 foot length of pom pom trim and used it as the base to tie everything to. In cutting the ribbon’s ends, I chose pinking shears so that they wouldn’t fray too much. My daughter loves the look and the splash of color that it added to her plain window treatment!
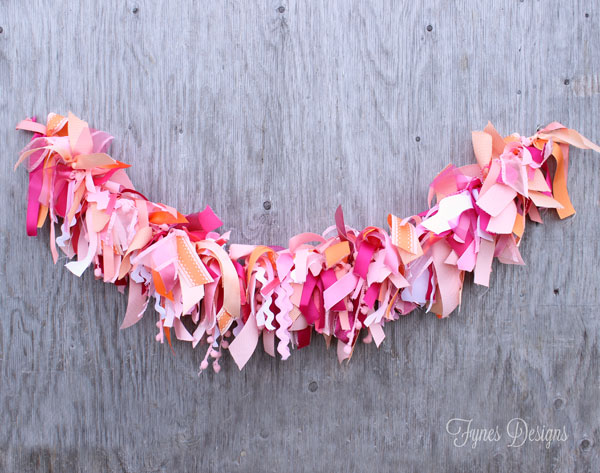
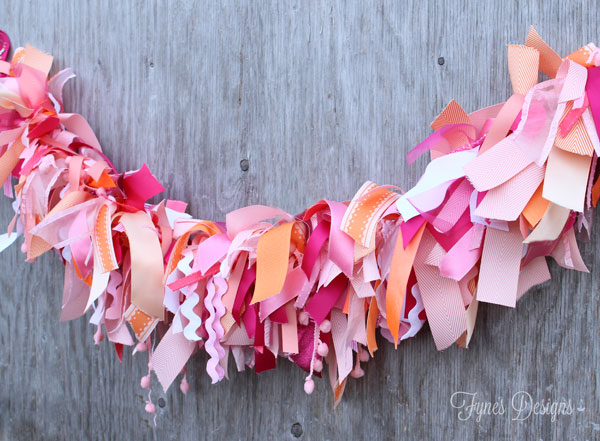
I chose a combination of bright and fun pink, oranges and whites for my rag banner. I used it as a decoration for a baby shower, and then the new mom took it home for baby’s nursery. The banner was so easy to create. I used small binder clips tied to the center ribbon strand at the ends to easily hang the banner.
I hope you’ve been inspired to create a ragamuffin of your own! If you do, link it up below. We’d love to see it!
Don’t forget to post your comments to enter to win 1 of 2 prizes! Good luck, y’all!
Winners!
We have some winners:
Lucy E.
These ragamuffin banners are so fun and pretty! Thanks for the chance to win!
Susan ~ Killam Creative
These are neat! Gini’s project inspires me for a mixed media project I’m working on now. Thanks!
Cheers,
Susan
Congratulations, Ladies! Email me at Bethney@mayarts.com with your shipping address to claim your prize!
**all winners have 2 weeks to claim their prize**
**when emailing, please note which giveaway/prize you are claiming**


