Aug24
An Album for a Fine Gentleman
Hi! This is Jingle here with a fun mini album for you today! I absolutely LOVED playing with this great mixed media album from Basically Bare and it paired beautifully with the fun May Arts ribbons! Such a great way to combine wonderful textures!
Supplies:
- May Arts 5/8” Cotton Stripe in black and cream
- May Arts Burlap String in Natural
- May Arts 1” Sheer Nylon Edge in Black
- Basically Bare Chipboard/Corrugated Cardboard/Acrylic Album
- Basically Bare chipboard hat and mustache
- Graphic 45 A Proper Gentleman Collection
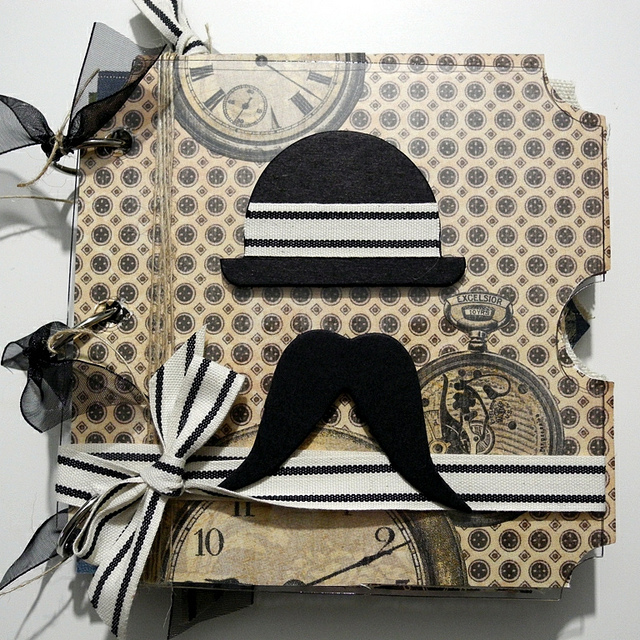
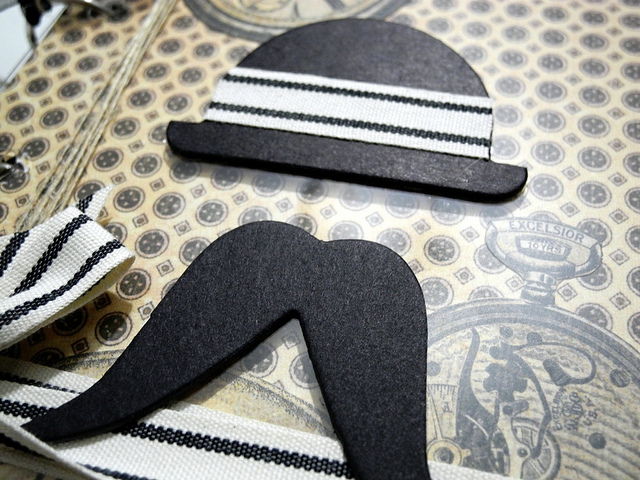
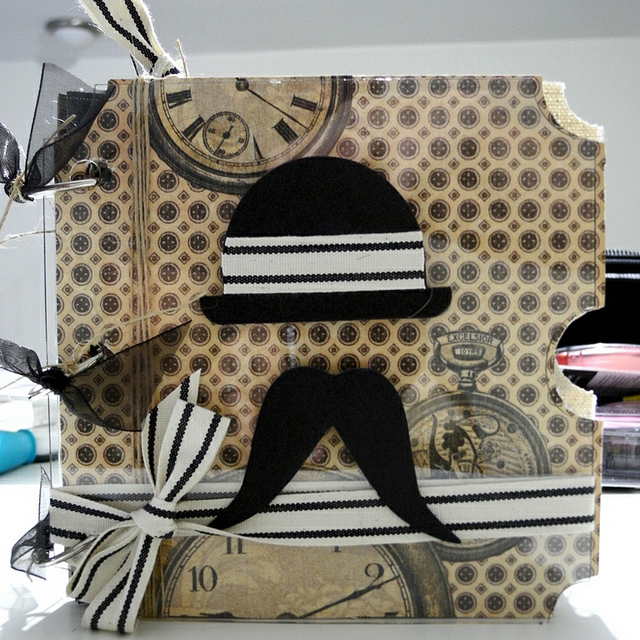
- Begin your cover by attaching the hat and mustache using a thin bead of glossy accents around the edges. Wrap the cotton stripe ribbon around the bottom and tie a bow. Accent the hat with just a bit of cotton stripe ribbon, as well.
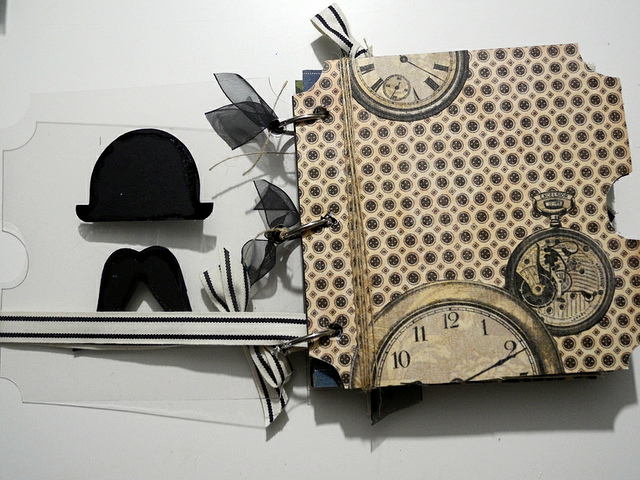
- Adhere paper to the next page, fussy cut the watches and adhere. Keep in mind that anything on this page will be seen through the cover. Also, as you add wrapped ribbon, you have the chance to decorate BOTH Sides of the page with it. On this one, I wrapped the page several times with the burlap string and tied on the next page.
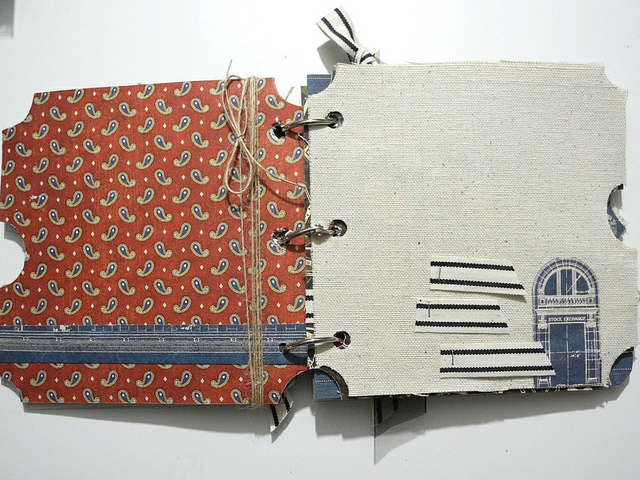
- Panel the back side with paper and accent with a strip of another pattern. You can see the bow from the jute tied around the page on this side. On the canvas page, staple three strips of the cotton stripe ribbon and use Scor-Tape to securely adhere the paper accent fussy cut from patterned paper. Be aware that you will likely want to cover those staples on the back of the canvas.
- Cut a decorative element from patterned paper and adhere over the staple backs you added on the previous page. Tie a bow with the Sheer Nylon Edge ribbon and glue on with Glossy Accents, as this sticks well to the canvas. Panel the next page with patterned paper and adhere a strip of cotton stripe ribbon. This piece is not tied all the way around, but rather simply adhered with Scor Tape on the page. Wrap jute around the page, tying on the next page.
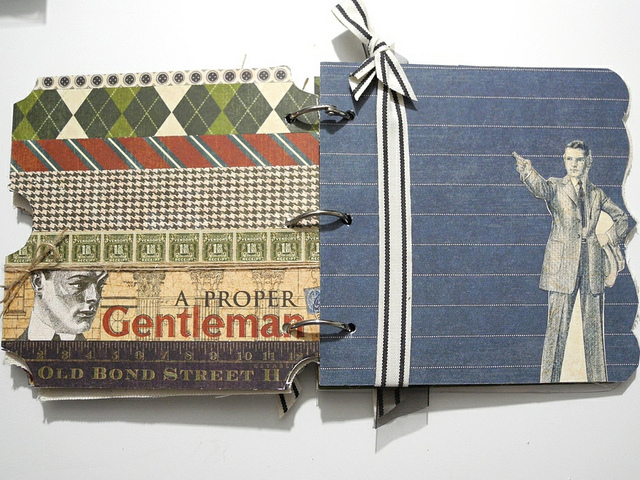
- For this page, we are going to do something a little different. The blue side is a panel of paper on the background with a fussy cut image adhered, however, the striped side uses the wonderful border strips from the Graphic 45 collection. Simply arrange how you like and adhere. You can also see the bow from the jute tied all the way around the page. Tie the cotton stripe ribbon around the page and create a fun loop at the top. This will stick out of the album and add a bit of visual fun to the completed book.
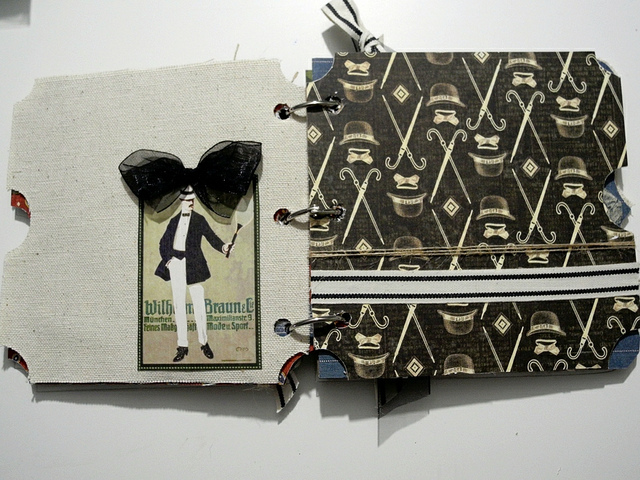
- Cover the page with patterned paper and over that striped cotton that goes around, adhere a decorative element fussy cut from patterned paper. Cut two small images from patterned paper and adhere in the top left corner. Tie a bow in a length of sheer nylon edge ribbon and adhere with staples to the canvas page. Again, keep in mind that you will want to cover those on the other side of the page.
- Adhere a border strip over the staples on the canvas page. Cover the chipboard page with patterned paper and adhere a border strip trimmed to look like a banner at the bottom of the page. Wrap jute around the page several times and tie in a bow.
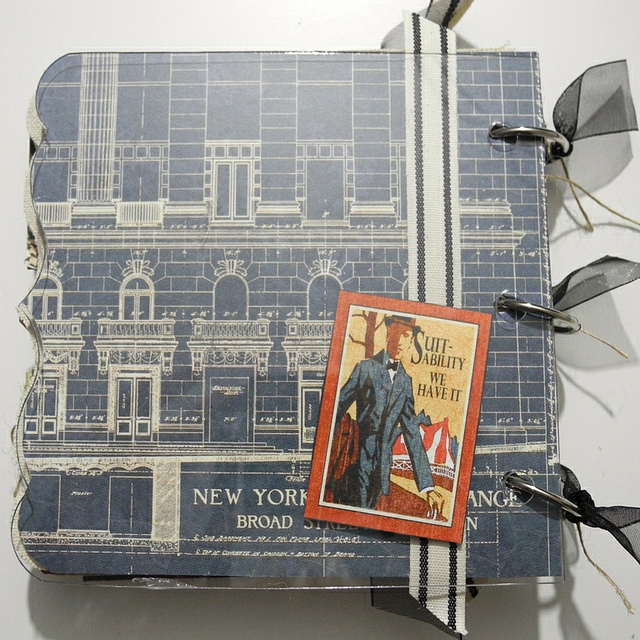
- Adhere patterned paper to the back page. The jute from the previous step is wrapped around, but I didn’t want it showing on this page, so I applied Scor Tape over it and adhered the cotton stripe ribbon with angle cuts sticking over the edges. Cut the image from patterned paper and adhere with foam tape. (This, by the way, is my favorite page in the album! I LOVE that ‘Suitablity – We have it” image! WAY FUN!) Leave the back cover clear.
- Finally, insert rings into the pages to bind album and tie pieces of sheer nylon edge ribbon and burlap string around each ring.
I hope you have a fabulous day! Go make something wonderful!
Blog post by: Jingle


