DIY Baby Onsie Dress & Matching Headband
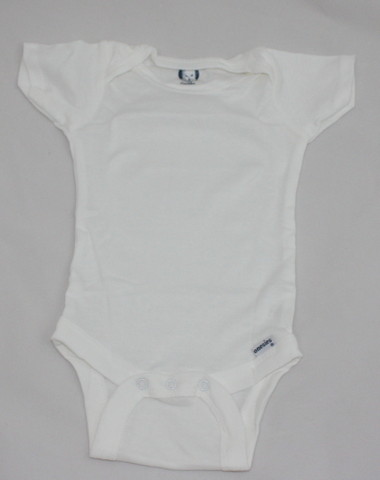
Welcome back to the May Arts Blog! Today we’re taking a simple baby onsie from plain Jane:
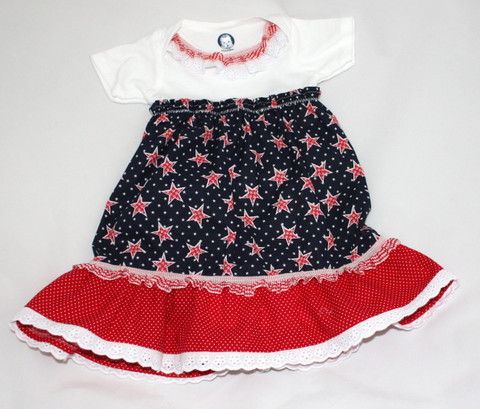
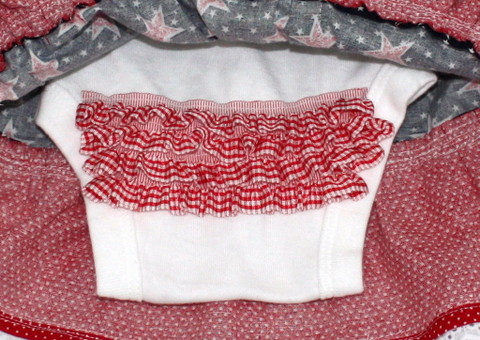
to Star Spangled with May Arts Ribbon and less than a half yard of fabric.
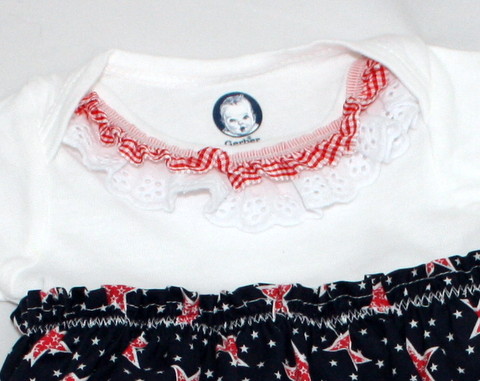
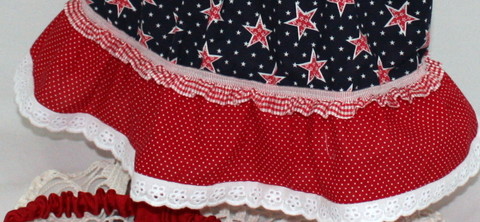
Adorable May Arts Eyelet and Ruffle Ribbon dress up the neckline and the flouncy ruffle.
And should a brisk summer breeze blow up a girl’s dress, she’s got ruffles to keep her discreetly covered!
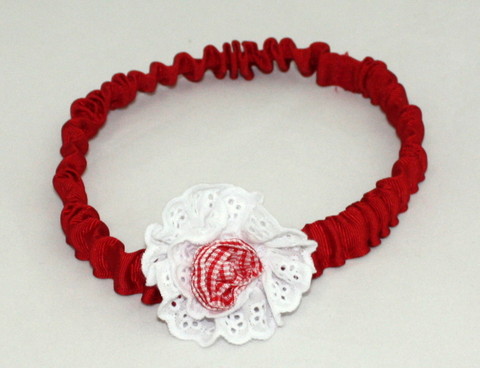
We can’t forget her hair so we’ve made baby a May Arts Grosgrain headband to match.
The headband is super simple to make.
Measure babies head.
Add 1” to your head measurement
Take any May Arts 1.5” ribbon, use your Imaginese i-magicut ribbon cutter to cut and seal the ends or turn each end of the ribbon in 1/4” and press .
Press the ribbon in half. Sew as close to the open edge as possible. Cut ½” elastic 1 inch larger than the head measurement. Use a bodkin or a safety pin to insert ½” elastic into the ribbon tube.
Gather to the measured size then zigzag the elastic ends together. Cut off any excess. Push the elastic into the ribbon. Stitch ribbon ends together. Gather a desired length of May Arts Eyelet ribbon using a long machine stitch. Pull until the ribbon curls. Roll into a layered flower. Stitch into place. Repeat with May Arts Elastic ribbon. Stitch into place.
Click Here for to download the headband tutorial!
Cuteness! These would make a perfect baby shower gift that’s easy on the budget too.
Blog post by: Charlene Driggs
May Arts Ribbons Used:
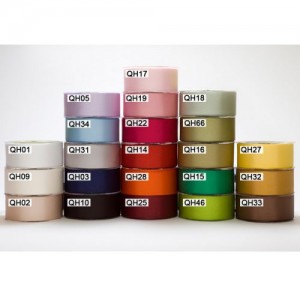
- QH 1.5” Grosgrain
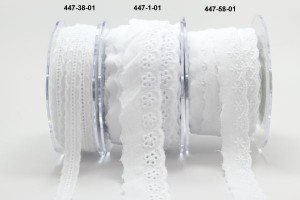
- 447 1″ Eyelet
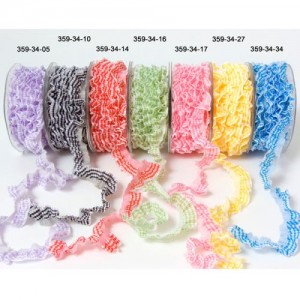
- 359 3/4″ Elastic Plaid Ruffle
Partners in Craft Supplies Used:
- Imaginese – i-magicut ribbon cutter
Other Supplies Used:
- Onsie
- 1/4-1/2 yard fabric
- ½ inch elastic
- Sewing machine/thread
- Onsie Dress Tutorial (Barefoot in the Kitchen)


