Make Your Own Bubbles Tag & Parcel
 Ever since she was a toddler, my daughter and I have celebrated the arrival of spring by blowing bubbles together. She’s a teenager now, but I want her to know that you’re never too old to watch bubbles drift away on a spring breeze! I decided to make a little parcel of bubbles and bubblegum as a present for her to remind her of our sweet tradition. I created a fun gift tag for the parcel with May Arts new baker’s twine and an adorable bubblegum machine from the Sweet Stamp Shop Sweet Tooth stamp set.
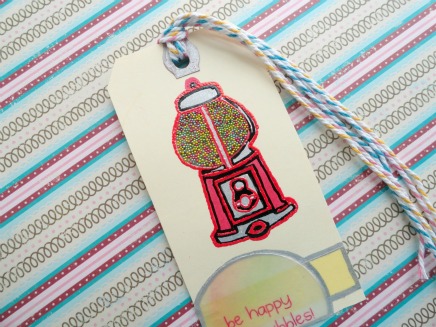
 Begin by stamping the bubblegum machine onto a shipping tag with embossing ink. Sprinkle red embossing powder over the image, and then emboss it with a heat tool. Allow to cool before proceeding to the next step.
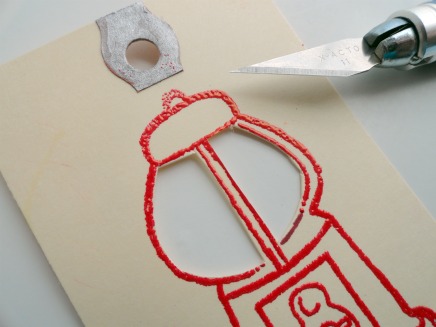 Cut out the “glass” portion of the image with a sharp craft knife.
 Use pens or markers to color the image and the reinforcer at the top of the tag. I used these:
Copic marker {RV29 Sketch Crimson}
Sakura Glaze Pen {Black}
Elements Silver Metallic Pen
 Create a sentiment for the tag by printing out a bubble background and text on a sheet of vellum, and then punch it out with 2” circle punch.
A printable version of the bubble background can be found here. I uploaded this background to Picnik and added text, but you can use whatever editing progam you prefer.
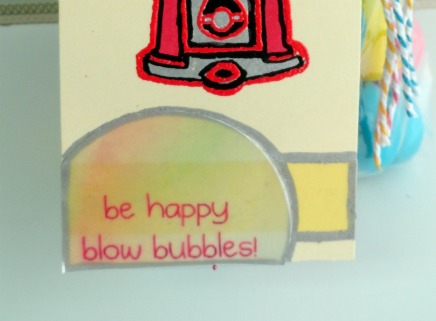 Add a strip of yellow washi tape to the bottom of the tag, then layer on the vellum circle as shown. Uhu glue stick works perfectly for this! Outline the vellum and the tape with a silver pen.
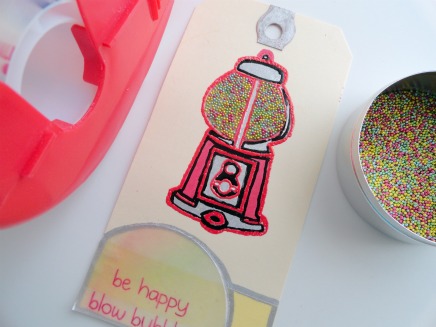 Apply a strip of clear packing tape sticky side down to the back of the tag. Flip the tag over, lay it on a sheet of wax paper and then sprinkle it with micro beads. Press gently on the beads with a piece of wax paper to make sure they stick, and then shake off the excess. This gives a transparent effect so it really looks like a bubble gum machine!
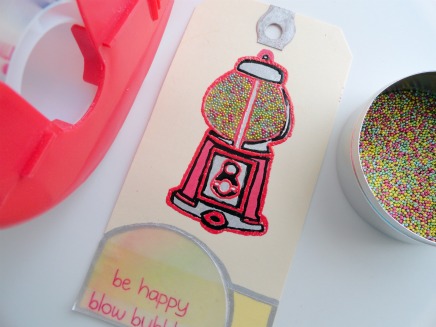 Fill a clear plastic treat bag with bubbles and bubblegum, using a piece of yellow Washi tape to close.
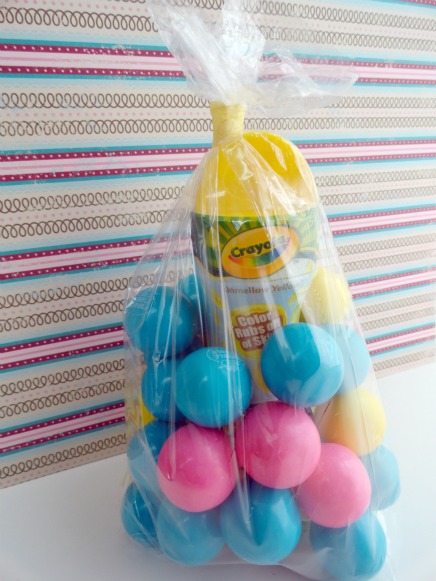 For the finishing touch, tie yellow, pink, and blue May Art’s baker’s twine to the tag and tie it around the top of the parcel.
 These would make such fun party gifts or wedding favors! But I can’t wait to give this special treat to my daughter and start blowing bubbles in honor of spring! Thanks to May Arts & Sweet Stamp Shop for sponsoring this tutorial! For a download of the project please click here. Happy Spring to everyone from Kimberly at Serendipity Vintage Studio!
Blog post by: Kimberly Jones
There are two ways to win: post your comments on the blog and on Facebook!
Hop on over to Sweet Stamp Shop for more inspiration!


