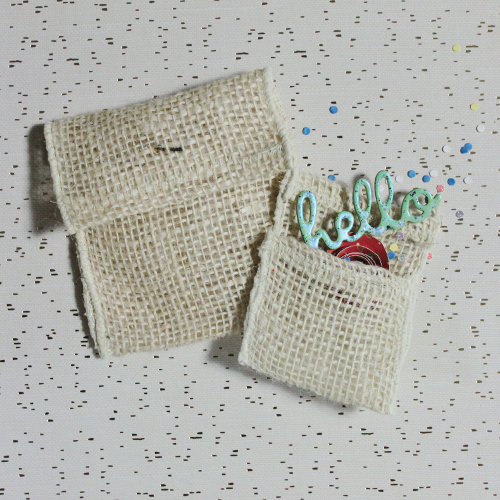
Make Your Own Burlap Pockets
Packaging should never be understated. Especially if you’re giving a fun gift. Today I’m sharing an easy and super cool burlap pocket tutorial.
These are fun little, customizable and super textured pockets. The bonus is that it closes and you don’t even have to manually add that feature.
To start, you will have to pick your wired burlap size. May Arts makes them in 4”, 2.5” and also the faux burlap in 1.5”. They all work for this project. Next cut the length of your ribbon. Remember to allow for trim (top and bottom) and also closer flap.
Now you want to sew the edges so they will not unravel. Just fold over each edge twice and zigzag stitch across.
All that is left to do is to fold your pocket and straight stitch down each side. Remember again to leave a flap for the closer.
That is it. Below you can see I did one in the 4” with the top close and the other in the 2.5” top open and exploding with fun.
By Lalo IK
Other Supplies Used:
- sewing machine


