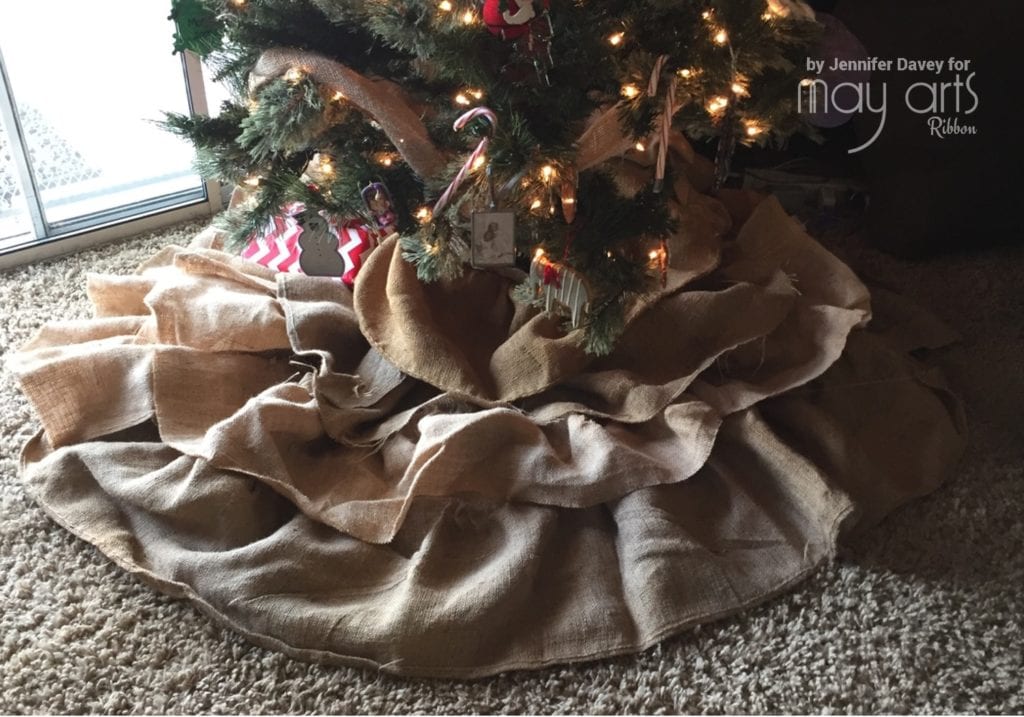
Holiday DIY: Burlap Tree Skirt
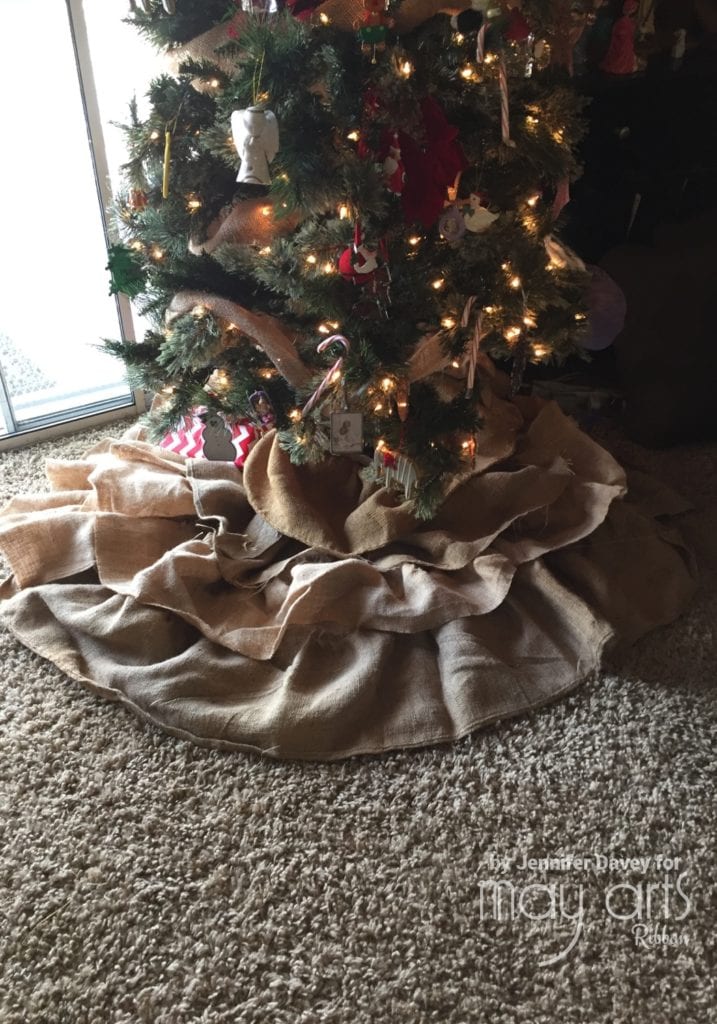
Holidays always get me in the crafting mood. This rustic looking burlap tree skirt was created with OLD burlap. The pieces were tattered, different shades, some had factory hemmed edges and others had holes. Each flaw added a little character BUT there are some draw backs to the old stuff so find it if you can but be warned the old stuff will leave you with a thick layer of burlap dust where ever you work on it or set it down. New burlap doesn’t fall apart so easily although your cutting surface will always be covered in burlap bunnies.
Now that you have been duly warned of the challenges of a burlap project we may precede.
- Here’s what you need:
- 4 inch Natural Burlap Ribbon, 1 ½ yards
- 1/8 inch Ivory Burlap Cord, 2 yards
- Burlap YARDS and YARDS! Depending on desired size… I used about 9 yards
- Thread
- Sewing Machine
- Scissors
- Ruler
- Pencil
Long sleeve shirt (cuz this is gunna get itchy) and strong desire to make a fabulous burlap tree skirt!
Here is what you do:
- Cut large circle 54-60” in diameter from burlap. Cut remaining burlap into 10 inch strips.
- Mark 8 inch up from outer edge of circle with pencil. Mark 7 inches up from marked line repeat to center of circle.
- Cut 10 inch diameter hole from center of circle and cut radius from center.
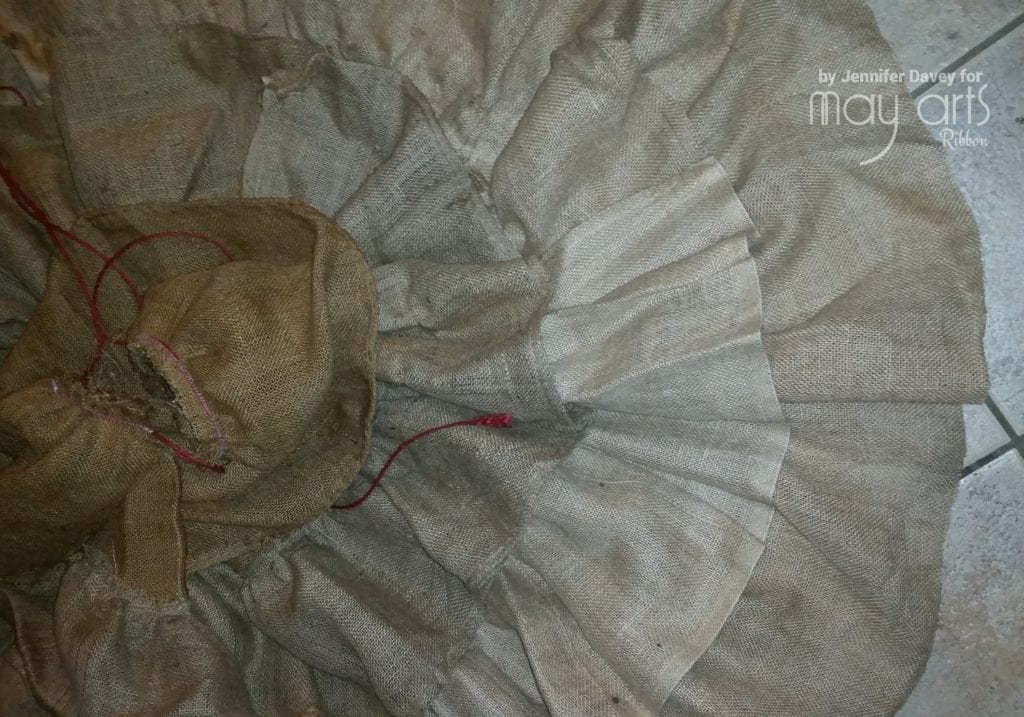
- Starting at outer most marked circle stitch 10 inch strip in place along line, gathering burlap by pushing it towards the pressor foot. Overlap strips 2 inches and continue the gathering procedure…lower layer should take 3-4 strips for the bottom row…Continue in same manner on all marked rows.
- Remove wire from 4 inch Natural Burlap Ribbon, it will pull out then end just gradually work it out.
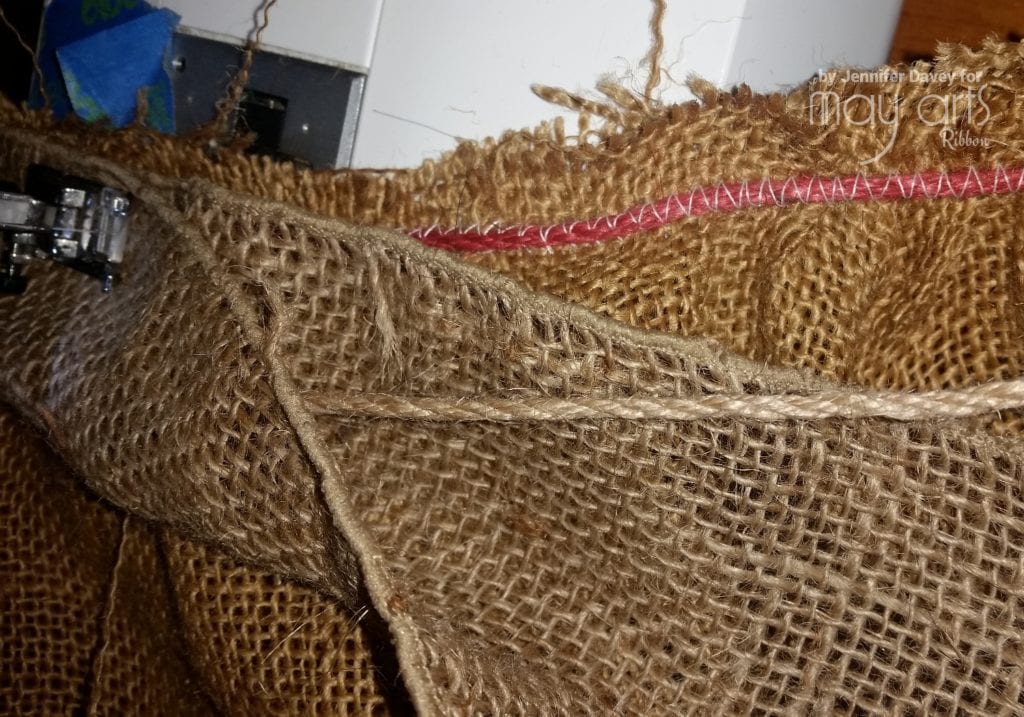
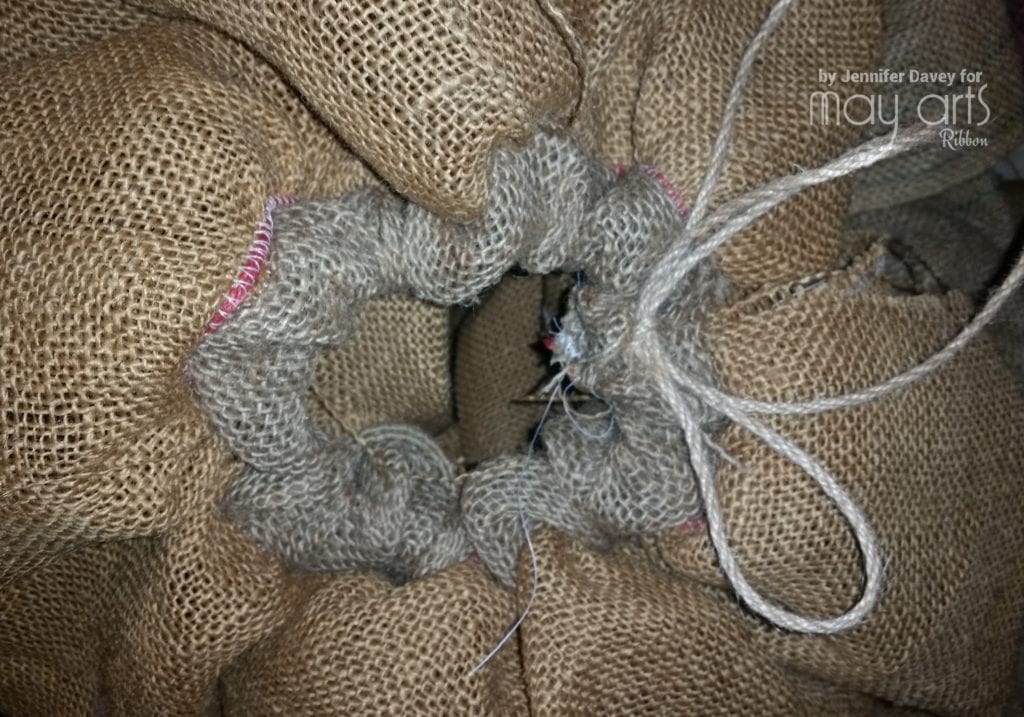
- Fold ribbon in half lengthwise and match edges of ribbon to inside circle. Lay cord inside fold and sew ribbon in place.
- Pull cord to gather up center to size of Christmas tree trunk.
Merry Christmas!


