DIY Cards – No place like home & Missing you
Hi all. Vera here. Have you been enjoying the fun and awesome inspirations from the DT for May Arts & Hero Arts week? I hope so, because I just love this great combo! 🙂
Hero Arts is one of my favorite companies. They have some seriously good people working for them and I love the quality of their stamp. I still have their stamps that I got way back when I first started stamping in 1997!
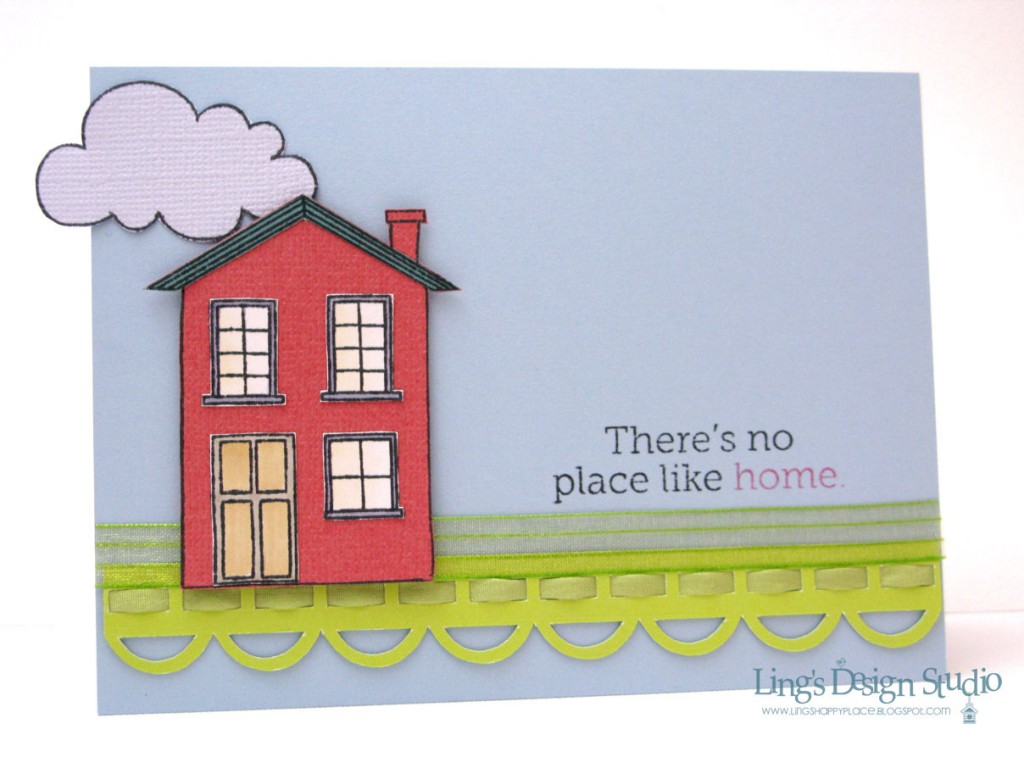
Today, I have a couple cards to share with you. First up is a card I made suing Hero Arts Right At Home set. This is a set they make to support Operation Write Home, which supports our nation’s armed forces by sending blank handmade greeting cards to write home on, as well as cards of gratitude to encourage them.
Supplies:
- Cardstocks
- Clear stamp: Hero Arts Right at Home set
- Ribbon: May Arts silk ribbon (SK18) in 1/4” width and May Arts sheer iridescent pinstripe ribbon (WS02)
- Die-cut: Square Lace Border from Silhouette
- Tool: Silhouette SD
Here as you can see I use the ribbon to enhance the lace border die. I simply pick a border style that allow me to thread the ribbon in. Once the ribbon threaded all the way to the end, simply adhere the border to the card. Add a layer of sheer ribbon for extra texture. For the house, I did a paper piecing technique and adhere it to the card with pop-dots. Stamp the cloud and tuck it in behind the house.
Pretty easy card to make, but it packed good amount of textures. 🙂
Next, I made a card using the Pom Pom Flower.
Supplies:
- Cardstock
- Patterned paper: Bo Bunny Dots
- Rubber stamp: Hero Arts Pom Pom Flower
- Clear stamp: Sentiment from Hero Arts Right At Home set
- Ribbon: May Arts Sheer twinkle CT01 1” width
- Pearl sticker: Recollection
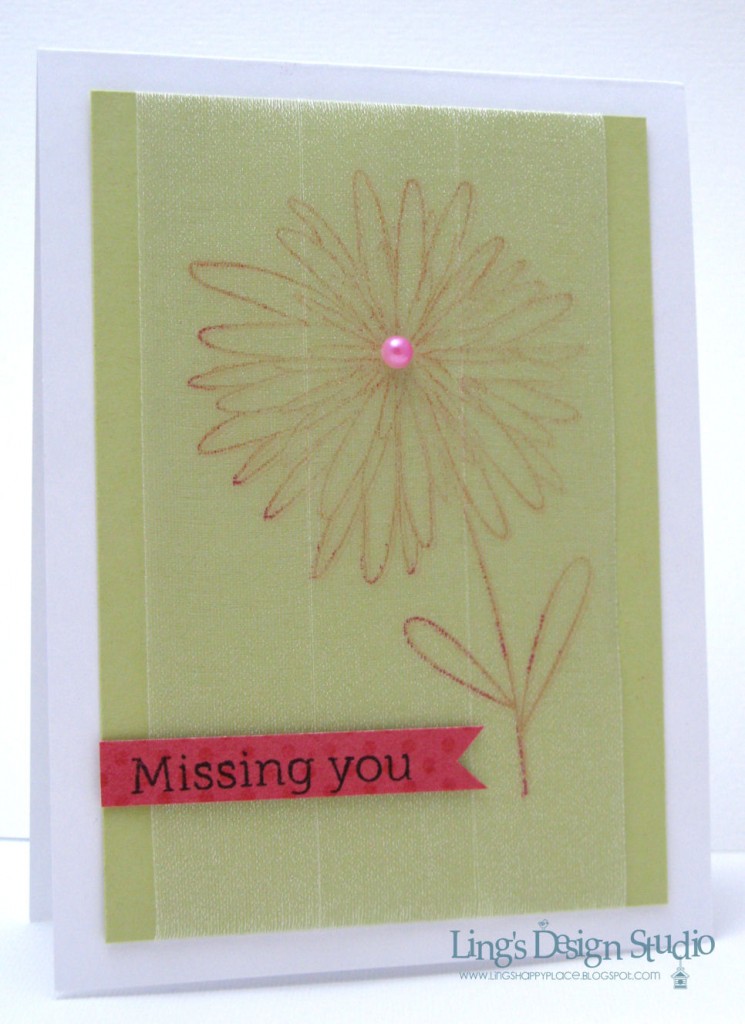
For this card, I want to get a shimmer look without using shimmering spray. So, I thought what about stamping directly on shimmery ribbon? Luckily, it works. 🙂
I first cut a panel slightly smaller than the card base. Then, I wrap it with sheer ribbon. The ribbon is 1” wide, so I need 3 strips to cover the middle part of the panel. Start by adhering the ribbon in the middle and then add the left and right side. Make sure the ribbon is wrapped tight!
Then I simply stamped the image directly on the ribbon. I use regular dye ink and yes, dark color ink works better than the light one. If some part that looks a bit lighter, you can always make it darker by tracing it with matching color marker.
Stamp sentiment on a piece of patterned paper and adhere to card. Super easy and you get beautiful card with great shimmers. This looks way better in real life, because the ribbon has really nice subtle shimmer to it.
I hope you enjoy today’s project and thank you so much for stopping by here. Now, I need to get ready for my CHA trip. Are you going? If yes, you definitely should check May Arts booth and check out our beautiful ribbons collection!! Have a blessed day everyone!
Blog post by: Vera Yates


