Tutorial: Cheer Bow!
Hey, ribbon lovers! Emily here today to share a great tutorial on how to make cheer bows! These are the in thing now. The bigger the bow, the better! My daughter is in 1st grade and she wanted to cheer again this year. Last year the squad used little bows that came with the uniforms and they were kind of sad. I stepped up and volunteered to make bows for the entire squad this year. Having never done a cheer bow before, this was a real challenge!
Since I was able to successfully make cute cheer bows, I thought I would share a tutorial for all of those cheer moms out there wanting to do the same on a budget!
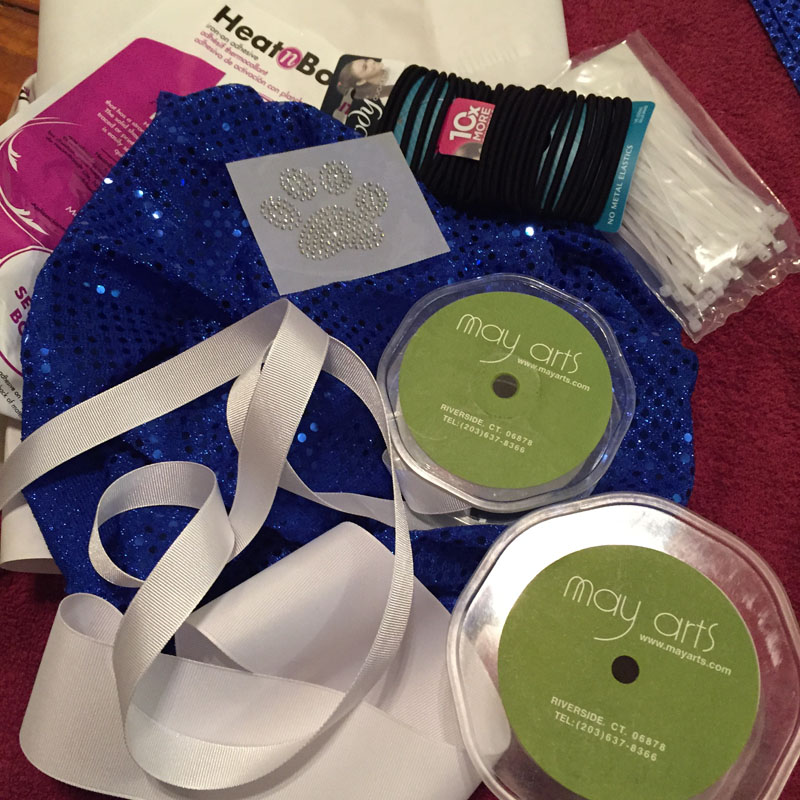
First, You will need to gather supplies. Most of the older girls use wider ribbons, but for the little ones, the 2.5” grosgrain was perfect.
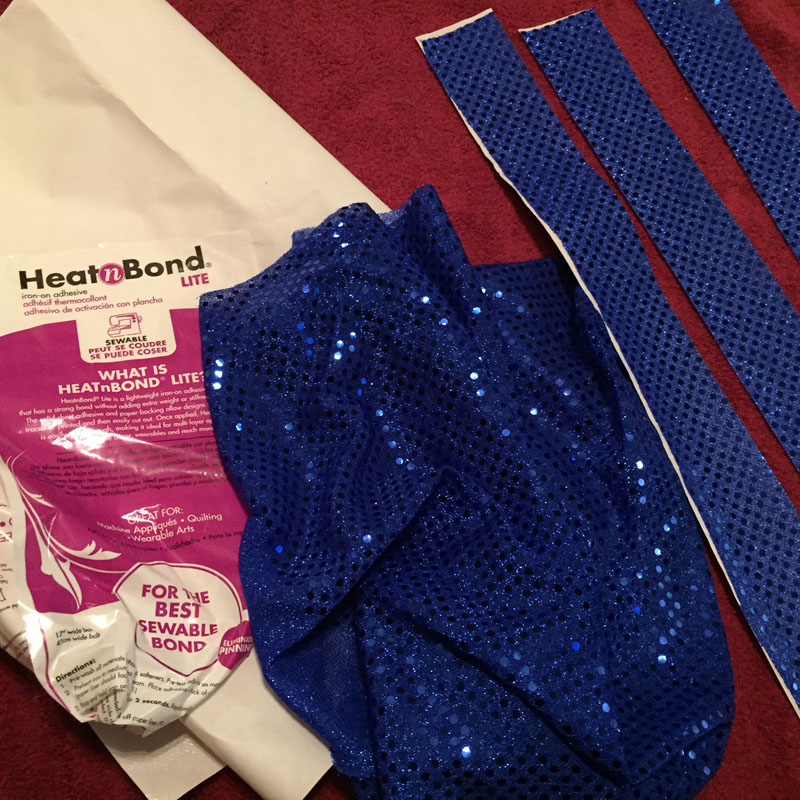
Cut strips of the fabric and adhere the heat n bond to the back. This will allow you to fuse the material to the ribbon. I cut my strips slightly smaller than the ribbon because I wanted the ribbon to still show.
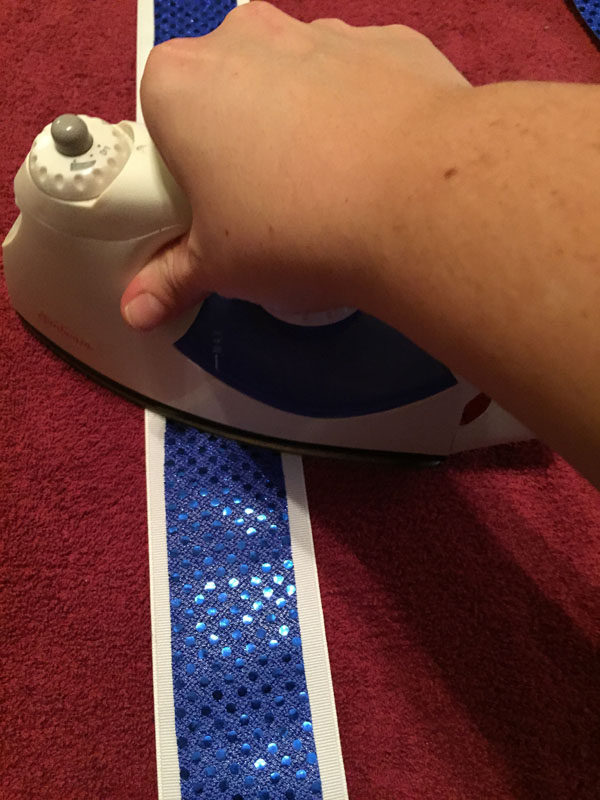
Iron the ribbon on front and back of the ribbon, when ironing the front, be sure your iron isn’t on a very hot setting or it will melt the little circles if you use the confetti fabric.
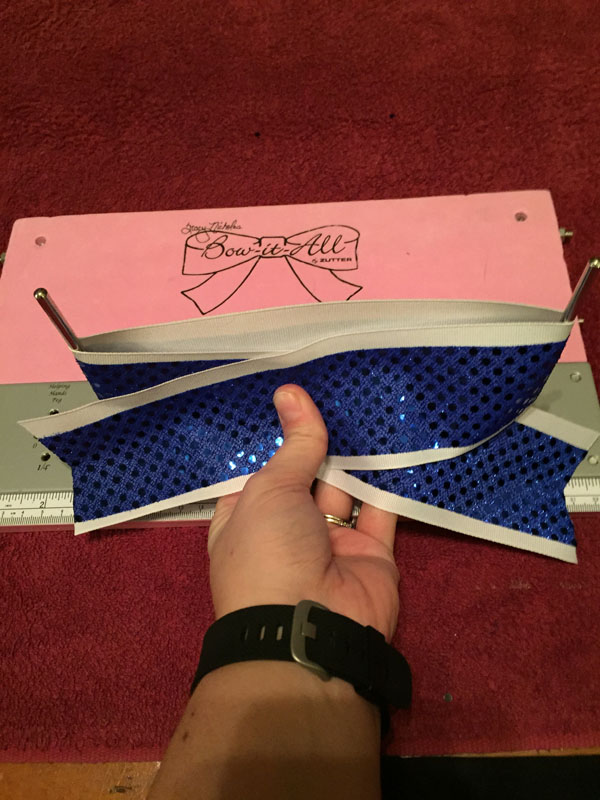
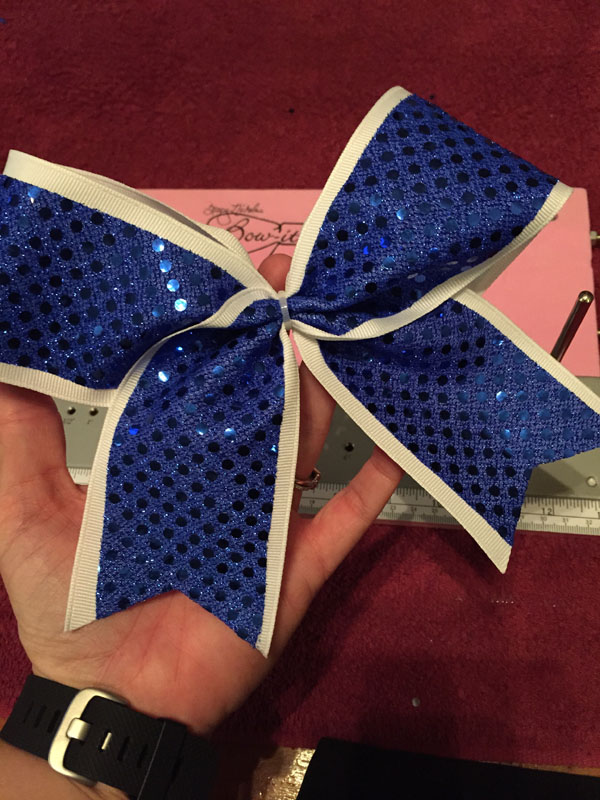
I used my FAVORITE ribbon tool for these, the Zutter Bow it All! Makes my life so much easier and takes the guess work out of making perfect bows! For these I simply used it to ensure that my loops were even.
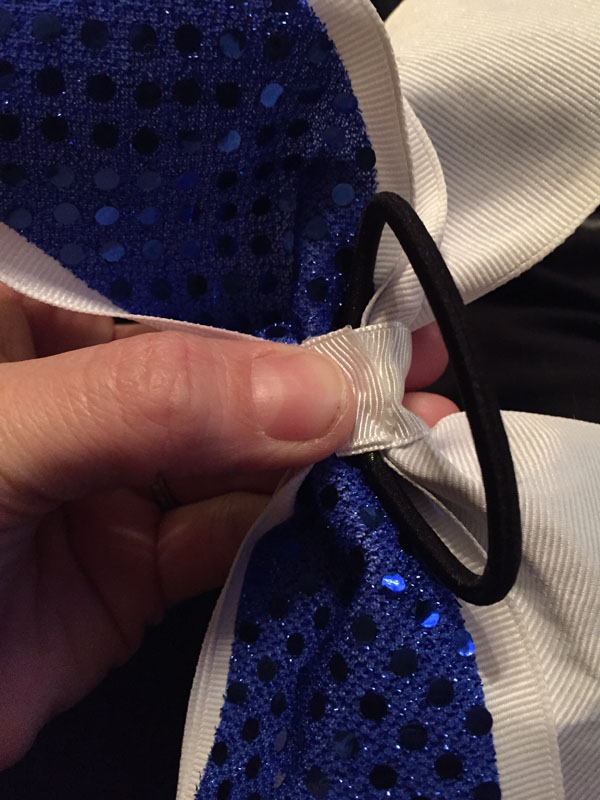
Form your bow and add the ponytail holder to the back. Secure it all with a zip tie.
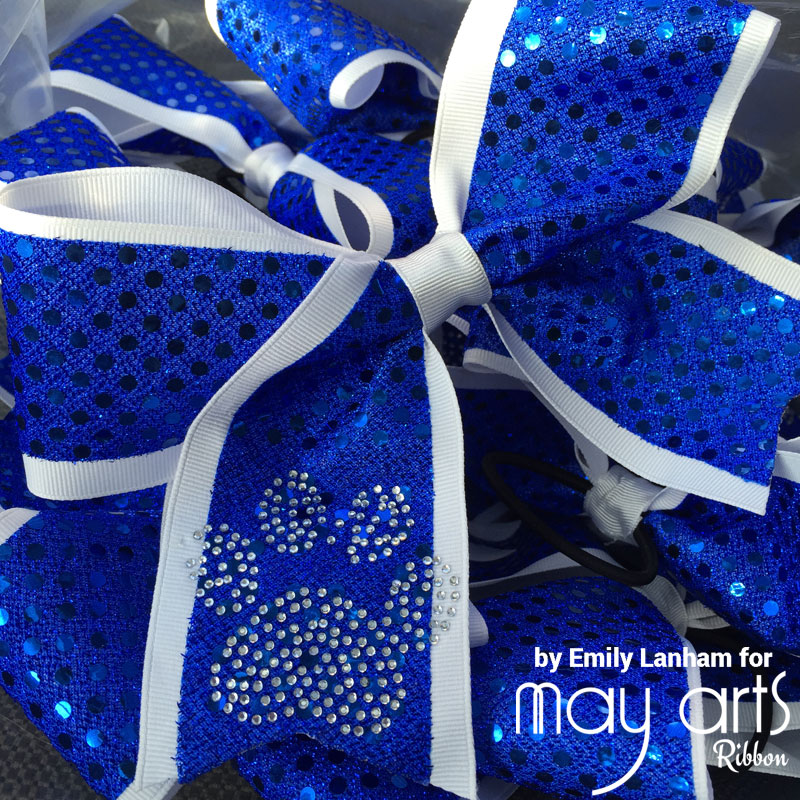
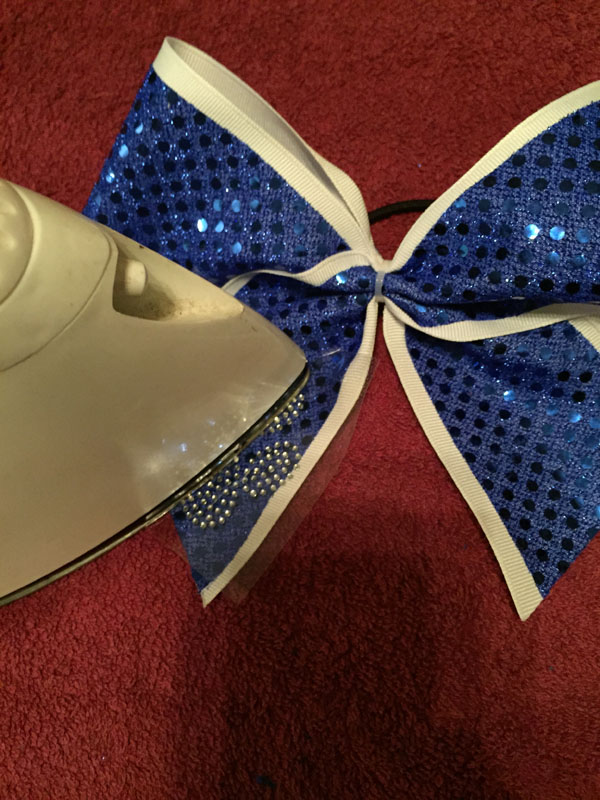
Next, you can iron on a little rhinestone bling if you want. I chose to add paw prints since our mascot is the greyhound.
Add the ¾” ribbon around the center to finish off the bow.
Viola! A quick and easy cheer bow! Super inexpensive and fun to make!
By Emily Lanham
Other Supplies Used:
- Zutter- Bow it All
- Thermoweb: Heat & Bond
- Confetti Dot Sequin Fabric
- Zip Tie
- Goody Ponytail Holder
- Iron On Rhinestones
- Iron


