How To Create a Summer Picnic Basket
During the summer months, I love to head to a local park, spread out a blanket and enjoy a summer picnic. So that my picnics will be a stylish affair this year, I’ve created a fun project…
Here’s what you’ll need to make your own charming Picnic Basket:
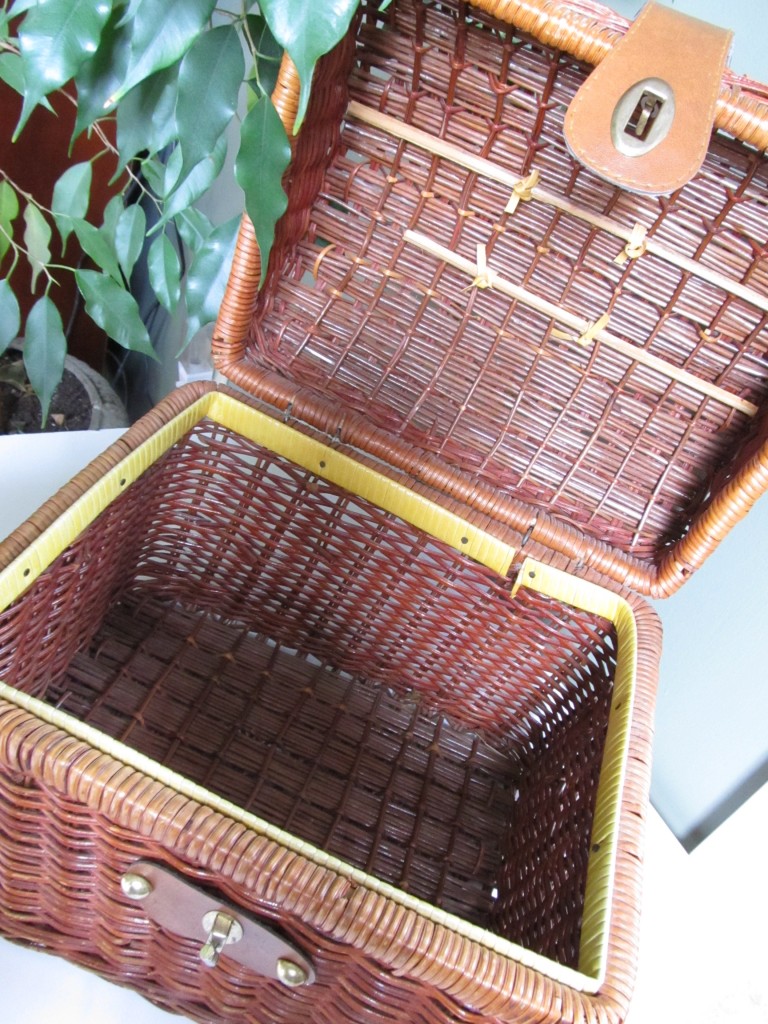
- A woven basket with a hinged lid. While my basket has a traditional metal closure, you can use a lidded basket with no closure and add ribbon ties to tie the basket closed.
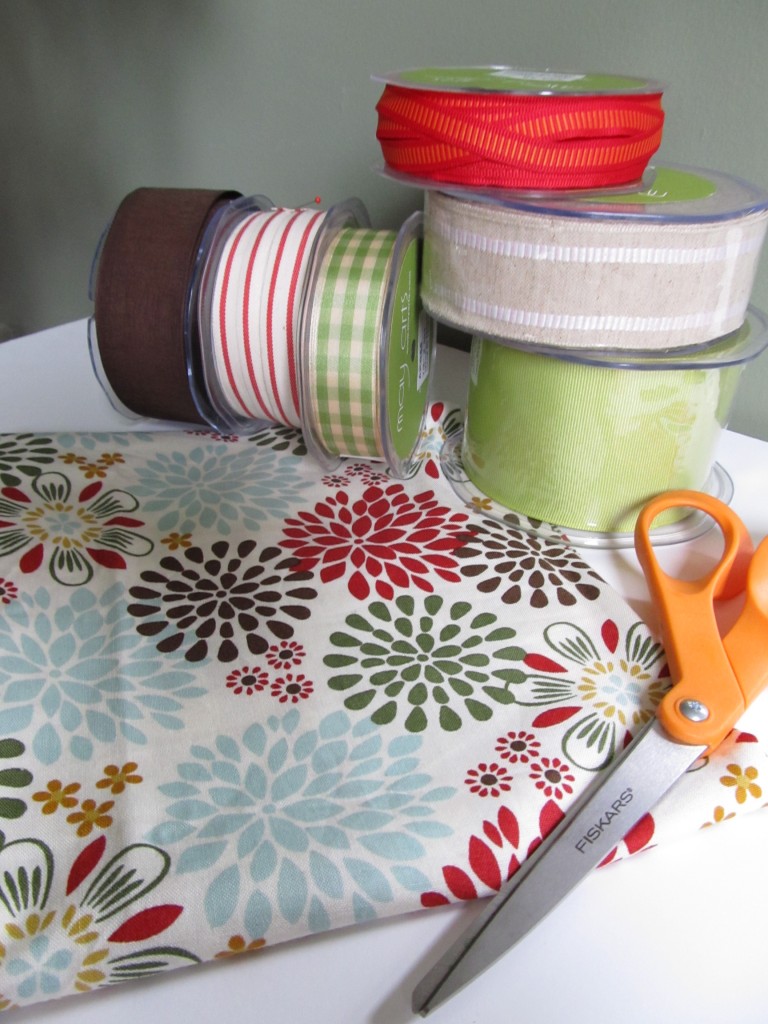
- Fabric in your choice of pattern and color. You’ll need enough fabric to line the inside and lid of your basket. Joanne’s or Hobby Lobby are great sources for inexpensive fabric.
- Ribbon: May Arts has so many beautiful ribbon options, narrowing down my choice was hard but I did it:
- Assorted Buttons (just a few I had on hand)
- Scissors
- Hot Glue Gun
Now get busy…
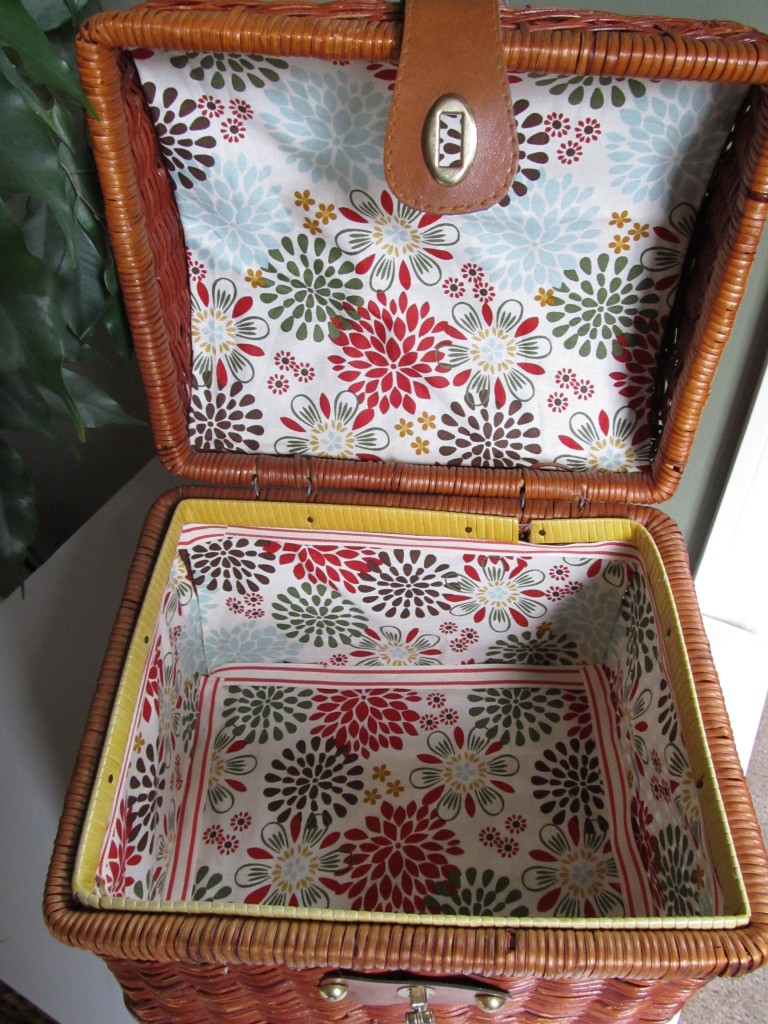
Step 1: Measure and cut your fabric to line the interior sides, bottom and lid of your basket. Using hot glue, glue your fabric pieces in place and cover the edges with one of your narrower ribbon styles.
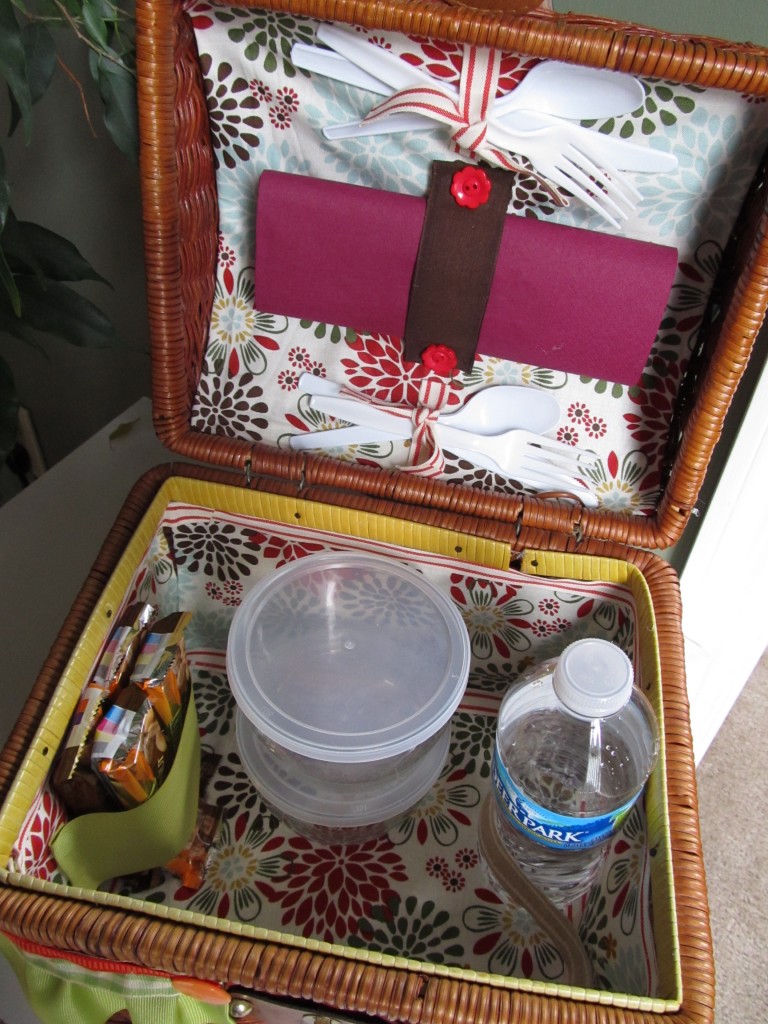
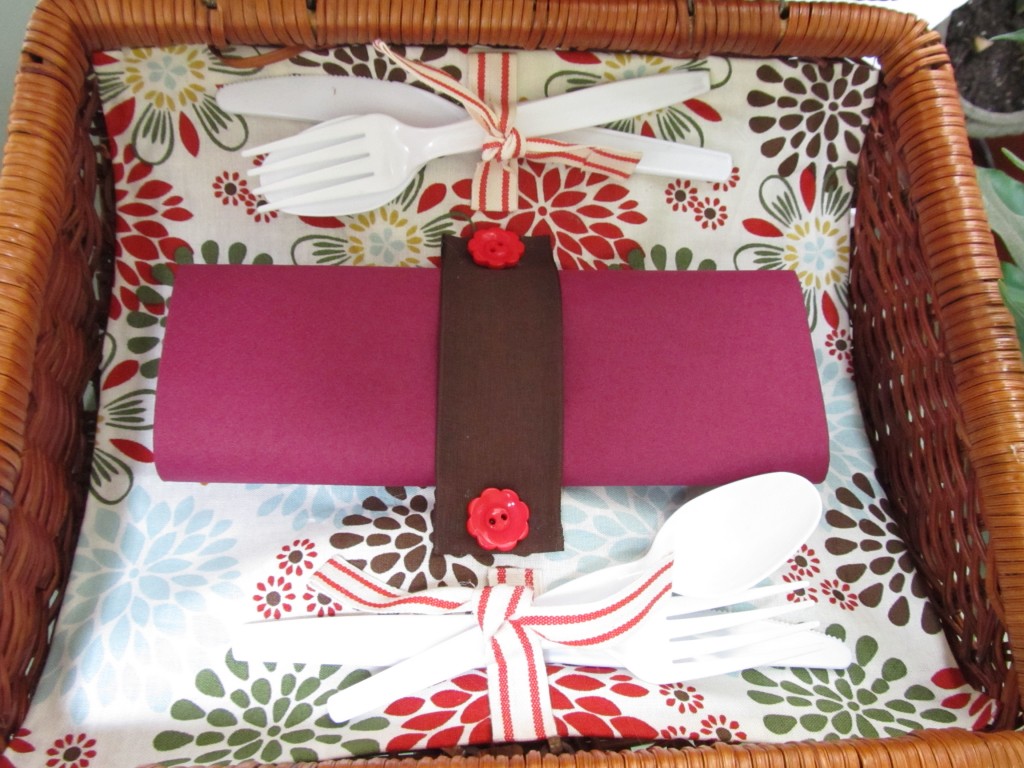
 Step 2: Cut 4 pieces of a selected ribbon into 4” lengths. Turn the ends under a ¼” and hot glue down. Now, glue two of the ribbon pieces 1” apart on one side of your lid, leaving the other ends loose. You’ll create space to place your utensils and tie them down. Duplicate on the opposite side of your lid.
To create your napkin holder, cut one of your wider ribbons into a 4 ½” length, turn the ends under ¼” and glue down. Place your ribbon between the two utensil ties and glue both ends of the ribbon length down, leaving some give so your napkins will fit.
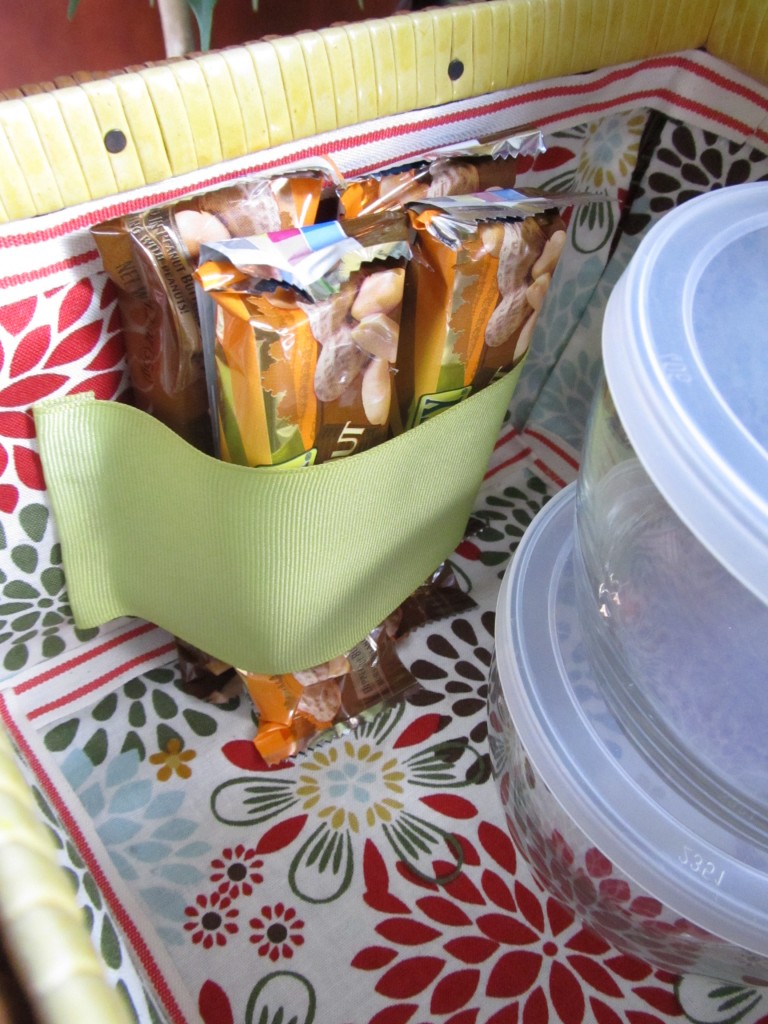
 Step 3: Add pieces of ribbon inside your basket on the left and right. Measure your ribbon lengths to hold items you would typically take on your picnic like water or granola bars and glue the ends down.
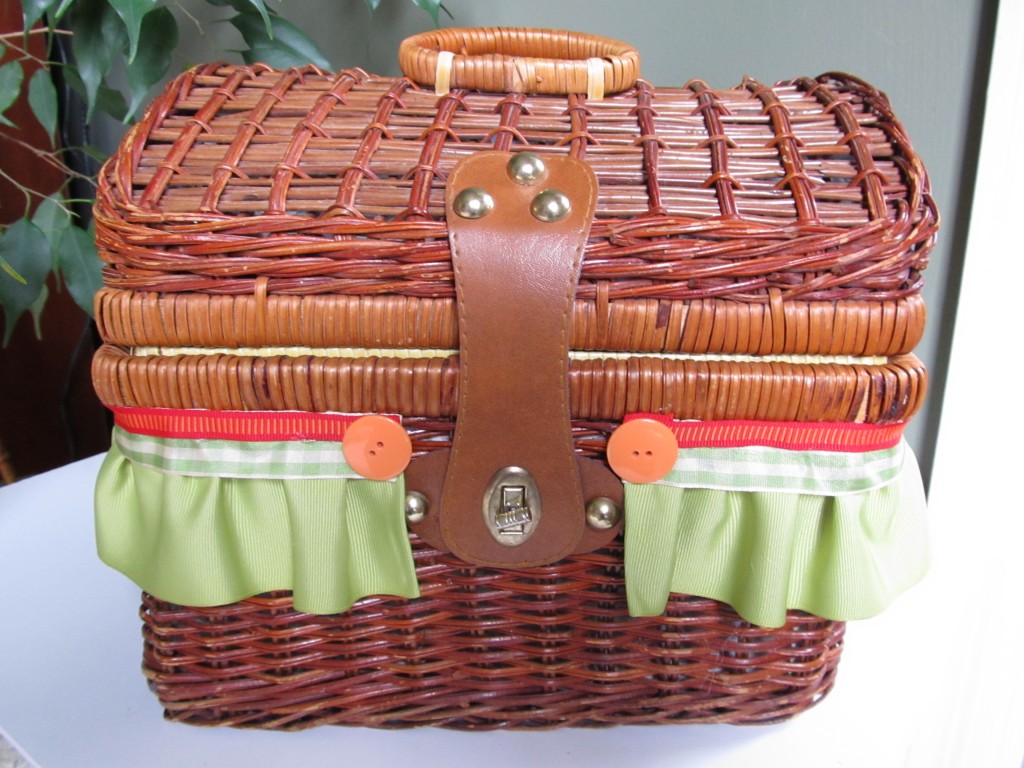
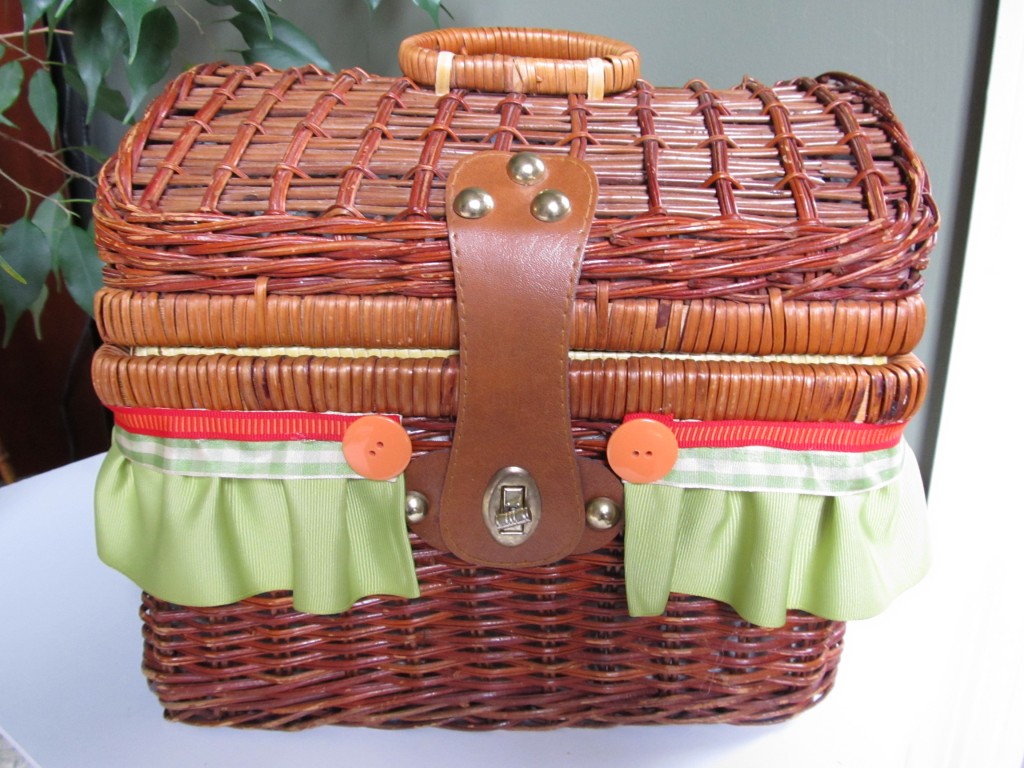
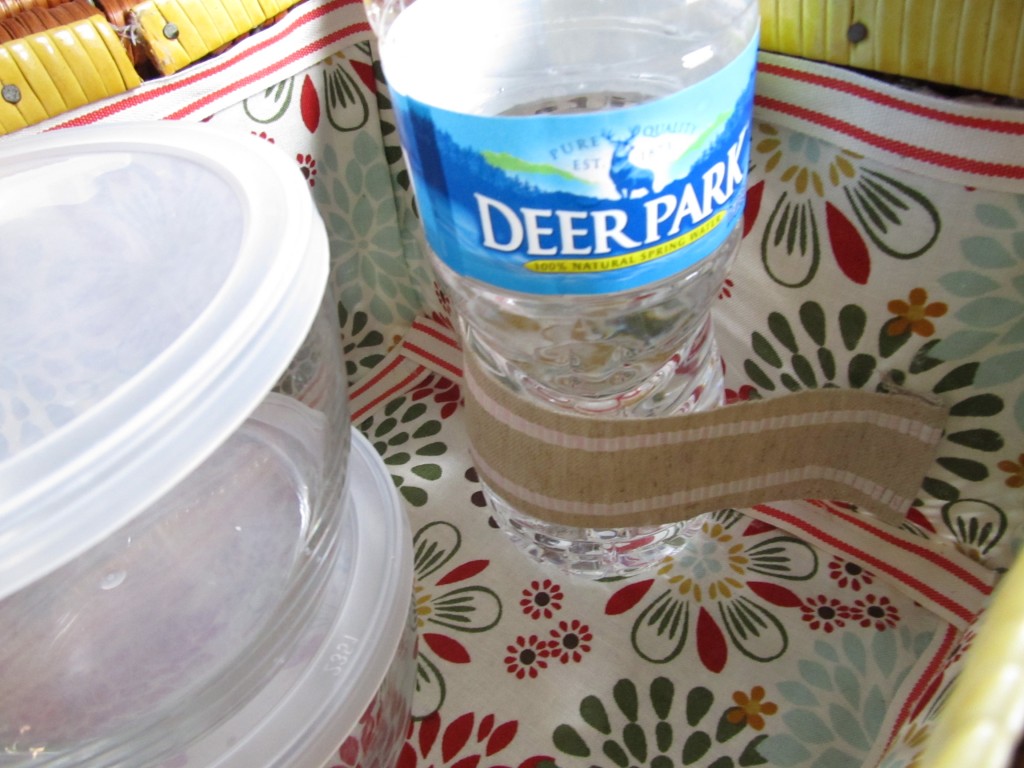 Step 4: Now add ribbon to the outside of your basket to make it festive. I created a ruffle effect with my wide ribbon and layered two smaller widths on top for more fun.
That’s all there is to turning a plain basket into a Fun Summer Picnic Basket. Now all that’s left is to add some yummy food and head to the park!
I hope you enjoyed this project and are planning some fun outings this summer.
p.s. When shopping for a basket, head to your local thrift store first. I picked my basket up at GW for only $1.51. Whoopie!
Blog post by: Shelly Dozier-Mckee


