DIY Cupcake Pincushions
Today, guest designer Cathi O’Neill is back with another fabulous project! She is doing a series of posts with us, so we hope you enjoy her work as much as we do. Don’t forget to post your comments at the end!
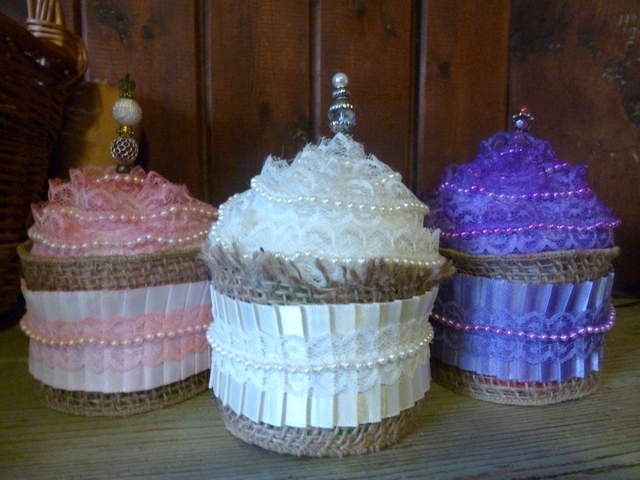
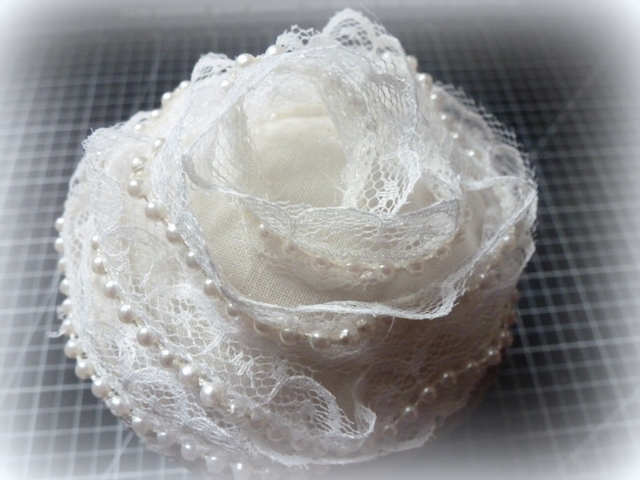
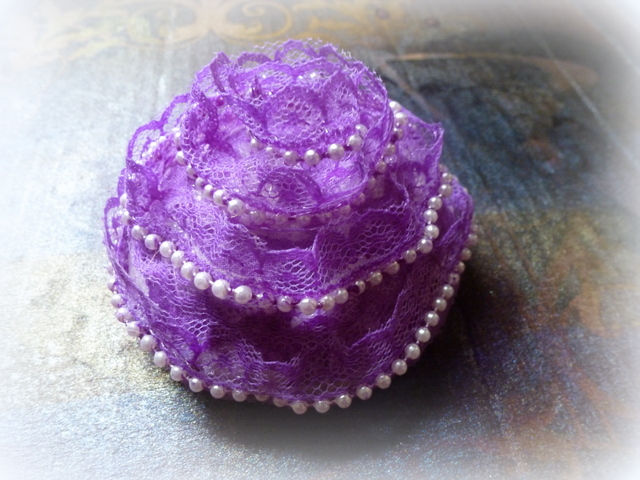
Good enough to eat! These cupcake pincushions feature lots of May Arts lace and ribbon and have a bit of a secret, they started their lives as modest….Pringles cans!
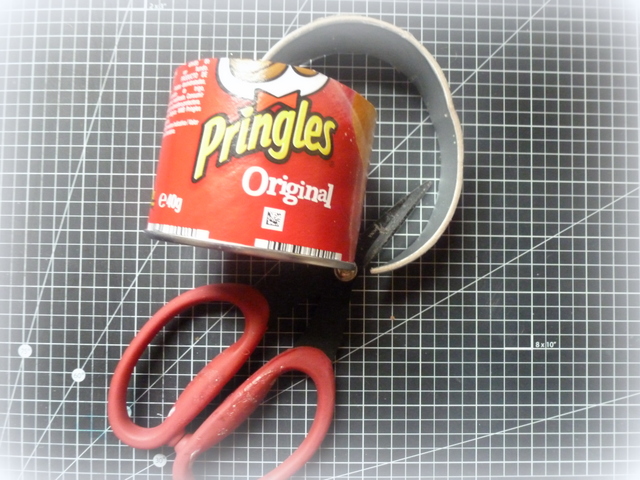
Even though they are mini cans, they are still a bit tall for a cupcake, so cut the cans down about an inch.
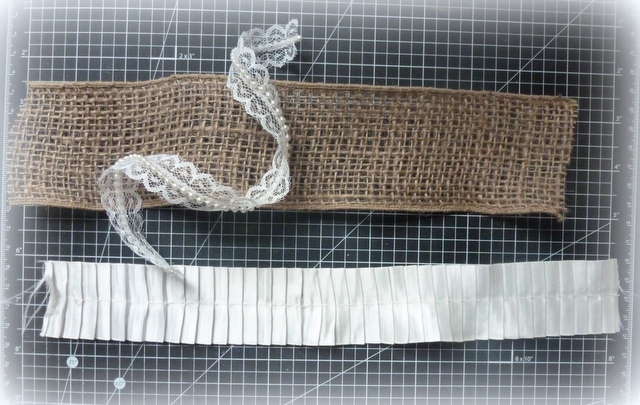
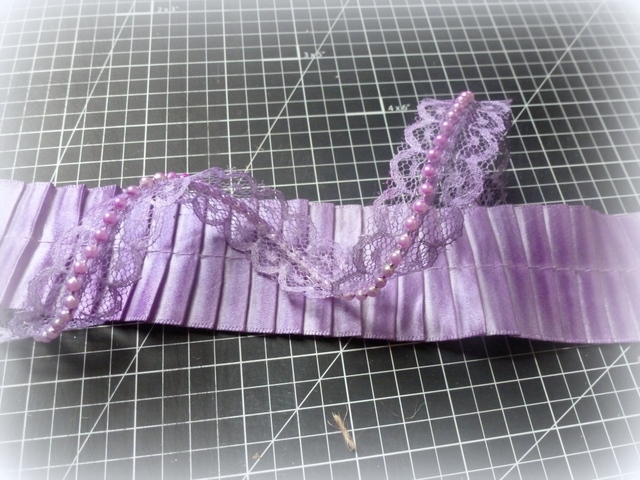
To make the pincushion, cut 12 inch strips of 2.5″ burlap, lace and pearl ribbon, and pleated satin. You will need a further yard of the lace to make the cupcake “frosting” later.
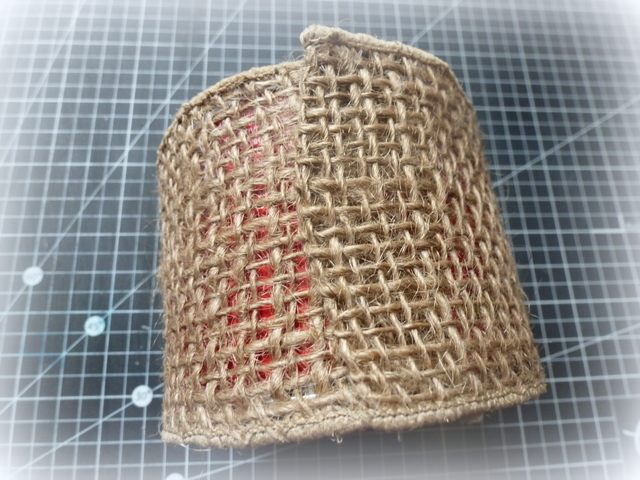
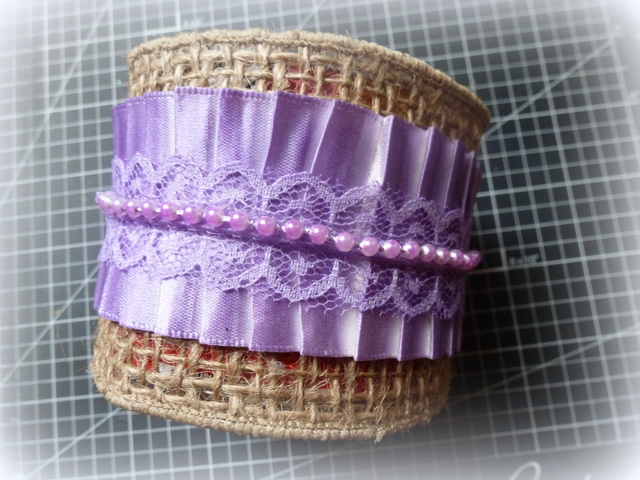
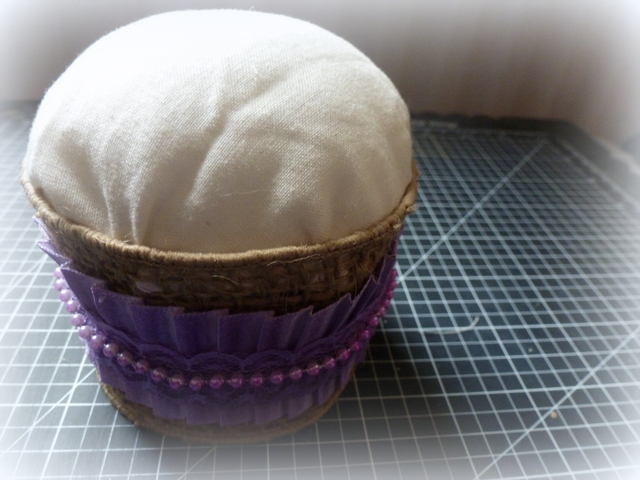
Cover the Pringles can with the 2.5″ burlap strip, hot gluing it into place.
For my pink and purple cupcakes, I used spray ink to color the ribbons and lace, and alcohol inks to color pearls.
Next, take the pleated satin ribbon and the lace and glue them down.
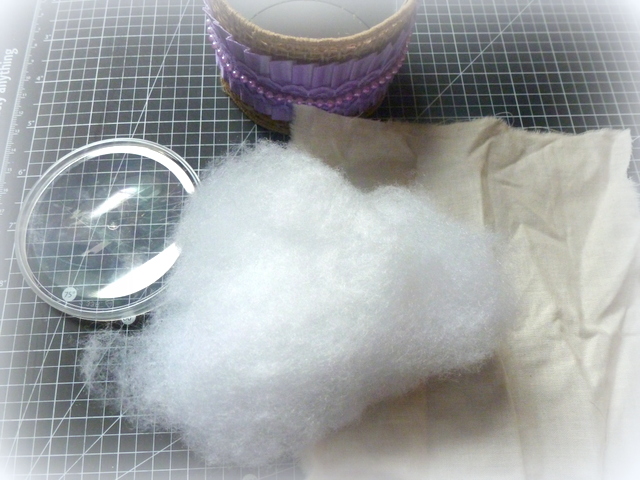
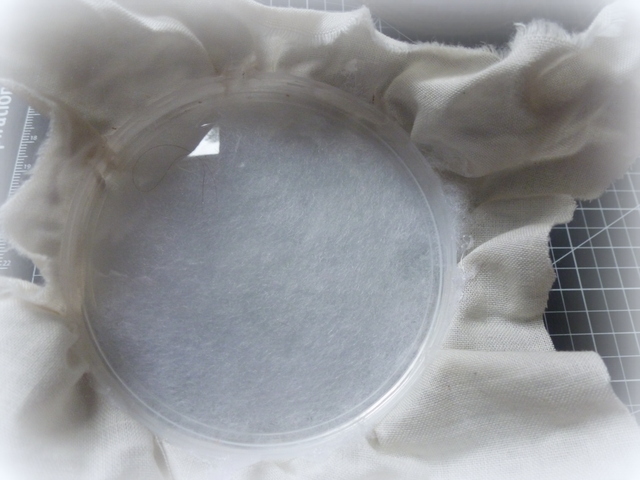
To make the pincushion top, use some polyester fiberfill and cover it with muslin. I took a small amount of the fiberfill and a 6 inch square of muslin to make this.
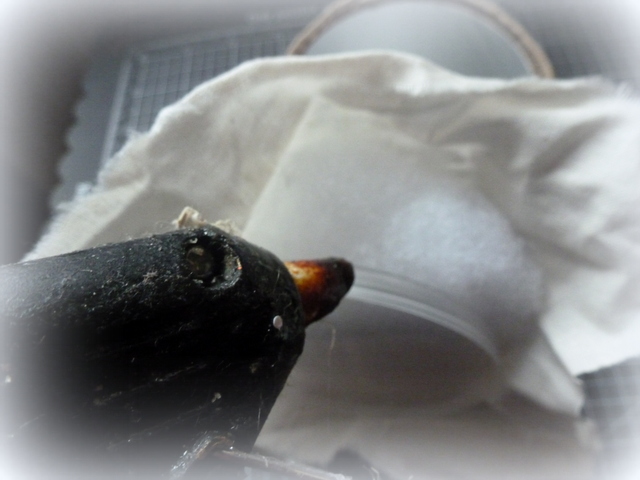
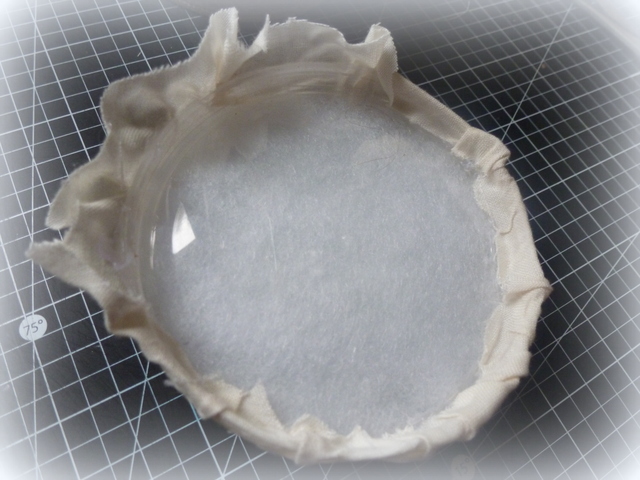
To make the top, simply use hot glue on the side of the lid and press the muslin into it. I alternated from one side to the other, pulling the muslin down and pressing it into the hot glue.
When I was done gluing all around the top of the lid, I trimmed down the muslin.
Glue the muslin down inside the lid top.
Next fit the pincushion top back onto the bottom of the Pringles can cupcake base.
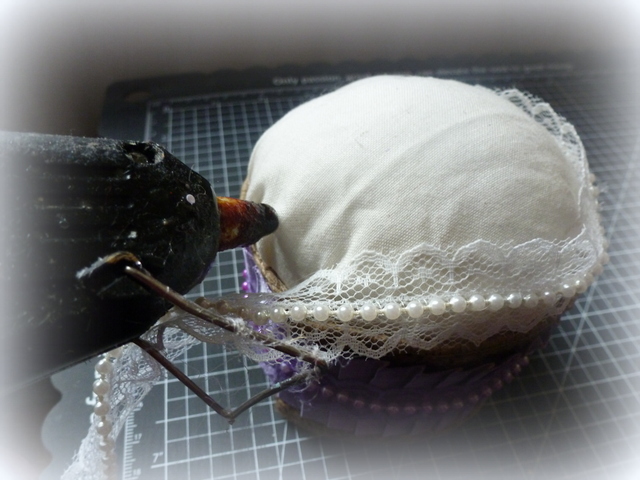
Time to make the “frosting”! Again using my hot glue gun, I took my yard of lace and glued it down on the pincushion, working my way around the cushion and moving inward and upward to make the swirls.
Finish by swirling the last bit of lace into the center.
If you are coloring your cupcake you can spray the lace and muslin now for a yummy finish.
I decided to give these pincushions to some friends as little kits to make the gorgeous beaded stickpins I have placed on top of the pincushions. I just popped open the top of the cupcake and they can be stored underneath, then when done, displayed on top!


