DIY Twine Sign
Today I’m sharing a cool customized DIY sign.
This twine sign will require some work and time but the instructions are easy and the end look is awesome.
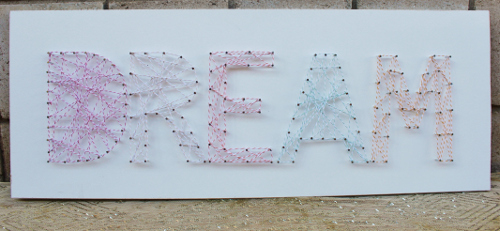
To start you will need to decide on the image you want to display. For my sign I went the easy way and printed out the letters DREAM on the computer but you could also draw an image.
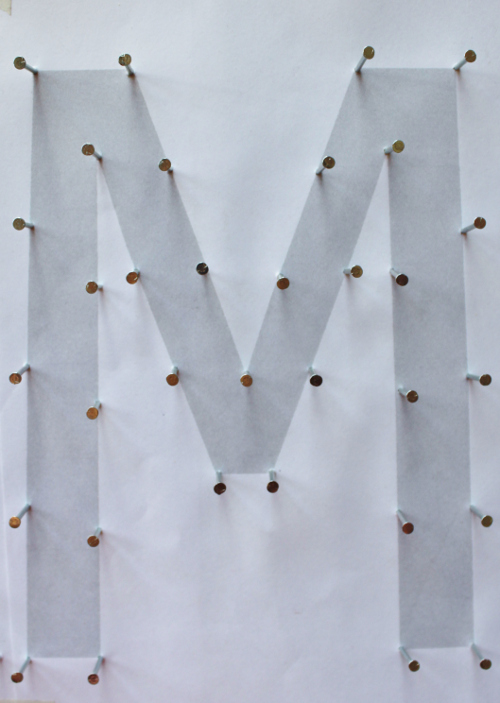
The next step requires some precision and muscle. First temporarily adhere your image to a board. I used a square piece of solid wood but you could use any hard wood. Next lightly tap nails around the image keeping the spaces between nails somewhat consistent. For this step you can just eyeball the spaces like I did here.
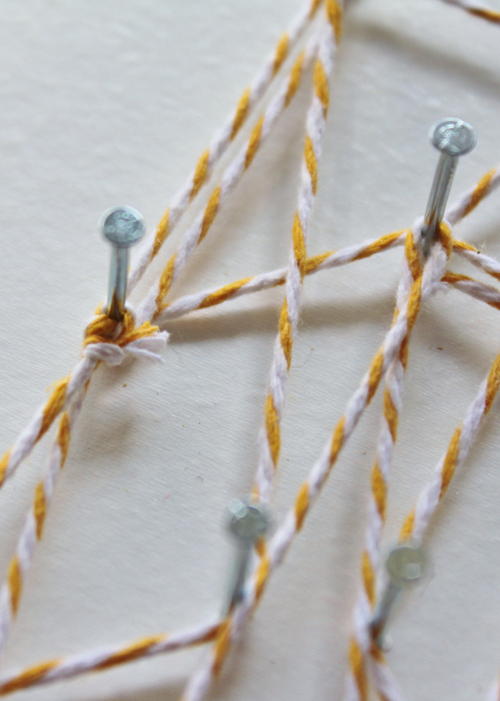
All that is left is to pull off your paper template and start wrapping your twine. I think a tighter random twine wrap looks best for this look. Also because I wanted define letters I outlined each image with the twine. It’s good to note that if you look at the close up of the below image you will see that I wrapped the twine around individual nails. This is for stability.
Here’s a look at how it should end up. All wrapped and looking cool. If in the end your twine wrapping doesn’t look like your template, just keep crisscross wrapping till it does.

With May Art ribbon’s inventory you can really make this sign customizable and for any occasion.
By Lalo IK
Other Supplies Used:
- Wood
- Nails
- Hammer
- Template