Fun Kids Craft: Easter Bunny Eggs
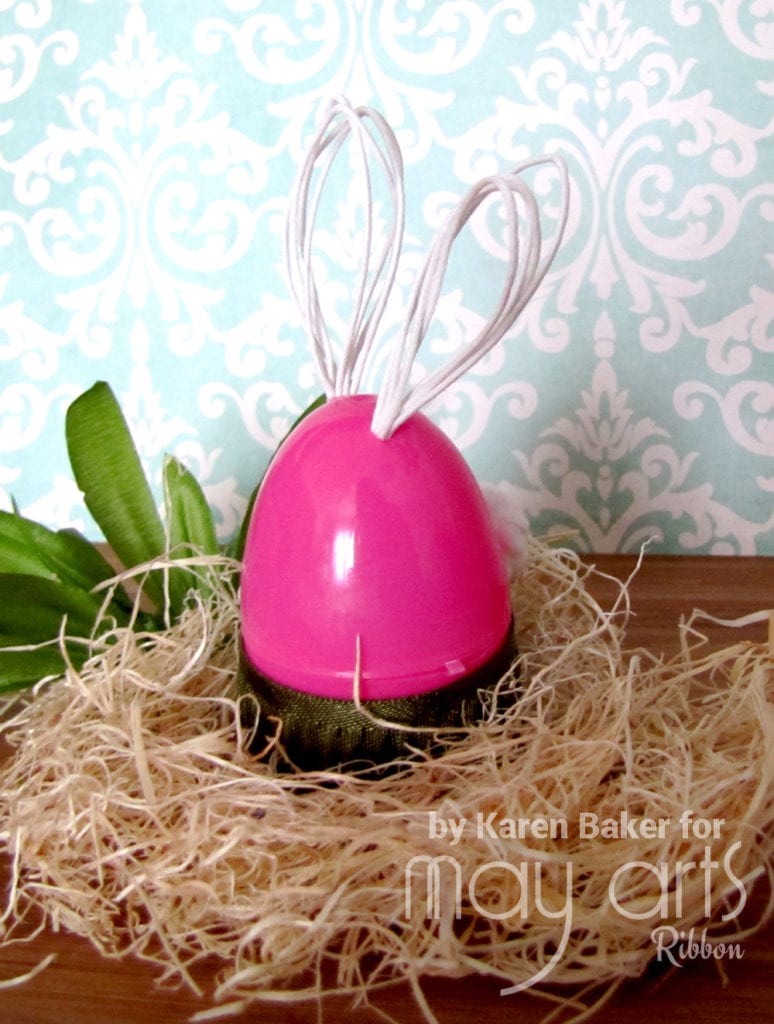
I’m always looking for ways to repurpose and reuse holiday decorations. I pulled out some of the plastic eggs leftover from last year’s hunt and gave it some personality by transforming it into a simple Easter Bunny! I love that May Arts Ribbon has such a variety of ribbons and trims that made this task so simple and cute.
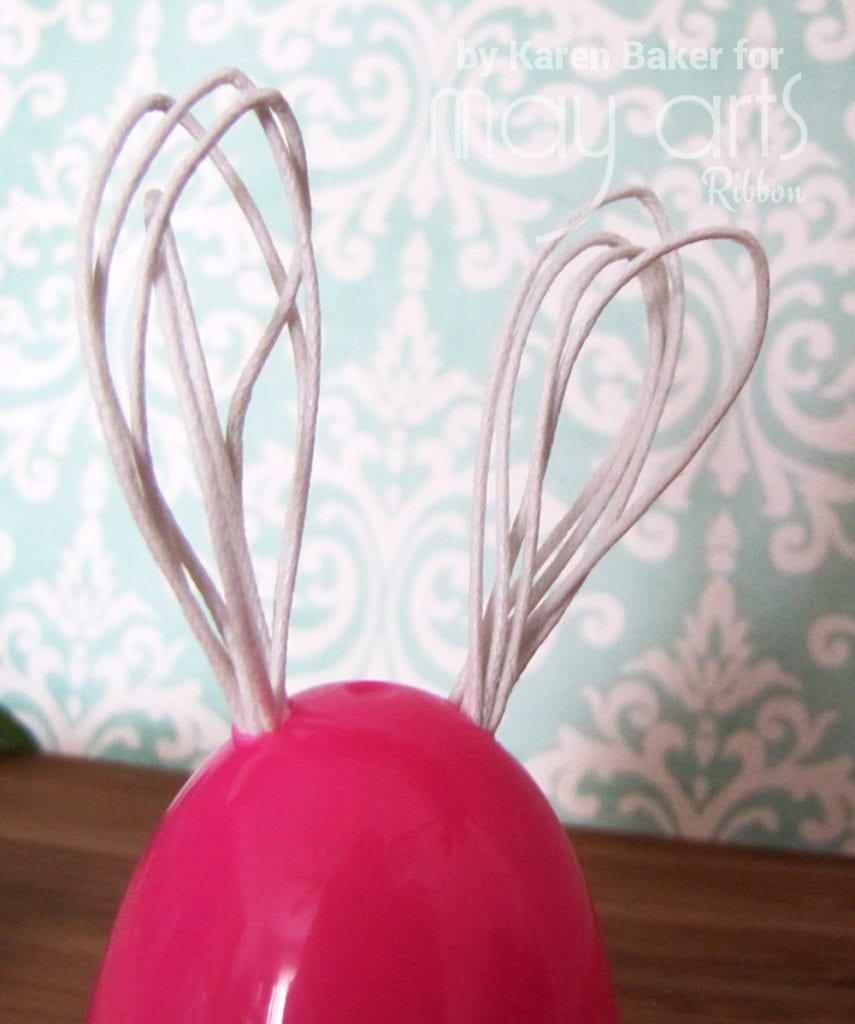
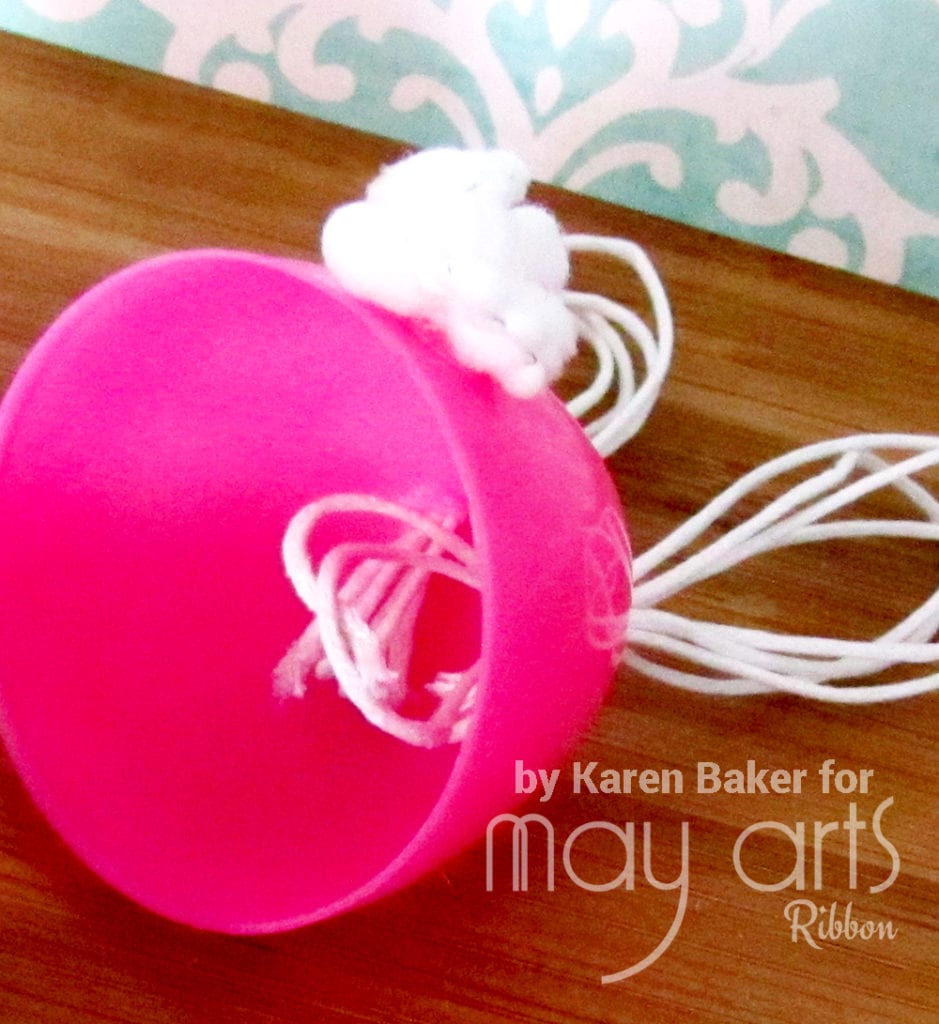
The process went surprisingly fast, and only a few supplies were needed. In no time, you can have a whole litter of bunnies ready to be filled with favorite treats. I used the pre-cut air holes on the top of the egg as a guide as to where to place the ears. I made them a bit larger with an awl and made a few loops around my fingers with May Arts 1 mm Waxed Cord in White (451-01). I treaded the loops through the plastic egg and repeated the process for the other ear.
The waxed cord is stiff, yet flexible, so I was able to pinch the top of the ears to form a bit of a point and needed no glue to keep the ears stranding straight up.
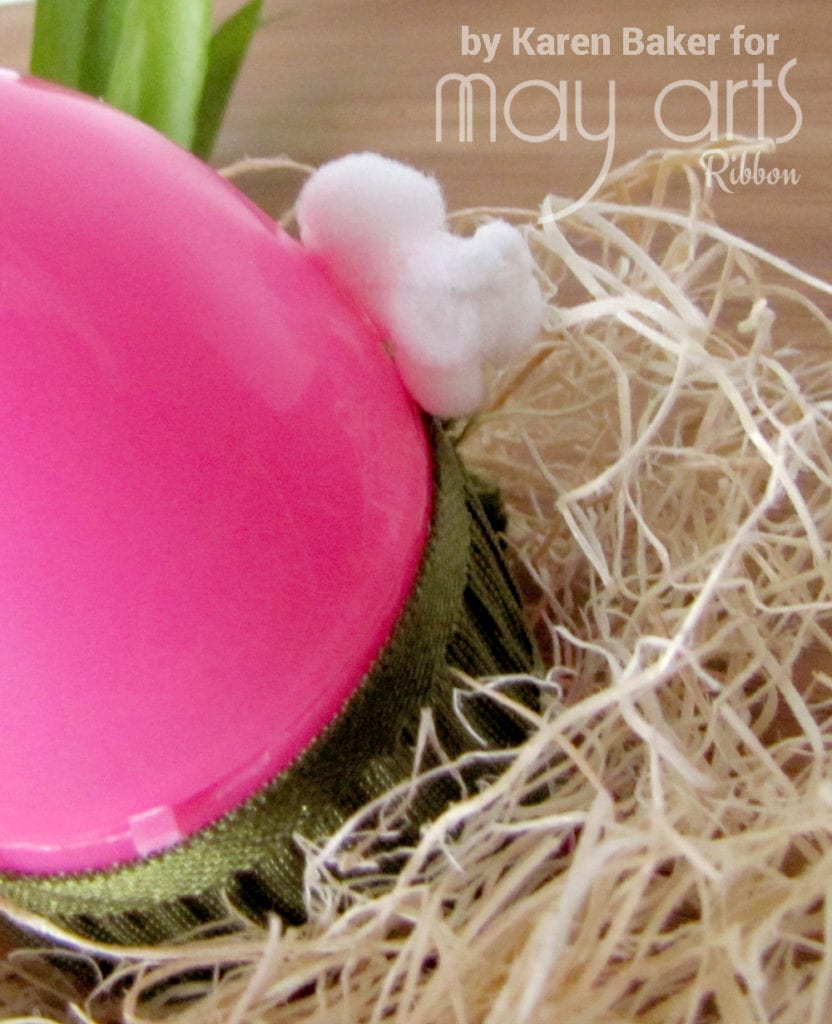
The cute bunny tail could not have been easier to create! I simply cut around an inch or so of May Arts 3/8” Wired Pom Pom Trim in White (PM01), bunched it up into a tight circle and adhered it onto the back, lower portion of the plastic egg with an adhesive dot. I also created a little grass egg stand for the bunny to sit using a three inch length of beautiful May Arts 7/8” Ruched Ruffle/Satin Edge Trim in Dark Olive (441-78-16) turned into a circle and secured with a staple.
What a cute little decoration the bunny egg turned out to be by using only a few simple supplies and May Arts Ribbon.
By Karen Baker
Other Supplies Used:
- Xyron Adhesive Dots
Plastic Easter Egg - Awl


