Easy Craft: Dog Leash and Collar
New puppies are so cute and cuddly just like new babies. Just like new babies, however, puppies grow and as they get bigger, so does the cost of getting a new leash and collar. You can easily spend $30 or more for a nice leash and collar set and many times the styles are limited. I decided to see how hard it was to make my own. Guess what?! It cost me about $10 for both a collar and leash!! A super easy project and with the variety of ribbon available from May Arts, your pets can afford to have several sets for different seasons of the year.

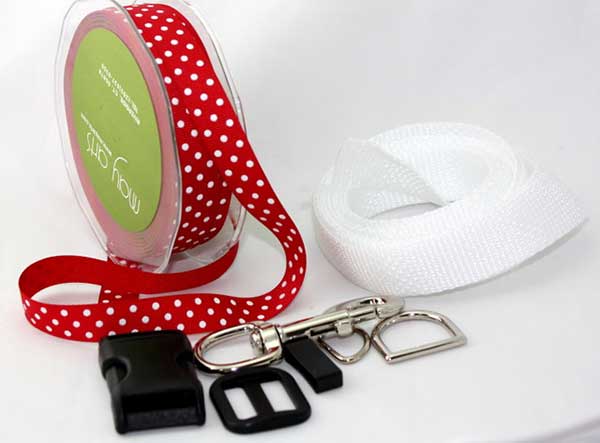
If you have an old leash and collar, it’s easy to remove the hardware and reuse it. Since our dog is a small breed and was really tiny when we got him, he had outgrown his first leash and collar set. He’s ready for the big dog club now so I purchased new hardware from Creative DesignWorks at a very reasonable price.
I purchased some polyester webbing from JoAnn’s with a 50% off coupon. Thrifty shopping! Now all I had to do was decide which ribbon to use from May Arts amazing selection of Grosgrain ribbons.
Here’s your supply list:
- May Arts DD14 – 5/8” Dots Grosgrain (outstanding selection of colors!) 8-10 ft.
- 1” Polyester webbing – 8 ft. for a small dog, 10 ft. for a larger dog
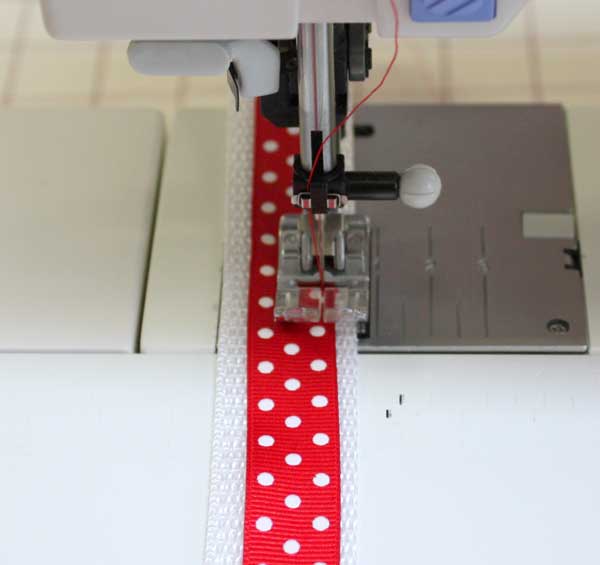
1. We’ll make the leash first. You will be amazed how fast this comes together. First measure and cut 6 ft. plus 8” of both the polyester webbing and your May Arts ribbon. Stitch ribbon to webbing down both sides.
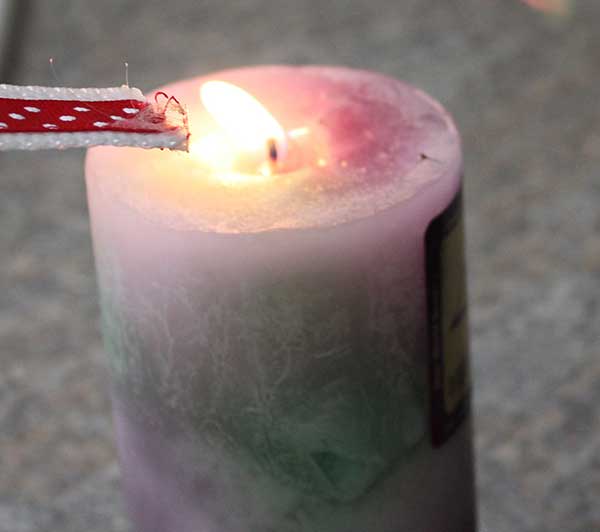
Trim threads then quickly pass both ends of the sewn ribbon/webbing through a flame to seal the ends. You will do this for the collar as well.
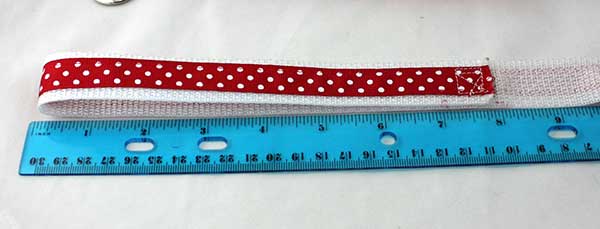
2. Fold over 8” at one end and stitch. This forms the handle. A stitched square with an X in the middle is best for a strong bond. If you have a dog that pulls a lot, I would recommend stitch again to reinforce all joining stitches.
3. Slide the strap keeper (small flat piece) through the opposite end. This piece is optional but comes with the kit. It’s used to make the handle portion smaller if needed, but I think it looks nice close to the snap hook.
4. Now, slide about 2” of the leash through the snap hook. Sew using the same square with X stitch.
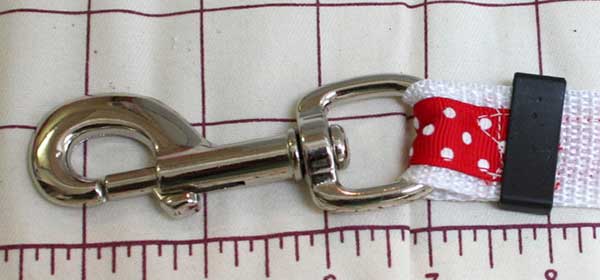
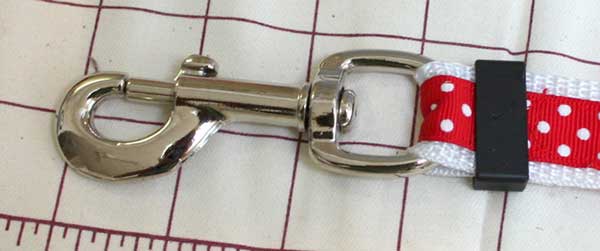
That’s it! Amazingly simple!
Now, let’s make our collar:
This is an adjustable collar so I used the remaining 2 ft. of webbing and ribbon.
1. Stitch ribbon to webbing and seal the ends as in Step 1.
2. Slide the “D” ring onto one end of the collar piece. Slide 2” of the webbing through the “female” end of the buckle. Stitch close to the buckle using the square with X stitch. Slide the “D” ring back to the stitching, then stitch on the right side of the “D” ring.
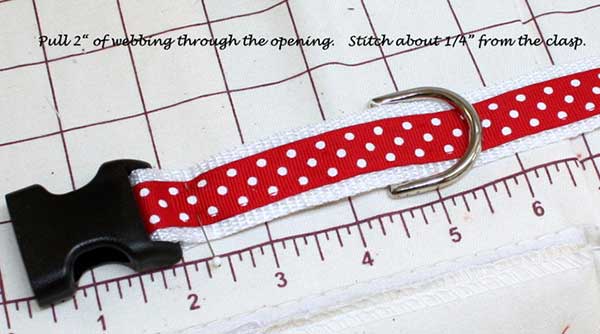
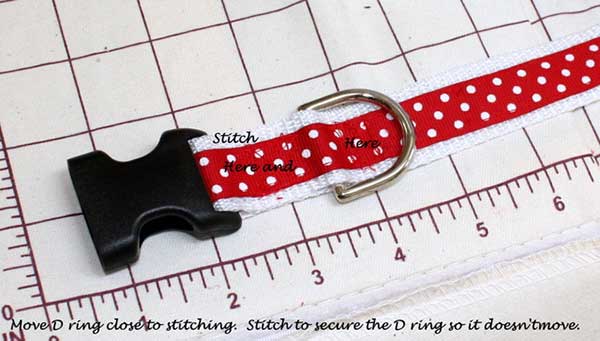
3. Slide the Adjuster onto the opposite end of the collar. Slide the “male” end of the buckle onto the webbing.
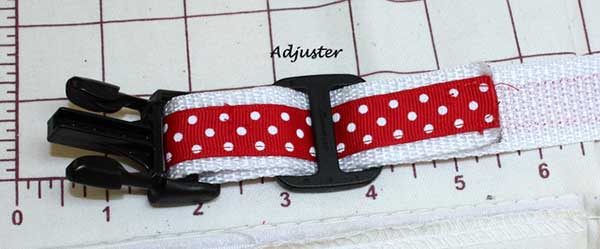
4. Now, pull several inches of webbing up through the center of the two plastic pieces and thread the end back through the adjuster.
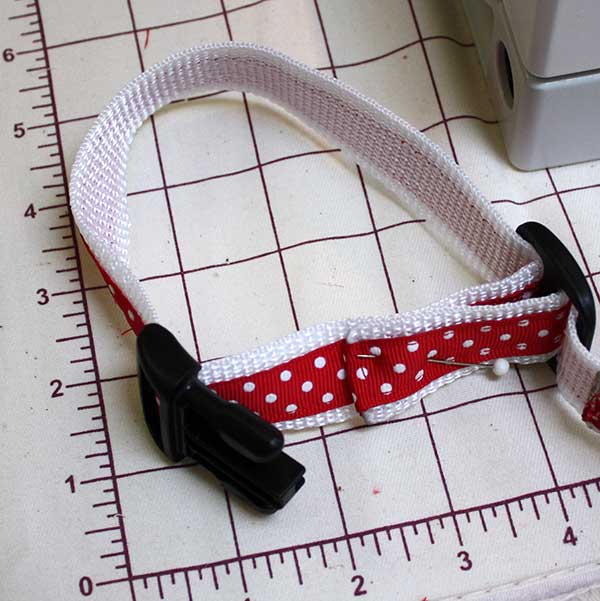
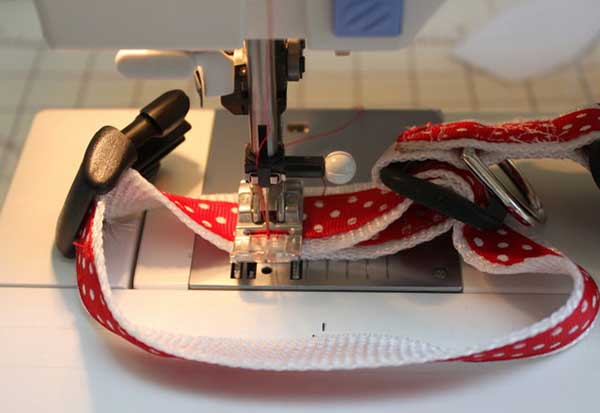
5. Stitch using the square and X stitch.
All finished and ready for my little model (I got him up from a nap and he was NOT happy but doesn’t his little matched set look cute?)
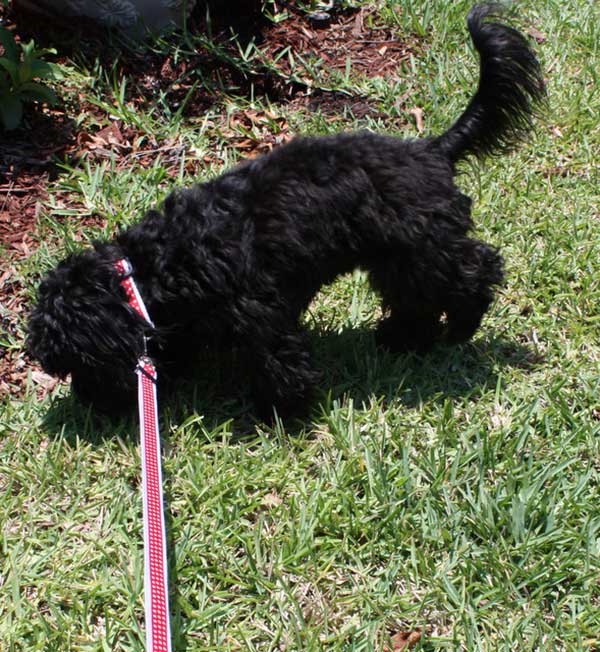
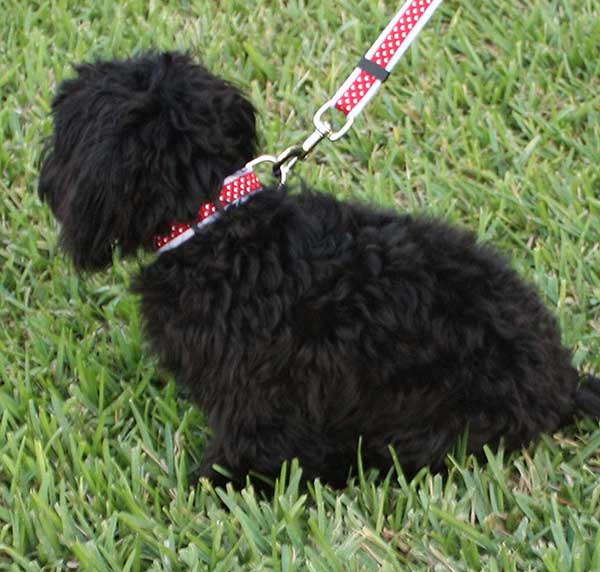
We got lots of compliments when we went out for a walk. Bet you will to! You can say, “I made it myself with May Arts ribbon!”
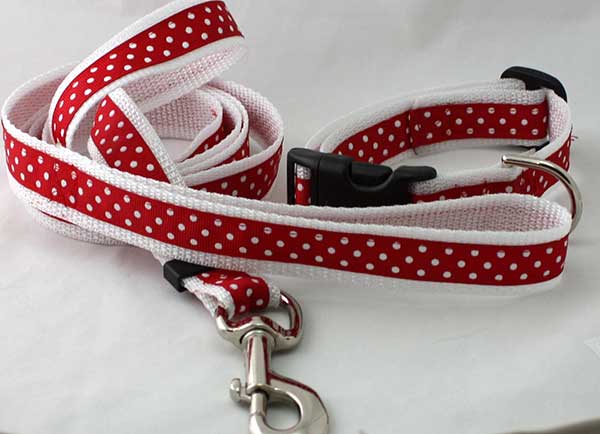
Blog post by: Charlene Driggs

