Easy DIY Eyelet Gardening Gloves
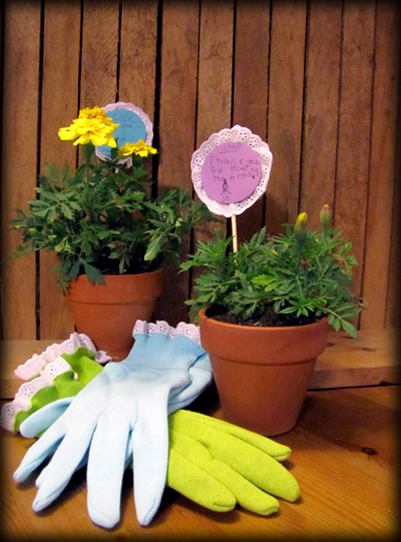
I absolutely adore the eyelet trim available at May Arts-I’m in love with its daintiness and want to use it on everything! The end of school marked me dashing to put together a thoughtful and economic teachers’ gifts and once again May Arts came to the rescue! I customized some plain, jersey garden gloves and together with my boys we potted a flower and created a cute little message for their teachers.
Making the gloves was super simple.
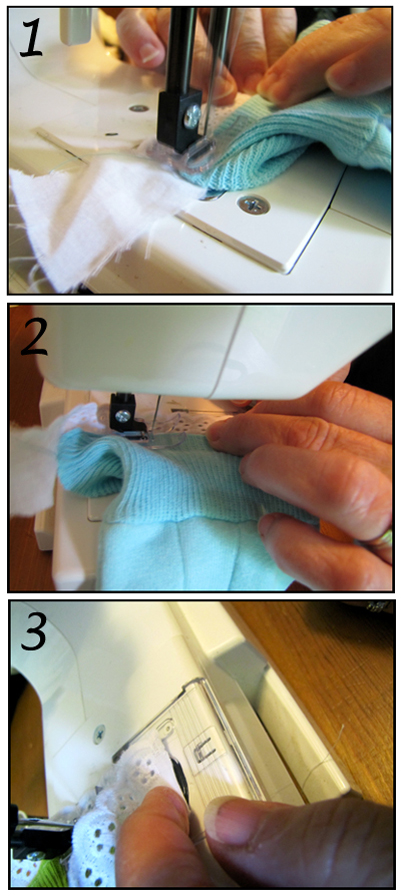
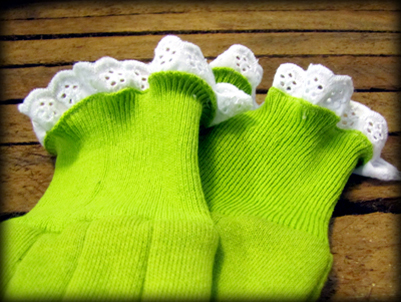
- Line the eyelet up on the inside off the cuff of the glove, so that just the eyelets are peeking out. Leave about a two inch trail of ribbon.
- As you sew, pull taught the cuff so that the ribbon has a slight curl.
- To finish, turn a bit of the ribbon onto itself from both the starting and ending point and double stitch closed. This is so there is no gap of where the ribbon meets.
The finished result is so cute! The cuffs still maintain their duty to keep the dirt out, but now they are more feminine and personalized!
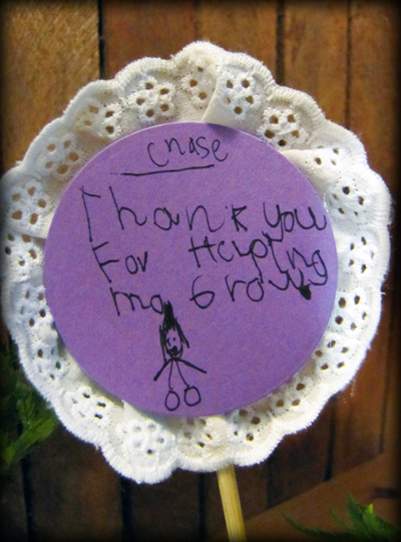
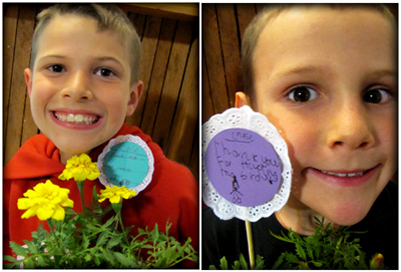
I had my boys help with the stakes for their pots. We simply die cut 2 circles out of heavy cardstock. They wrote a message on one of them and set that aside. On the second circle, we wrapped the same eyelet trim along the outside, adhering with hot glue as we went. A wooden skewer was attached, and then the first circle was adhered for a finished look.
Here are my two boys, each with their own pot. They were quite excited to help with the project (including planting the flowers in the pot!) and happy with the end result.
I packaged the flower pot and gloves in a plain kraft gift bag and added a bit of flair with a hand-tied solid faux ribbon bow in matching colors to the top. This also secured the gifts inside for their journey to school.
By Karen Baker
If you love ribbon too, then check out our Design Team Call!
Other Supplies Used:
- Jersey Garden Gloves
- Cardstock
- Wooden Skewers
- Circle Die Cut
- Hot Glue
- Kraft Gift Bag


