Easy To Make Spiral Bow
I often hear crafters complain that they’re “bow challenged”. Well, today’s May Arts ribbon tutorial is so easy, even a child can do it! May Arts wired ribbons and especially the fun new wired chevrons make bow making fun and easy.
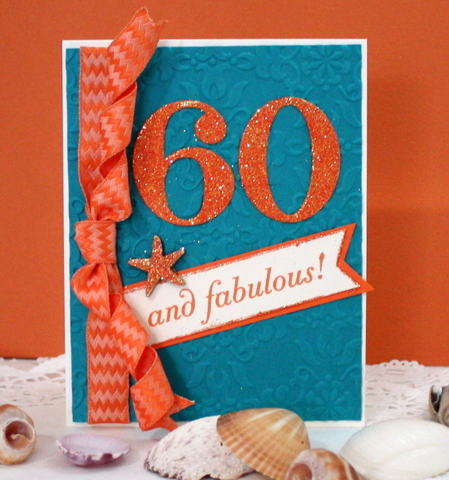
I find it easier to begin my card making when I have an inspiration piece to draw from. I saw this color combination in a recent catalog and instantly fell in love with the bright vibrant orange and deep turquoise colors and the beach theme.
When designing a card for a friend, I try to think of their personality and style. I want my card to say, “I was made just for YOU.” My friend’s personality is bright and bubbly but her style is simple and elegant so I wanted her card to reflect both sides of her. She lives in a tropical climate so the beach theme was perfect.
I love the idea of the elegant background paired with the fun May Arts Wired Chevron Ribbon Spiral Bow and lots of sparkly glitter. A glittered up wooden starfish brings in the beach theme.
Making the bow is as easy as 1-2-3.
- Tie a square knot (I’ve linked up an animated photo tutorial at the end of this post).
- Pull to tighten. Make sure to keep your center flat.
- Wind the Wired Chevron tightly around a pencil. Pull out the pencil and arrange your bow. Trim ends as desired.
That’s it! You could make fuller bows by adding lengths of ribbon under the square knot prior to pulling it tight, if desired.
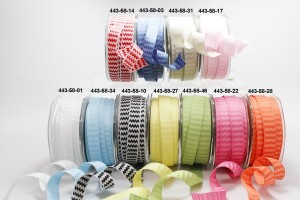
We hope you’ll give this bow a try. There are so many colors of gorgeous Wired Chevron ribbons to play with to match any color combination; we bet you’ll want to make them all.
I made the numbers by attaching a square of orange cardstock to a square of Scor-Tape Adhesive Sheet, then running the number die through my die cutting machine. I then ran the numbers through the Xyron X-Cube cardstock side down. By running the numbers through cardstock down, the adhesive was on the front side allowing a sprinkling of glitter to stick perfectly without rubbing off. Then I just peeled the backing from the Scor-Sheet side which allowed me to place the numbers securely on the card front.
We hope we’ve inspired you today! Thanks for visiting us on the May Arts blog!
Blog post by: Charlene Driggs
May Arts Ribbon Used:
- 443 5/8” Woven Chevron Stripes/Wired
Partners in Craft Supplies Used:
- Hero Arts Mid Tone Orange Soda Ink
- Tombow Power Bond Adhesive
- Scor-Pal Scor-Tape 6”x6 Adhesive Sheets
Other Supplies Used:
- Stamps and Number Dies – Papertrey Ink
- Cardstock – Neenah Cream; Stampin’Up
- Wooden Starfish – Pink Paislee
- Embossing Folder – Sizzix
- Glitter – Art Institute
- Pencil
- Square Knot animated tutorial –wikihow.com


