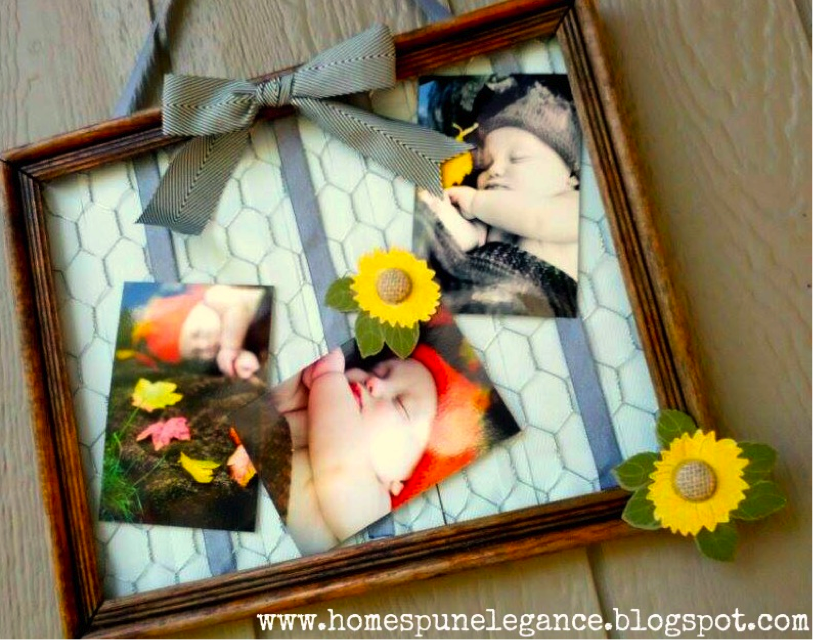
Make Your Own Floating Photo Frame
Hello Ya’ll! Jessica here from Homespun Elegance showing you how to re-create this adorable photo hanger using your favorite May Arts Ribbons!
First, grab a frame and remove the glass and back. Using a Staple gun, staple on the Chicken wire. Use a hammer to set the Staples all the way into the back of your frame. Using a Hot Glue Gun, glue your favorite May Arts ribbon to the back as shown in photo below. I selected the chevron ribbon in 3/4″ and 1.5″, and rotated the chevrons for a more appealing look. Trim any excess ribbon.
To make the Photos appear to be hanging from the ribbons, I chose the Denim 5/8″ May Arts Ribbon and adhered it to the Chicken Wire with the Xyron Mega Runner & .5 in Xyron Adhesive rolls. Add your photos to the ribbon using the Mega Runner.
Using the 1.5″ Chevron Ribbon in black, I tied a sweet bow to the top and adhered it using the Xyron mega runner again on the back of the ribbon. Fluff out the top of bow to your desired look.
Embellish to your taste or home decor! And there you have it! A FABULOUS home Decor piece displaying your favorite photos and Ribbons for everyone to ‘ooohhh” and “awwww” over at your next dinner party!
Thank you SO much for stopping in! How would YOU design your Floating Photo Frame?
Blog Post by: Jessica Kephart
Partners in Craft Supplies Used:
- Xyron Mega Runner and Adhesive
Other Supplies Used:
- Chicken Wire
- Staple Gun and 6 mm Staples
- Pinque Peacock Burlap Covered Buttons
- Uniko Studios Sunflower Die
- Decorative Papers Fabric Paper
- Yard Sale Frame


