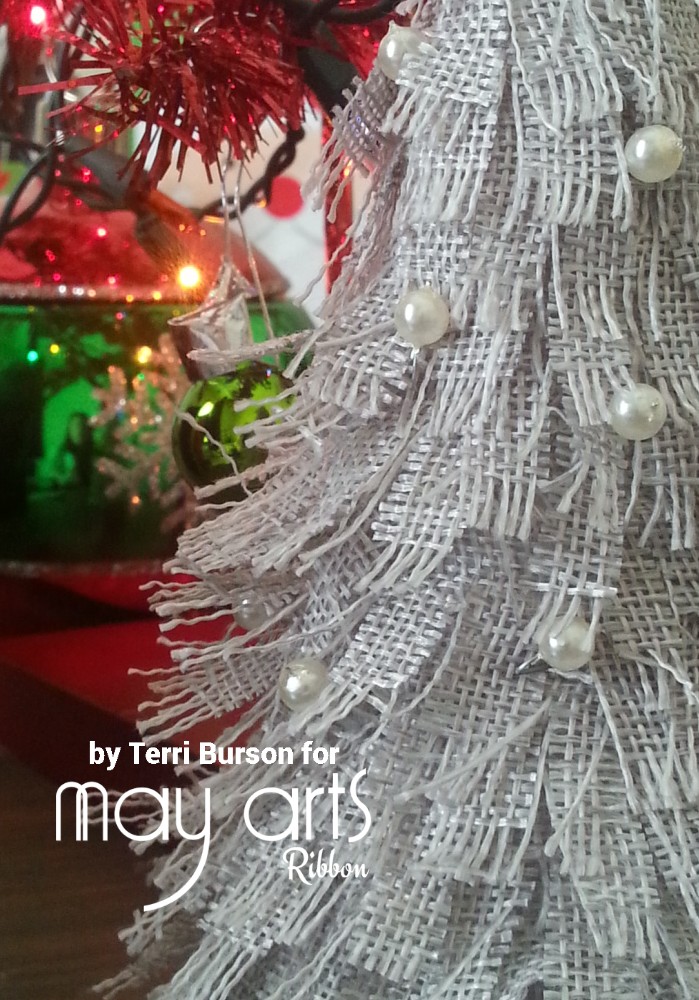
How To: Fringed Burlap Christmas Tree
If you enjoy making home décor for Christmas, I have a fun project that requires only a handful of items. You may have most of these crafty items on hand already and it’s as easy as snipping and taping. To get started you’re going to need:
- ¼” Scor-tape
- Scissors
- 1 foam tree (2.8”x5.8”)
as well as these ribbons from The Ribbon Resource:
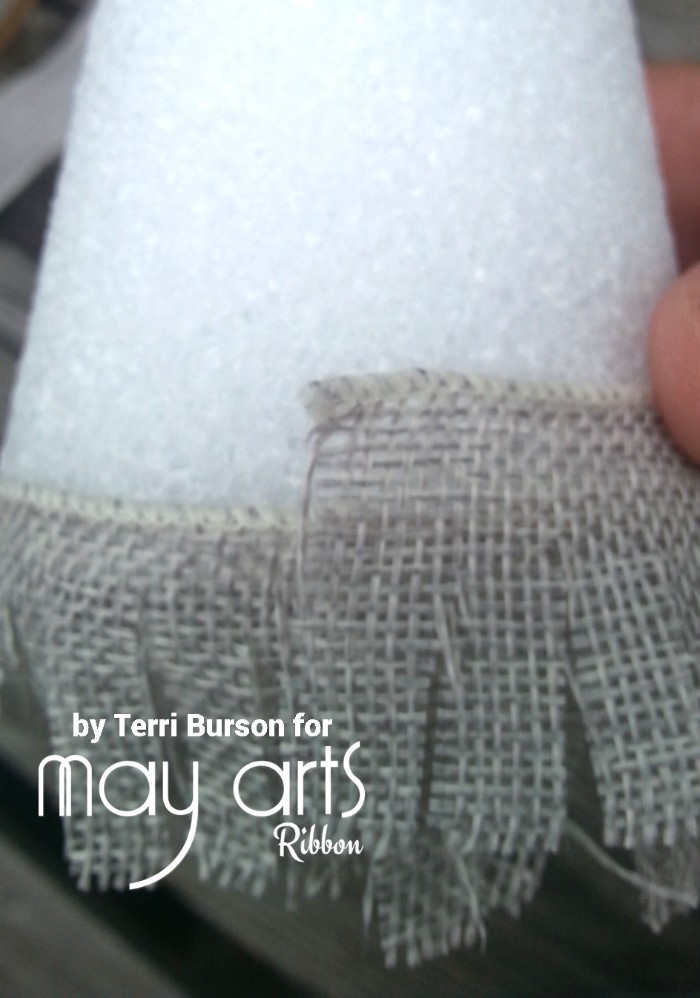
To get started, trim the wired edge off one side of your burlap ribbon, then, snip approximately every 1/2” the entire length of your ribbon, taking care to leave a ¼” edge at the top.
Next, wrap your first layer around the base of your tree to measure your length, trim and apply a strip of scor-tape to the upper ¼” edge of your ribbon strip. Wrap around the base and adhere to your tree. Continue this process, layering with an approximate gap of ¼”- ½” between layers. For your final layer on the top of your tree, trim and remove both wired edges.
Once you’ve completed your layers (14 or so), fringed each piece by pulling the edges of your snipped sections. This will “fluff” up your tree. It took me about 15-20 minutes or so to completely fringe and fluff my tree.
The last step is to add some pretty pearl beads. You will need 25-30 beads to completely cover both sides of your tree. This is quick work, as it’s simply a matter of snipping your wired beads and poking them into the foam tree. Easy!
Fluff up your tree again, once you’ve added the pearls and you are all done. Isn’t it pretty? You can try mixing and matching colors as well. The Ribbon Resource has several of the faux burlap ribbons, or you can stick with one color, but mix and match your beads. Have fun and enjoy the holiday season!
By Terri Burson


