How to Make A Hair Bow
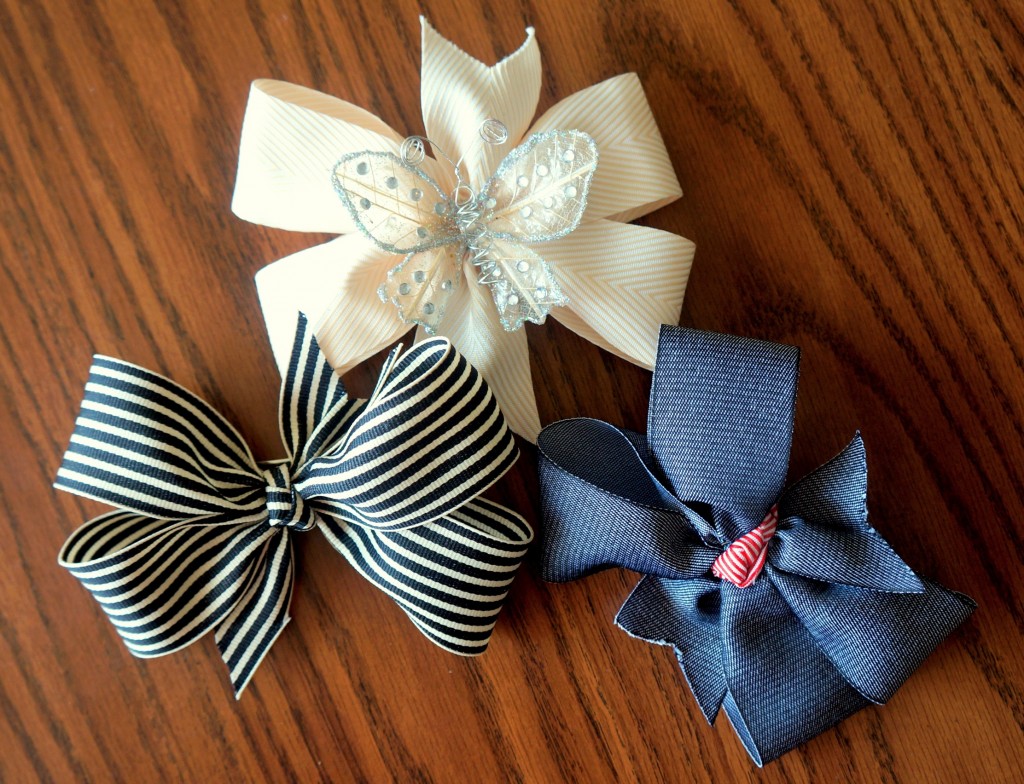
Hi everyone! Chrissy here with a “back to the roots” kind of tutorial. Since May Arts is a ribbon company, how about we learn how to make hair bows. I came across a fantastic tutorial and decided that it would be fabulous to share it with all of you. It is a very simple and easy way to make boutique style bows. Trust me. With as “bow challenged” as I am, if *I* can make these, anyone can. Are you ready? You’ll need:
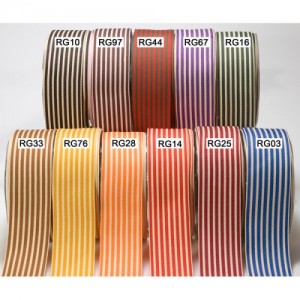
- 31 inches of your favorite ribbon. ( I used May Arts’ 1.5″ wide black and ivory grosgrain, RG10)
- 5 inches of the same ribbon (optional)
Step 1:
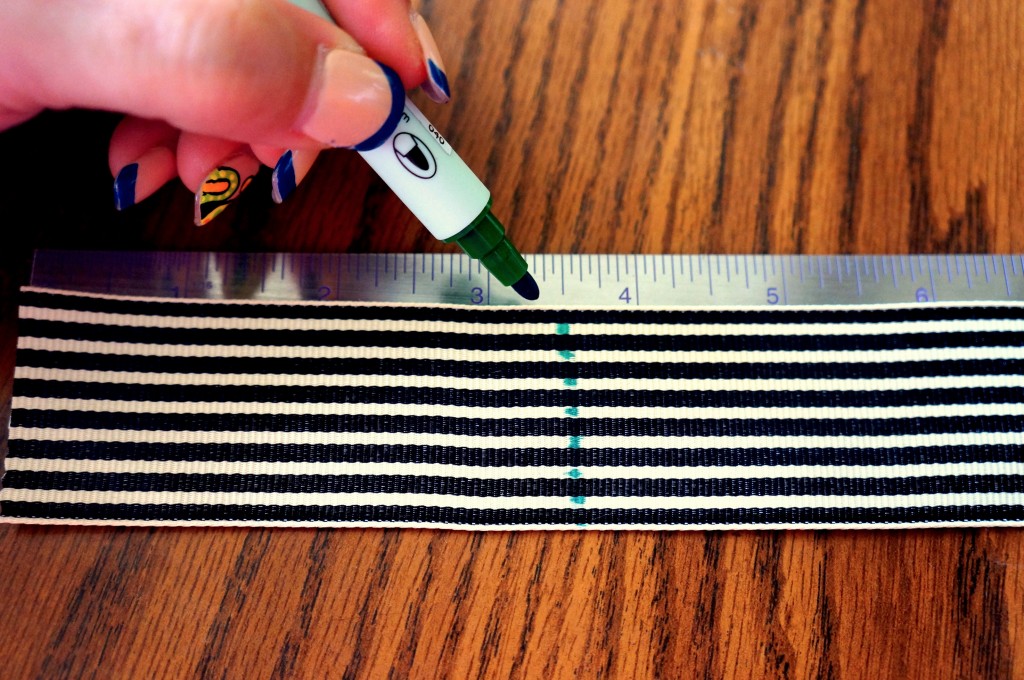
Mark your ribbon at 3.5″ from the end using a marker. It is easier if you use a marker that bleeds through to the other side. There is no need to worry about seeing the marks as these are only your stitch lines, which you will see later.
Step 2:
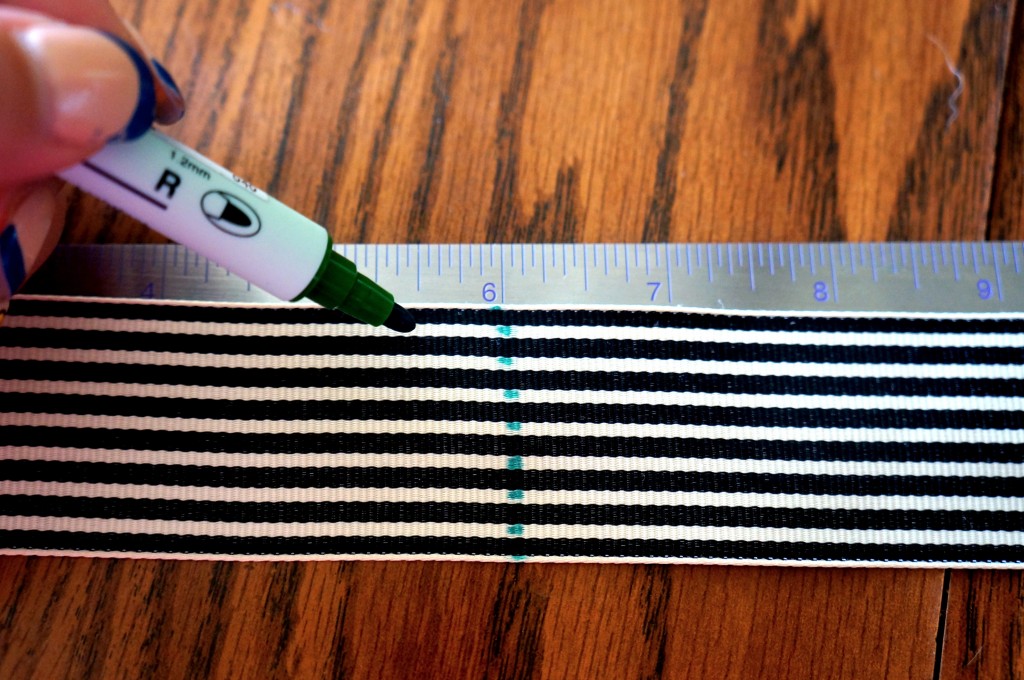
Begin marking your ribbon every 6 inches. You will end up with a total of 5 markings on your ribbon.
Step 3:
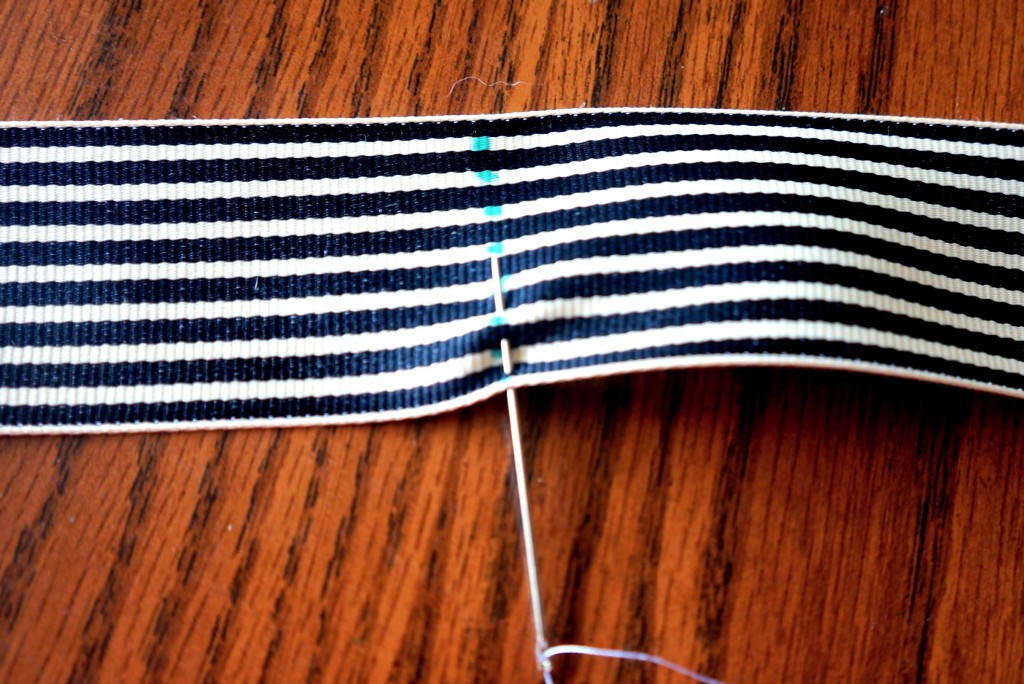
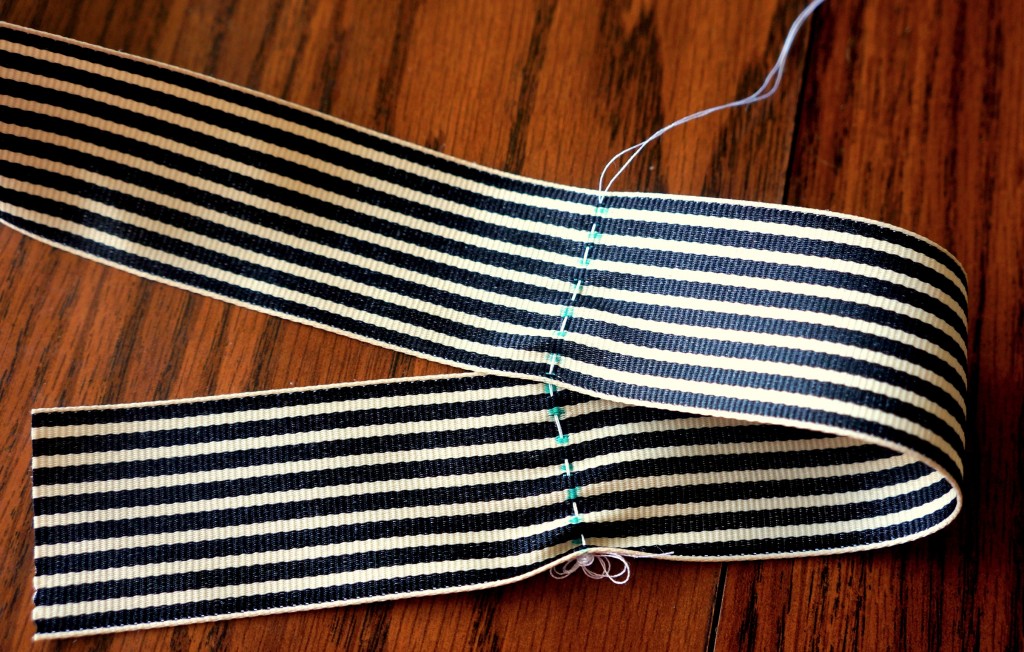
Begin stitching using a running stitch. Start with your first marking you made and stitch from the bottom up.
Step 4:
Flip the ribbon over so that the other end is going the other way and continue stitching. You should be looking at the backside of your ribbon. I used a ribbon that has matching front and back so it is hard to tell.
Step 5:
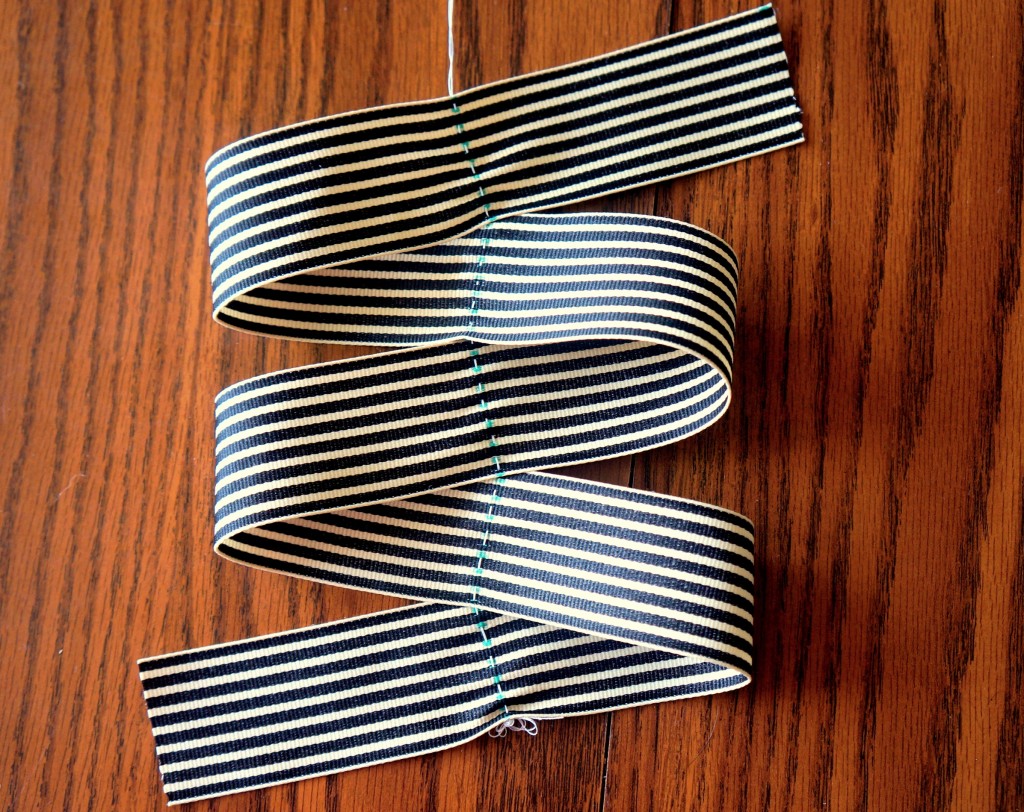
Continue stitching back and forth until you have stitched together all of your marked lines.
Step 6:
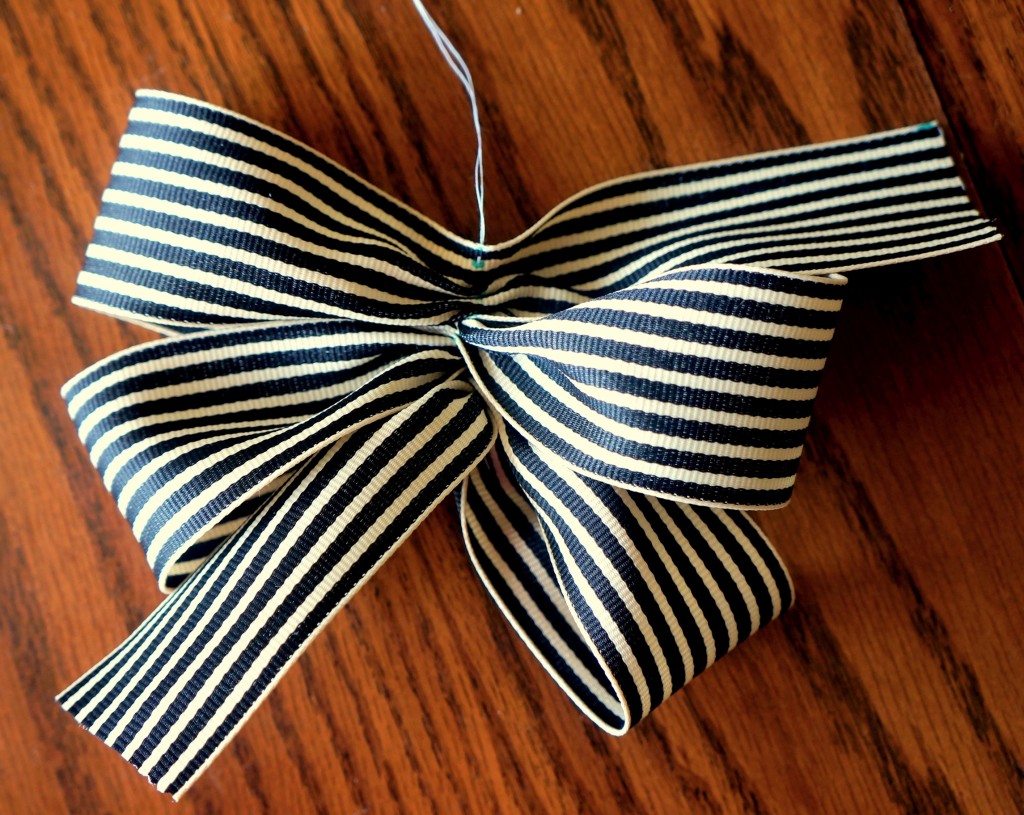
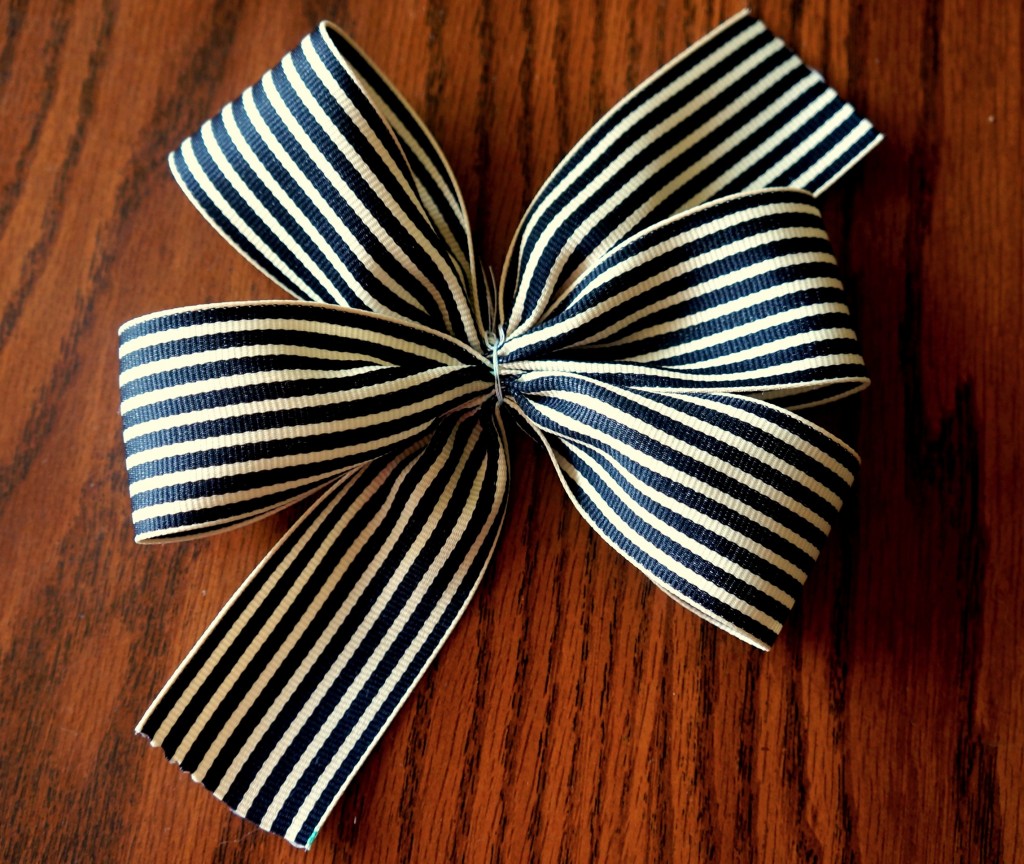
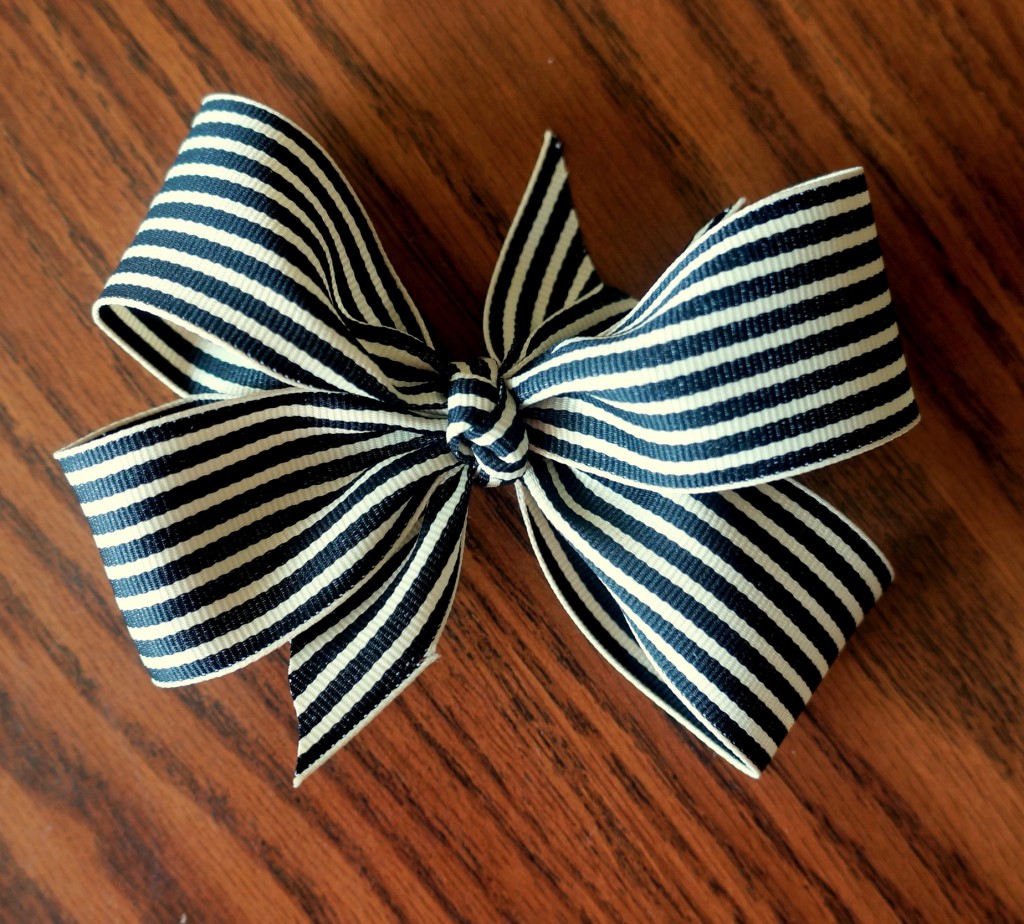
Gently pull the thread and bunch the ribbon down at the knot. Shape your bow the best you can. See? You can’t see any of the markings you’ve made.
Step 7:
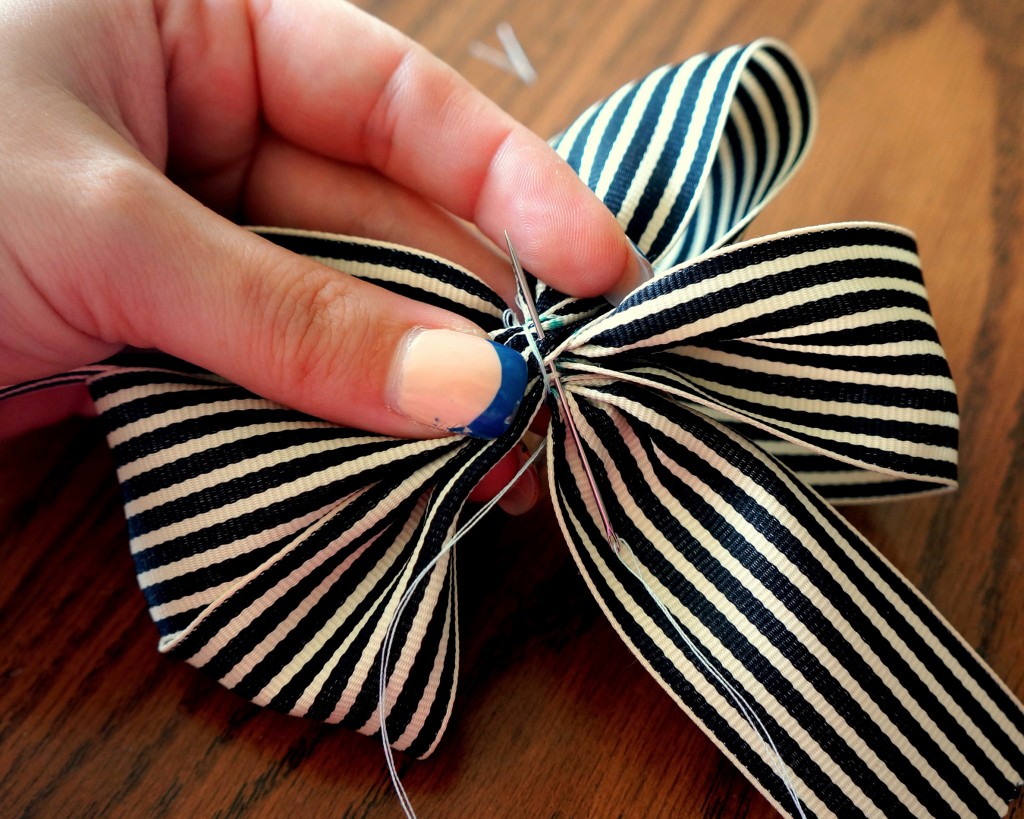
Next, wrap the thread around the gathering and take a few stitches to hold the bow in place.
Step 8:
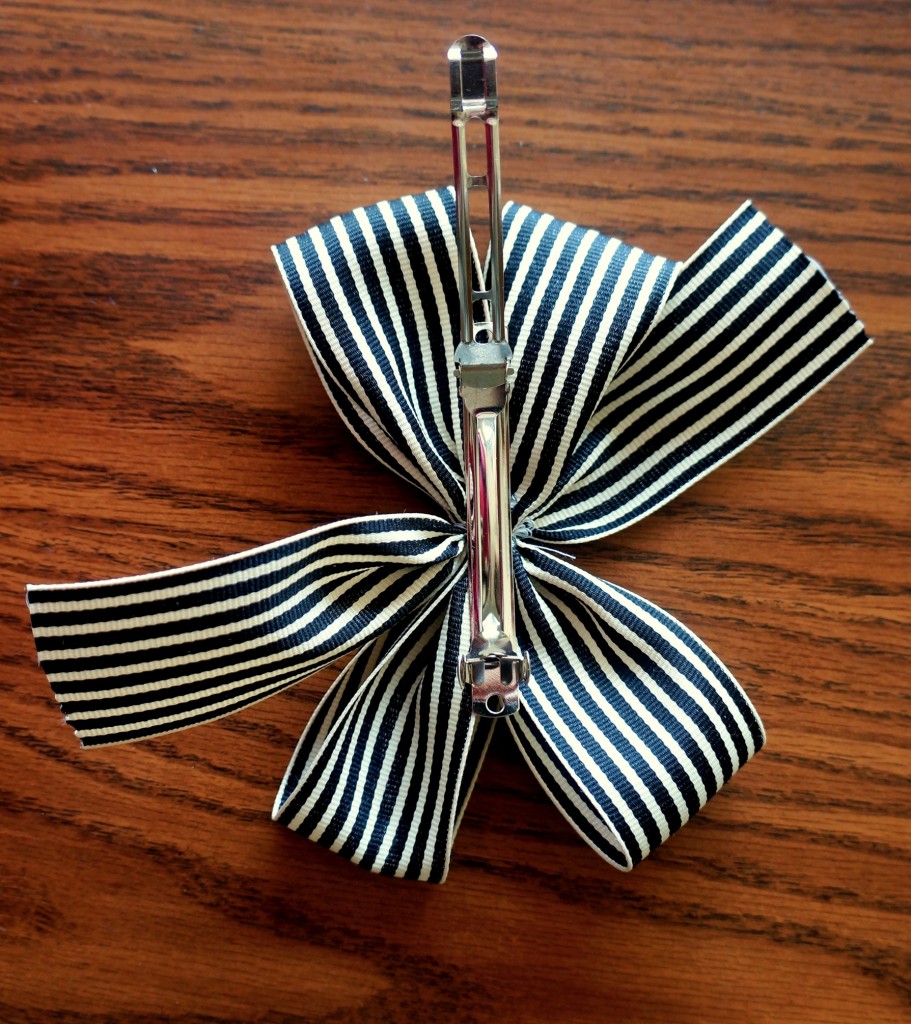
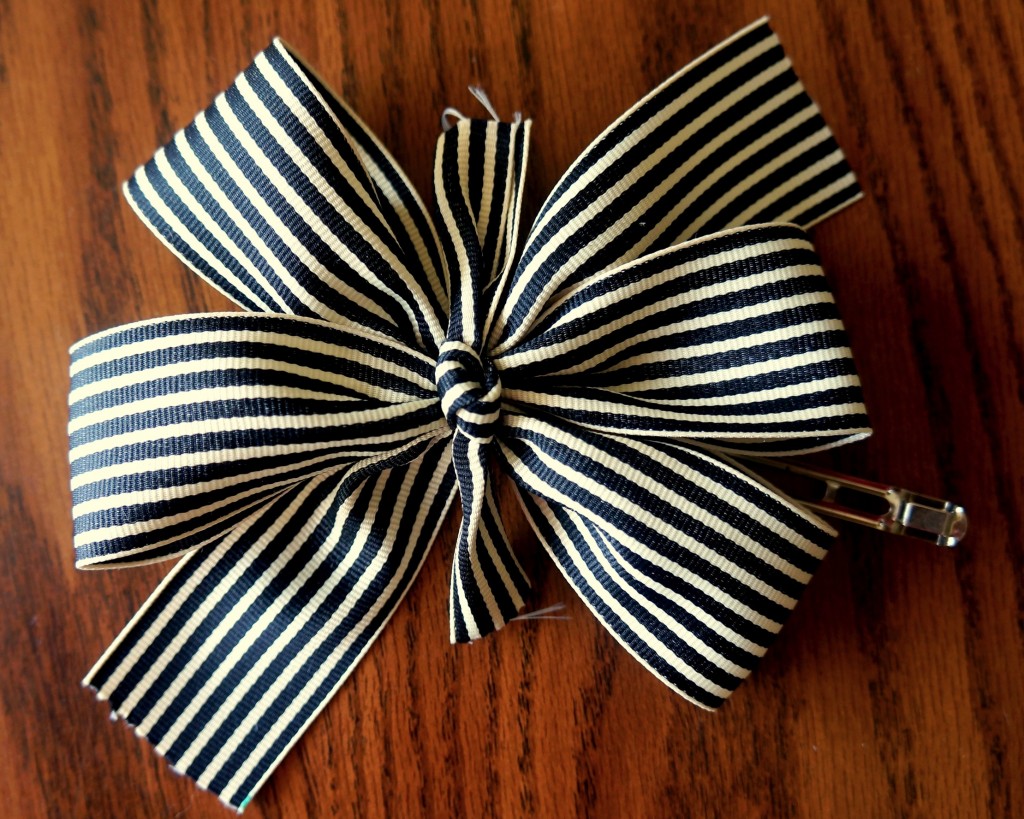
Glue the bow to the barrette clasp.
Step 9:
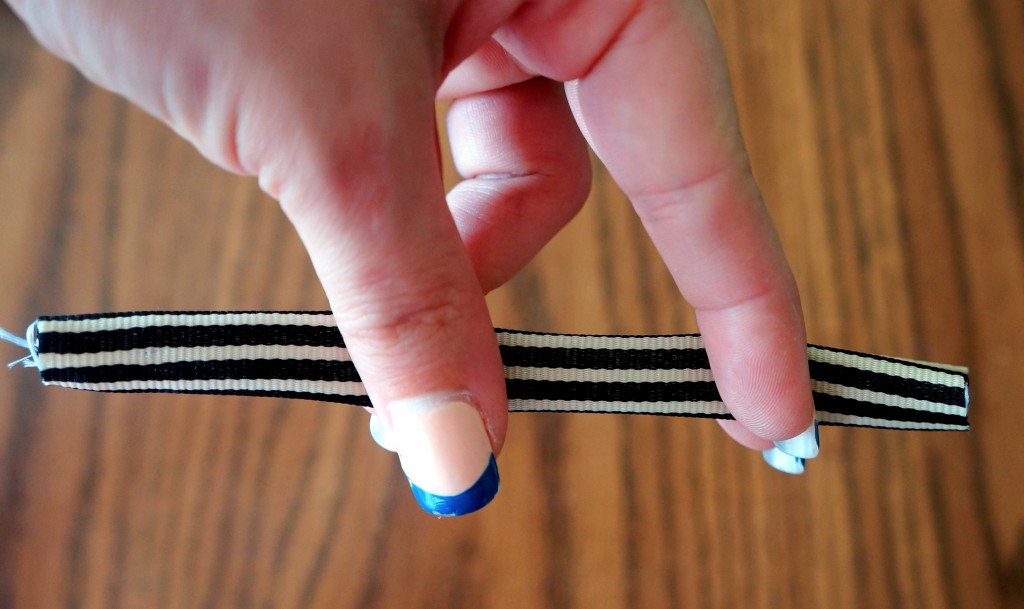
Take the 5″ length of ribbon and fold it into thirds lengthwise.
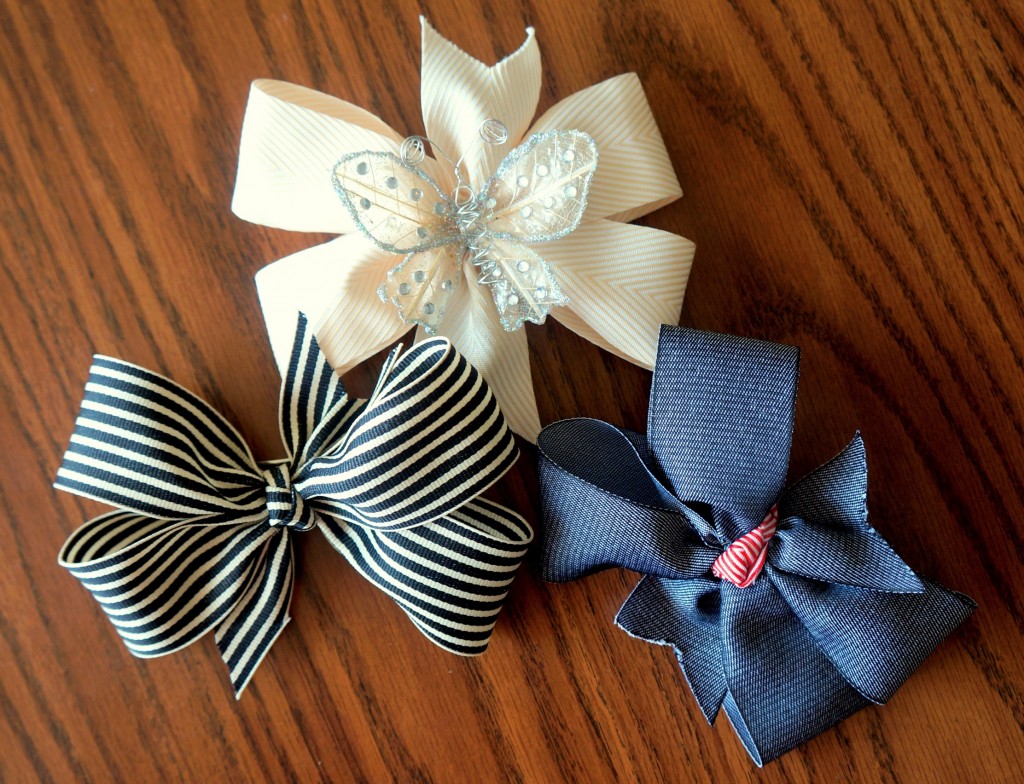
If you have decided to use an embellishment, now is the time to glue it onto your bow and call it finished.
Step 10:
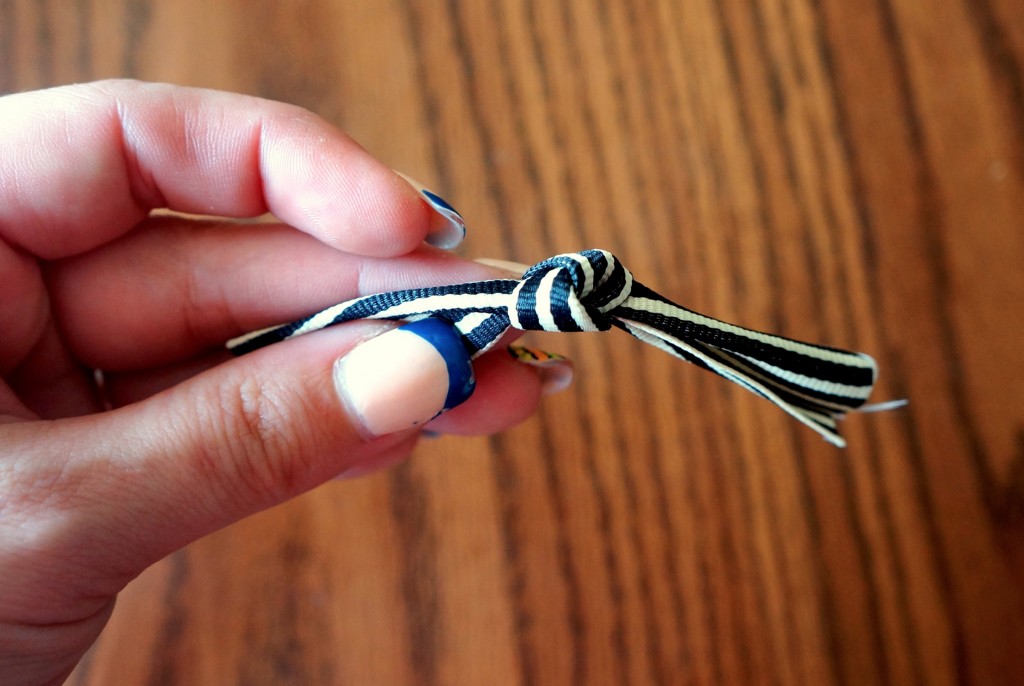
Tie a loose knot at the center of the ribbon then glue it to the bow.
Step 11:
Secure the ends onto the underside of the barrette using hot glue and trim the tails. Finally, sit back and admire! Ooooh! Aaaaah!
See?! I told you they would be easy as pie.
Blog post by: Christina Colón
May Arts Ribbon Used:
- RG 1.5″ Grosgrain with Ivory Stripes
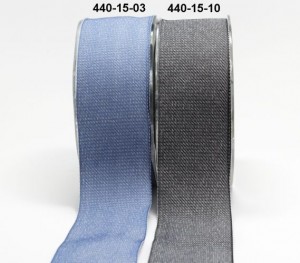
- 440 1.5″ Denim Ribbon
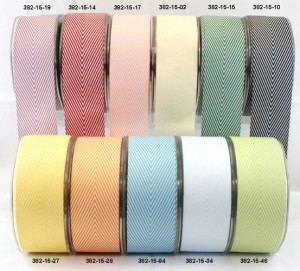
- 382 1.5″ Chevron Striped Twill
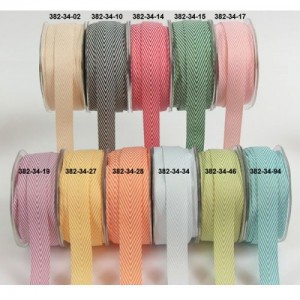
- 382 3/4″ Chevron Striped Twill
Other Supplies Used:
- Scissors
- Decorative embellishment (optional)
- Large clasp barrette
- Marker
- Needle and thread
- Hot glue gun


