“Ink it!” Craft Challenge Inspiration – How to Color Your Ribbon
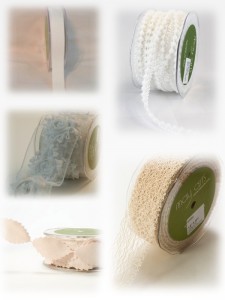
If you haven’t heard, May Arts & Helmar have teamed up for the September Craft Challenge! We will be providing 25 participants with a selection of these ribbons:
and 450 Quick Dry to create a craft project with! The Challenge? They have to color the ribbon. So, all week long a different Ribbonista will be creating an “Ink It!” Inspiration project. Today we have Prima Ribbonista, Karen Baker, with a Candle Topper!
If you are interested in participating, go ahead & email me!!
With the changing of the season to fall comes shorter days and cooler nights…It also brings forth a color palette full of oranges and browns. Oh how I love to decorate for fall! May Arts and Helmar have just the right products to start a journey down the rustic goodness that fall decorating and gift-giving brings. Even if you just have the basic, neutral colors, with a few selective coloring methods you can transform them into lovely fall colors. I have a sweet little chrysanthemum inspired candle topper tutorial to show you today, but there is a neat twist that I’ve added to make this flower serve multiple purposes if you wish.
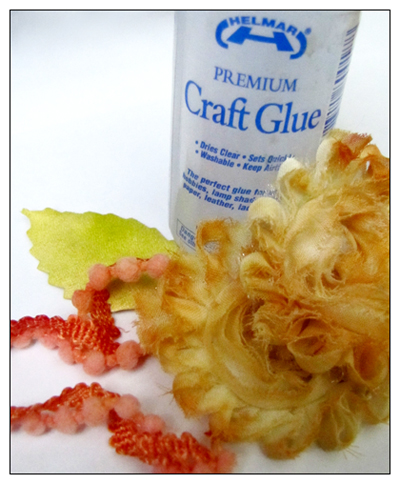
(The supplies used for this included May Arts Sheer/Frayed Flower Ribbon in White, Faux Suede Leaves in Cream, 5/8 inch Canvas, Mini Pom Poms in White as well as Helmar Premium Craft Glue, Black Zap Dots and reinker, ink pads, alcohol markers and spray mists.)
There are many ways to color ribbon!
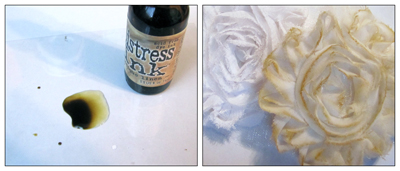
First, I wanted to age the rosettes so I dotted a bit of distress ink from a reinker onto a piece of plastic and added water, then set the rosette right into the mixture and let it soak up the color. I allowed these to dry and then for a bit of extra color, ran the top side of the rosette along an ink pad.
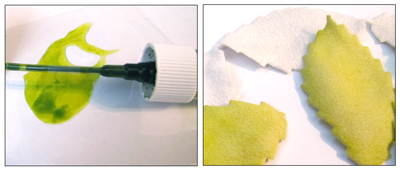
Second, to color the leaves I dotted a bit of spray mist onto a piece of plastic and also added water, following the same steps as I did the rosettes.

To color the pom poms, I ran a strip of them across a dry ink pad and then spritzed them with water. This spread the color out. I allowed these to dry as well. (I ended up swapping out red for blue, but forgot to take a picture!)
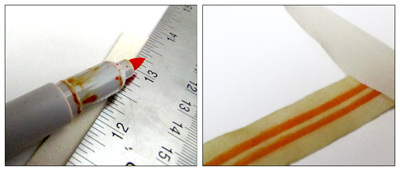
Finally, to color the linen, I used a method seen on this blog, and formed stripes with an alcohol marker and ruler along the length of the ribbon.
After all the ribbon was colored and dried thoroughly, I started the assembly of my flower. I’ve got to say how much I love Helmar’s Craft Glue. It is like a hot glue gun without the hot and twice the adhesion! It is so strong and dries clear and thin.
To make the flower center, I rolled the mini pom pom trim onto itself, gluing in just a few areas. I removed some fibers from the center of the rosettes and glued two together for extra volume. Then I placed the pom pom trim in the center of the rosettes, adhering with the craft glue. For a bit of extra dimension, I went back and added some color with the marker to the pom poms. I then attached the leaves and canvas to the back of the rosette with the glue.

The surprise to this gift is that the flower now can become a corsage or brooch because I simply added a safety pin to the back Helmar’s glue really holds strong, so this is a perfect application!
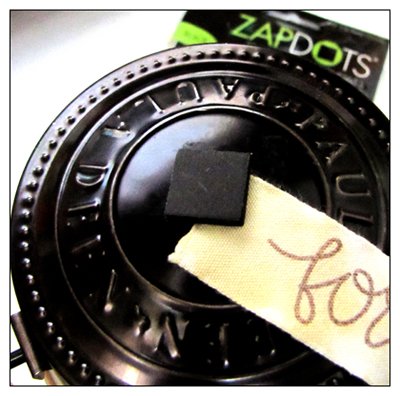
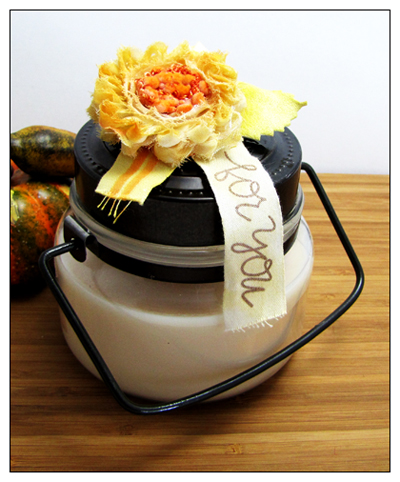
I stamped a greeting onto a length of canvas and attached that to the top of the candle jar with a black Helmar Zap Dot.
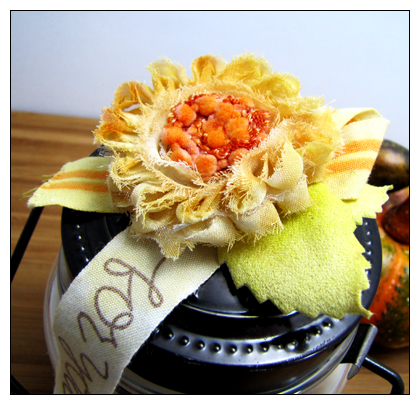
Then I topped the candle with the flower for a really pretty presentation!
I hoped you enjoyed this tutorial and even picked up a few tips on how to customize your ribbon for fall with a few simple steps.
Blog post by: Karen Baker


