Gift Ideas: It’s a Girl!
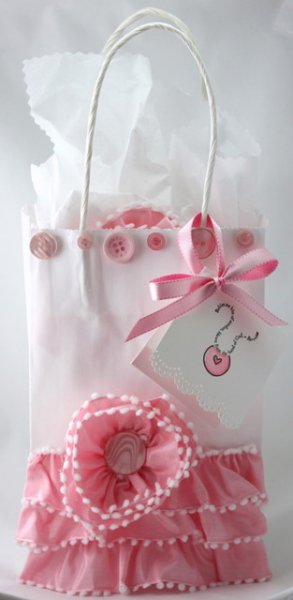
Welcome to the May Arts blog! Goodness, it seems that (almost!) everyone we know is having a baby. That means lots of baby showers and baby gifts. Lots of gifts mean we need a bit of “Thrifty Gifting”. You can make this gift and the matching gift bag for under $10.
New moms love Onsies and so do we. Here’s how we’re going to turn the humble Onsie into a one of a kind gift that is boutique worthy.
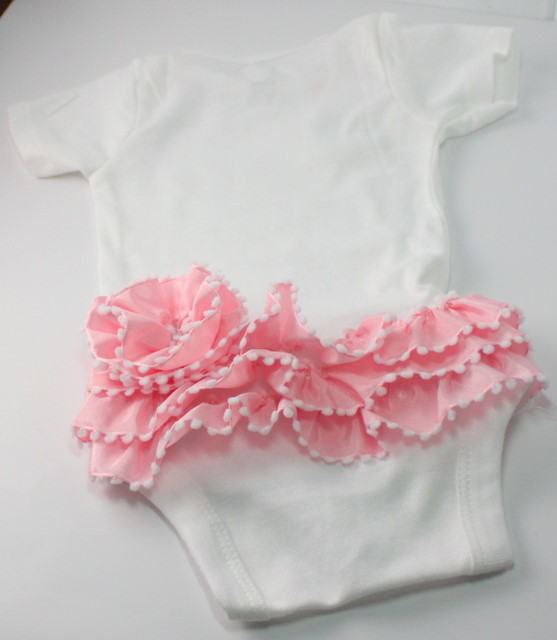
Is this not the cutest?
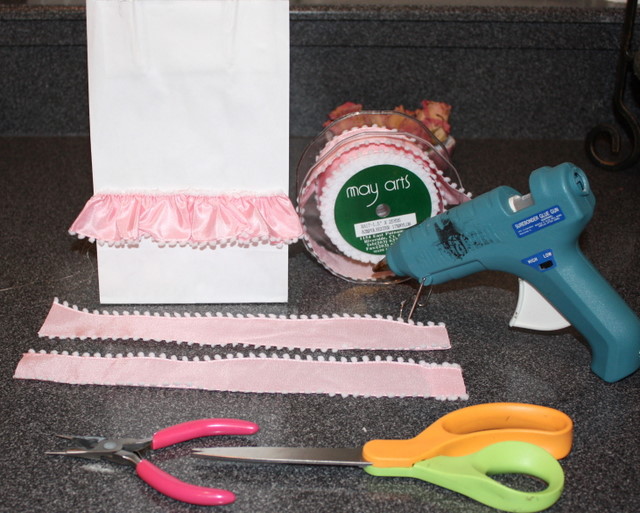
Here are your supplies:
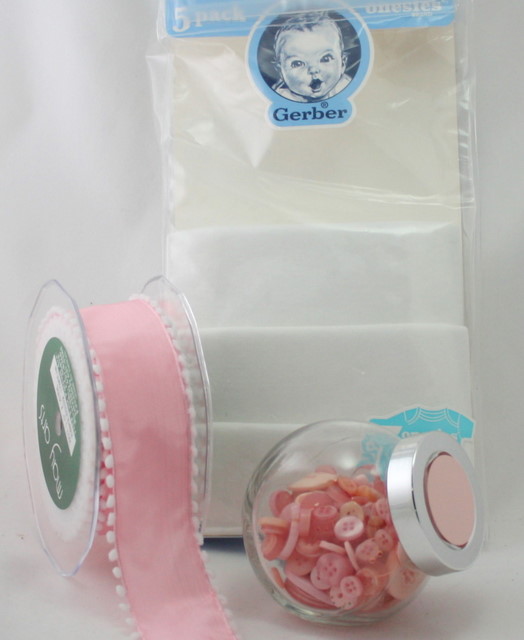
- Package of Onsies (I used 3-6 mo.)
- (These come in a package of 5. I used two, which leaves 3 more for another thrifty gift!)
- (I used a total of about 3.5 yards for the Onsie and the bag)
- Variety of pink buttons
- Palette Ink/Copic markers (these are the only inks that are colorfast and won’t run)
- Stamps of choice
- Sewing machine
- White gift bag
- Hot glue gun
- Optional jewelry pliers make it easier to pull the wire
Instructions:
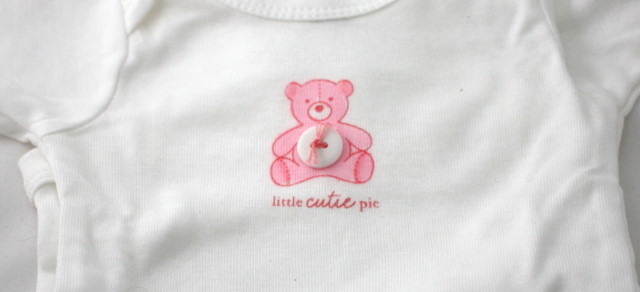
1. Insert a piece of cardboard between the front and back of the Onsie. Stamp Onsie, color if desired, heat set your image with an embossing heat gun or an iron set on low. If you’re uncertain like I was about getting the image straight, practice on paper first.)
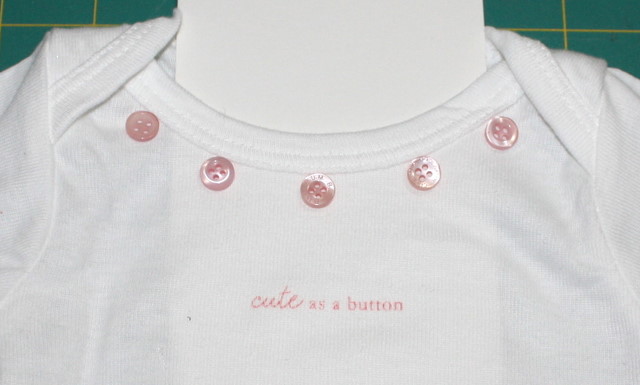
Sew on buttons with embroidery floss, if desired.
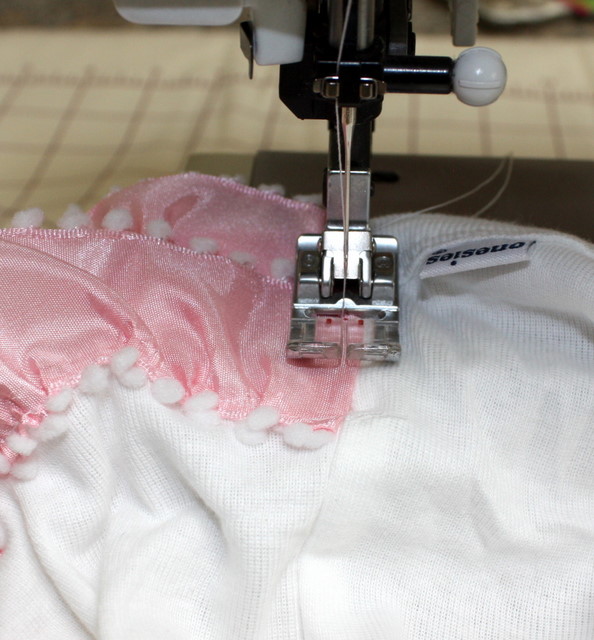
2. Cut ribbon for each ruffle double the width of the back of the Onsie. Pull the wires from the ribbon. This is super easy as the ribbon is really fine. Sew a gathering stitch along one edge of the ribbon. Turn raw edges under and pin ribbon to the Onsie. Sew. Repeat for each layer. After all layers are attached, sew the ends down along each seam making sure to backstitch at the beginning and end.
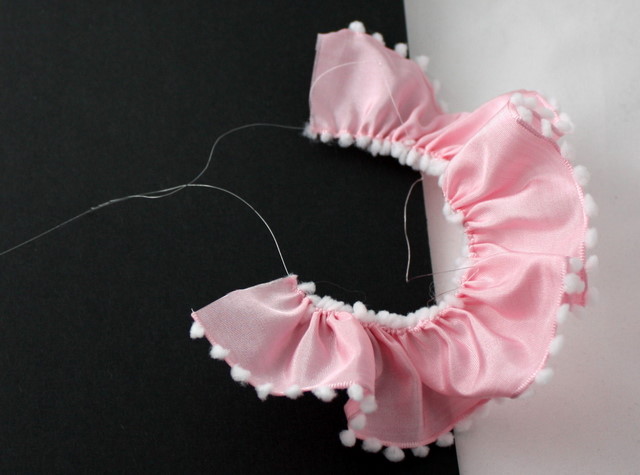
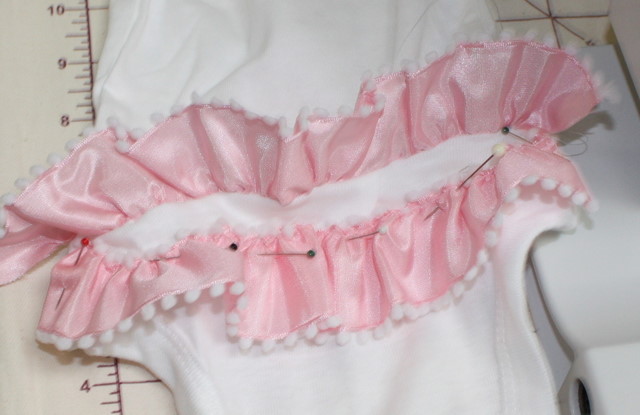
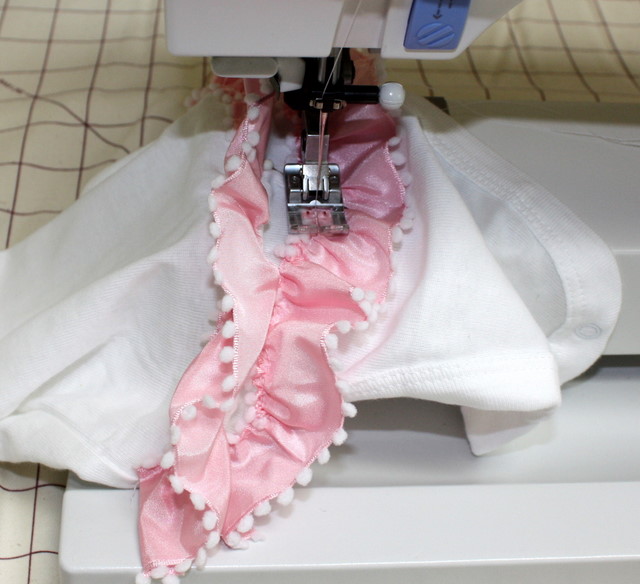
3. Gather about 14” of XA17. Starting at the center, roll into a flower. Hand stitch layers together then hand stitch to the Onsie.
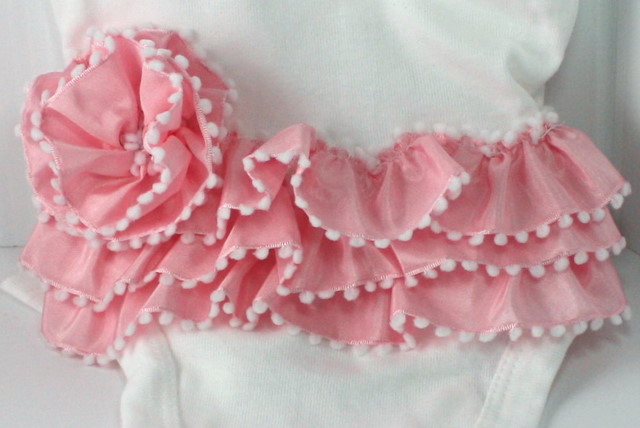
Adorable?
Here’ s the other Onsie that I’m including in my gift.
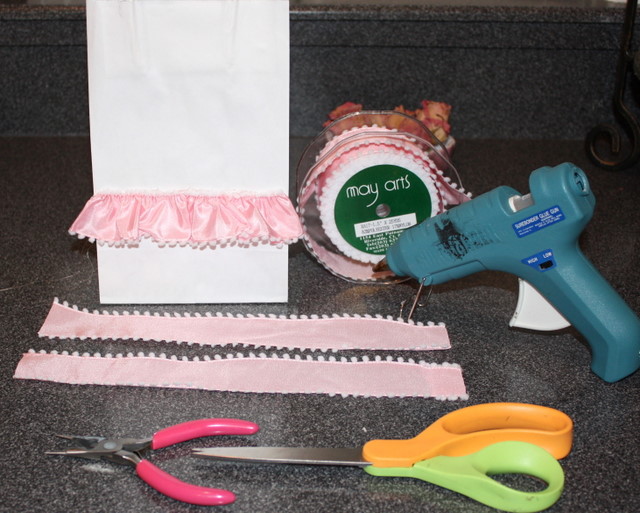
4. Decorate your gift bag pulling the top wire to gather. Fold ends back, seal with a dot of hot glue, cut off excess ribbon and wire. Pull the bottom wire out completely. Hot glue to bag. Repeat layers. Hot glue buttons to bag.
I also made a little gift tag to match the bag and onsies.
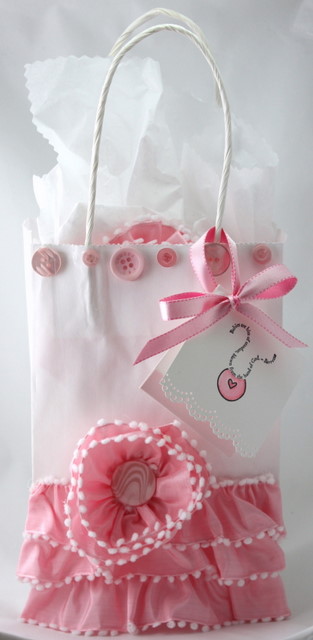
That’s it! A beautiful baby gift and another fun craft to add to your Thrifty Gifting list.
* I did a washing machine and dryer test of a large variety of May Arts ribbon for the Tag Blanket tutorial. They all washed/dried beautifully so experiment with different May Arts Ribbons on your Onsies!
Blog post by: Charlene Driggs

