How To: Victorian Style Ribbon Pleat
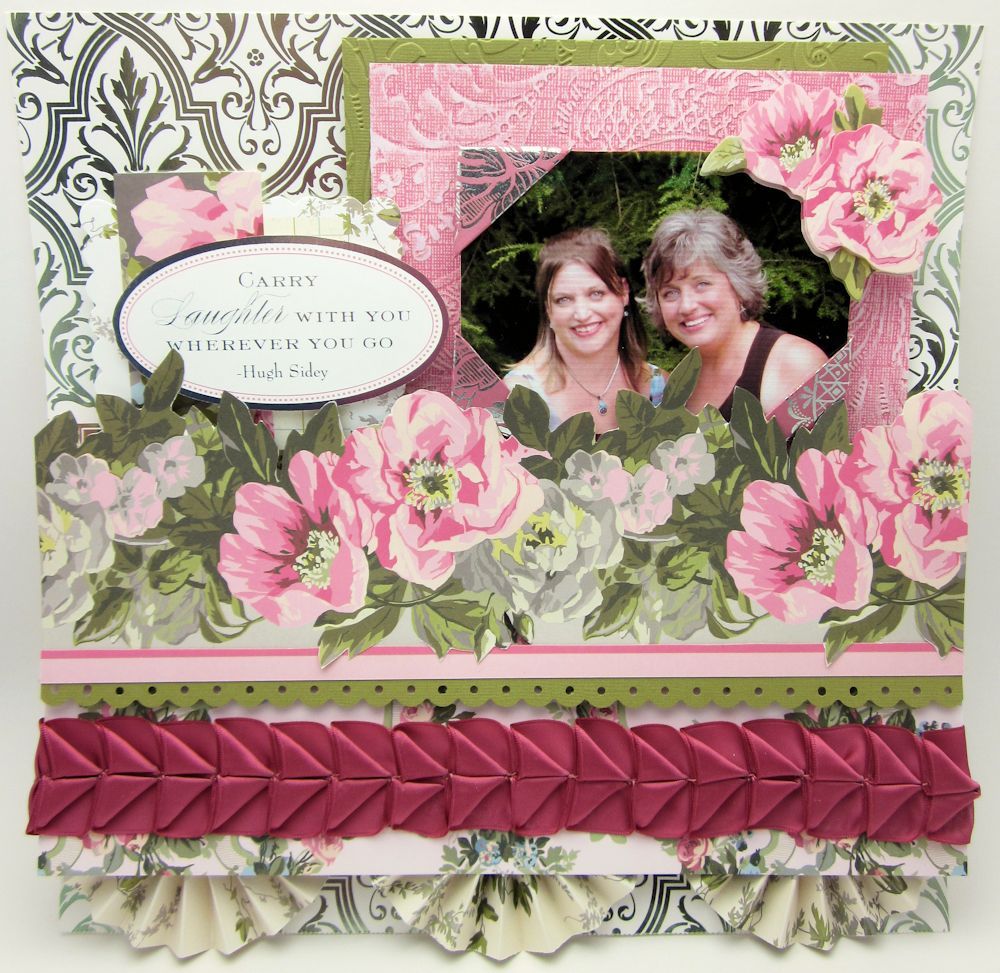
Hi, it’s Gini here to share a little ribbon love with you! I’ve always been a huge admirer of Victorian ribbon work – and today, I’m going to show you how to manipulate our gorgeous May Arts ribbon into a fancy folded ribbon adornment for your layouts or cards.
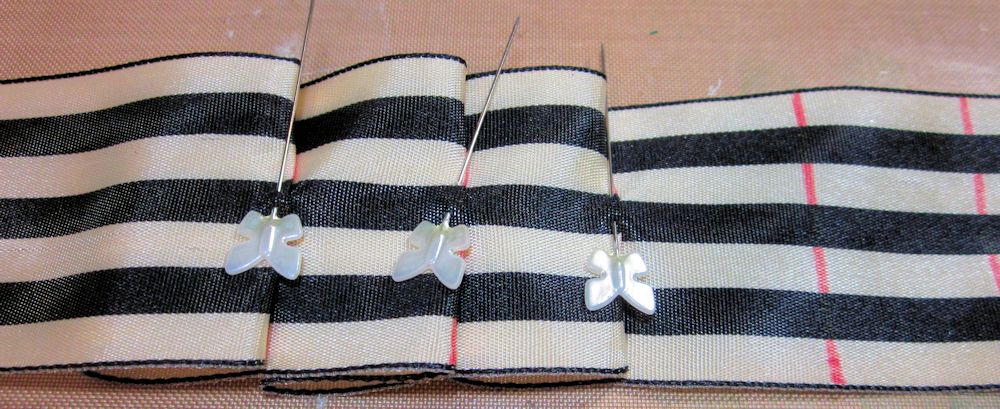
To make this pleat, mark the back of the ribbon with a light colored pencil, where your folds will be. To determine how far apart to space the marks, measure how wide your ribbon is. Make one cardboard template the width of your ribbon, and one template half the size of your ribbon. So, if you are working with 2” wide ribbon, you would have one template that is 2” and one that is 1”. Using these as your guides, alternate marking with the two sizes (2”,1”,2”,1”, etc.) I used a bright red sharpie, so you could see what I’m doing.
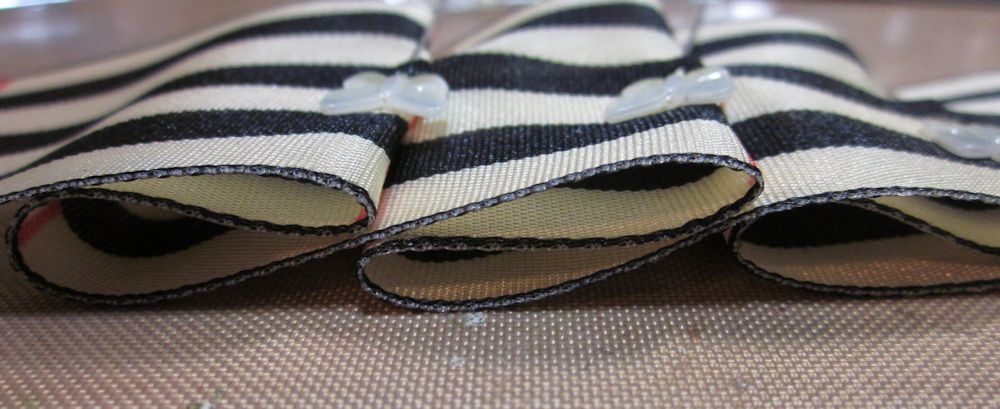
Pleat the ribbon so that after the full width mark (in this case 2”), the fold will be like a mountain fold, and after the half width (1”) – the fold will tuck under the larger fold. This will create a knife-edge pleat. Use straight pins to hold the pleats in place.
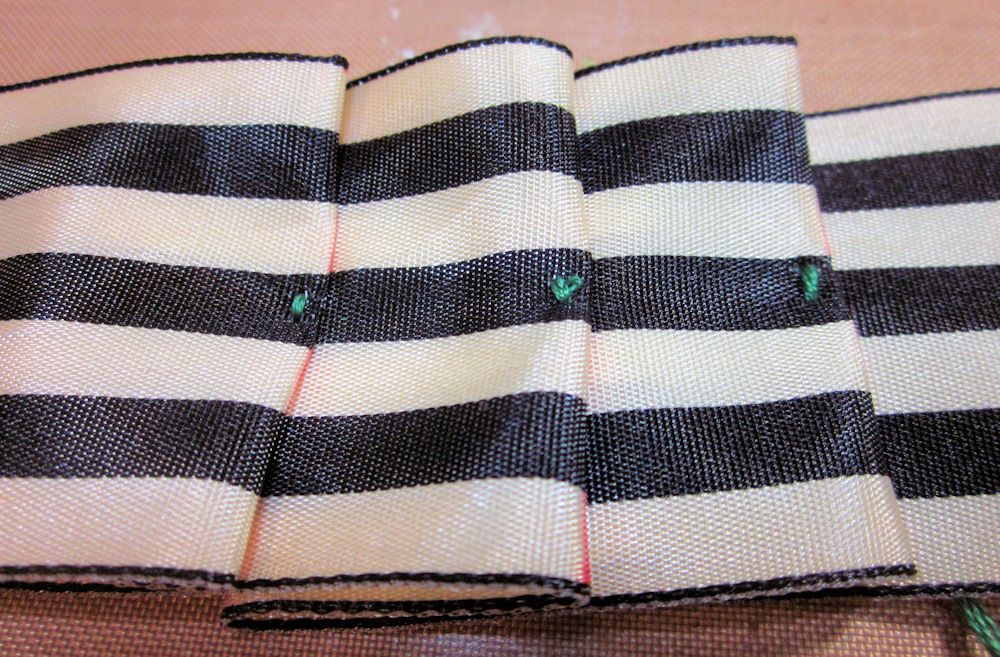
Then go back and hand stitch a small stitch in the center of the pleat to hold in place. After the width of ribbon is completely tacked down, you are ready for the next step.
Take the corner of the pleats, and fold both sides to the middle (where the tack stitch is). Tack the two corners down to form a triangle. Continue this along the length of the ribbon.
I added my fancy pleated ribbon across the bottom of a layout – but it would be fantastic so many other ways! It would look wonderful on a straw hat, a pillow – Maybe even woven into a bracelet.
Blog post by: Gini Williams Cagle
Click Here to download the pdf to this tutorial!
May Arts Ribbons Used:
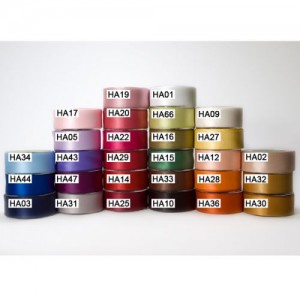
- HA 1.5″ Double Faced Satin
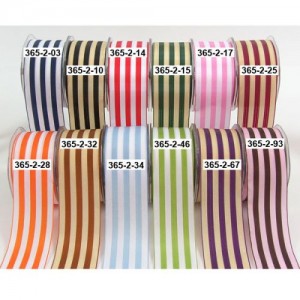
- 365 2″ Solid Striped Ribbon
Partners in Craft Supplies Used:
- Scor-Pal 1/4” Scor-Tape
Other Supplies Used:
- Anna Griffin Patterned Papers, Die cuts
- Fiskars Punch
- Cuttlebug Embossing Folder
- Xyron Mega Runner


