Fun DIY For Kids! Easter Egg Bunnies
Hi everyone, it’s Ribbonista Karen and I have a fun Easter project for you today!
March is a month of family birthdays for me, so on the years when Easter is early, I don’t tend to get to a lot of Easter crafts. But this year, I wanted to make an exception because the modified plastic Easter eggs were just too much fun not to share!
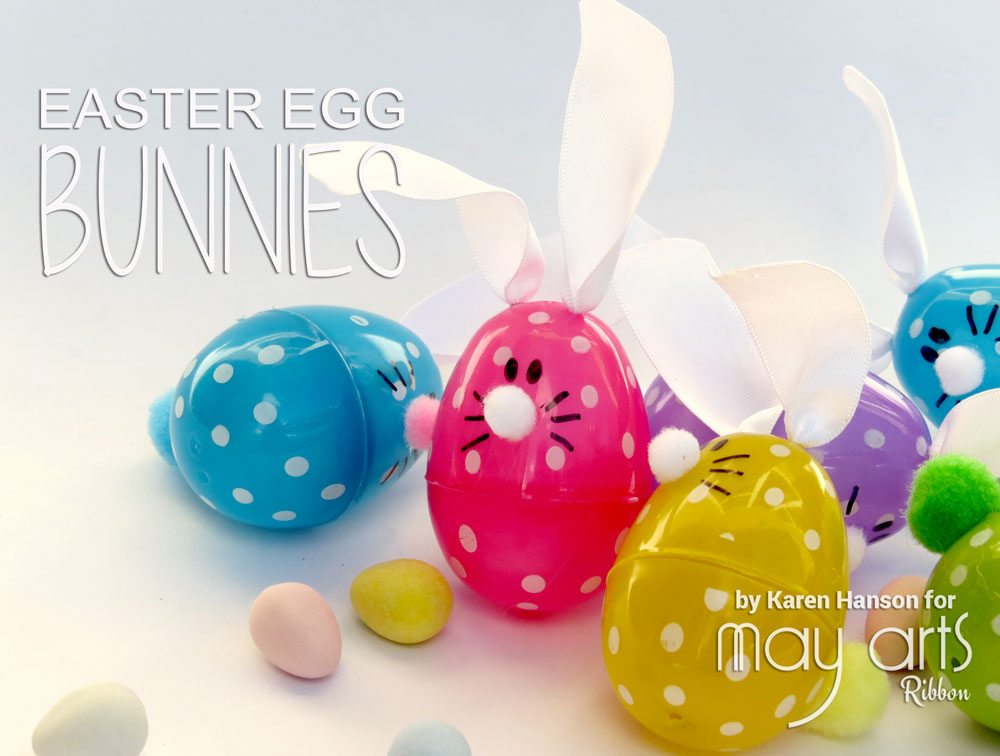
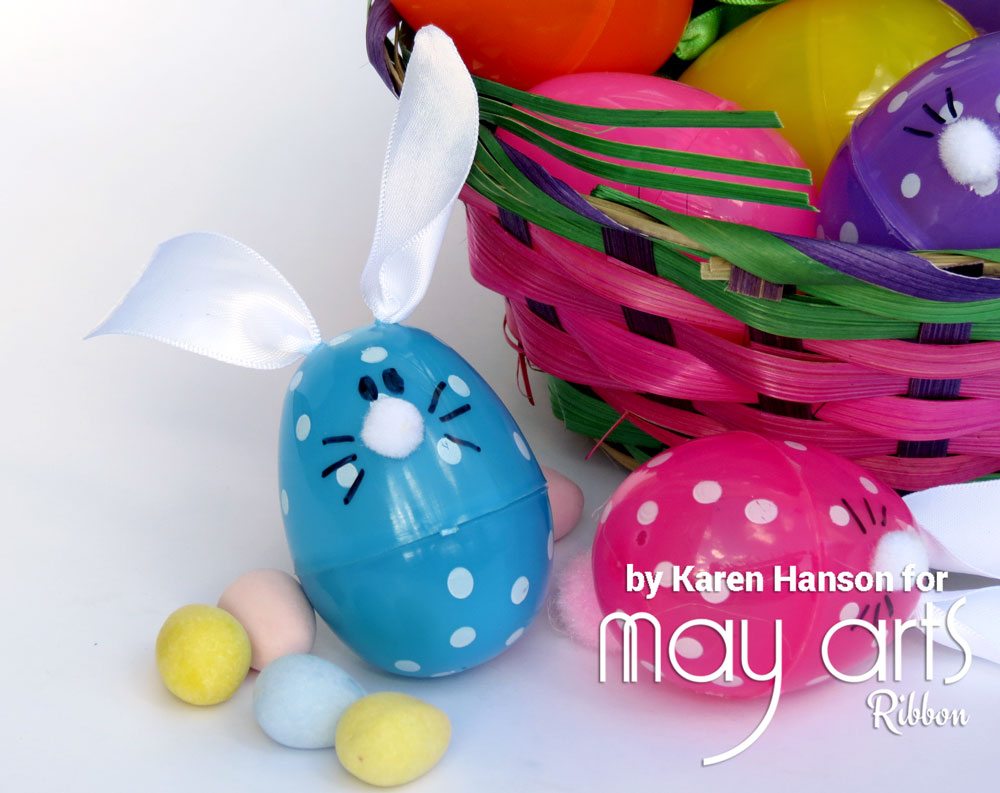
Made out of simple plastic eggs, pompoms and 1” wide Single Faced Satin Ribbon (KK-1-01), these could not get any easier!
Fill them with Easter treats and your hunt just got a bit more colorful and cute! Here’s how you can make them too!
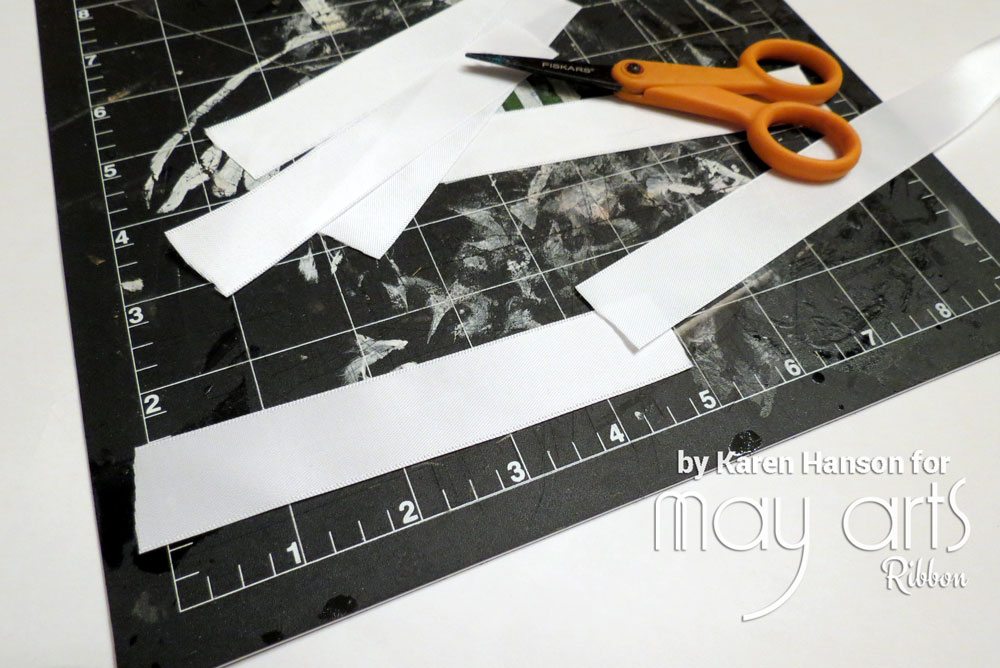
Start by cutting your 1” Satin ribbon into 5” strips. You will need on strip per egg/bunny. Don’t worry about the ends at this point – they will get fixed up at the end.
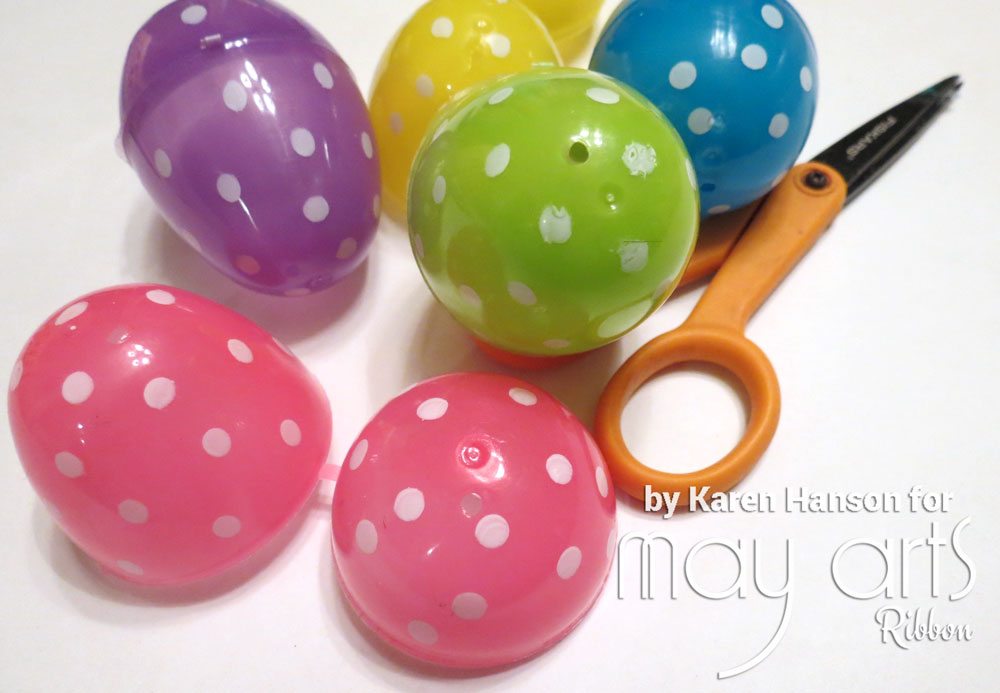
Many of the plastic eggs now available already have two holes up at the top. Yup –it’s true! However, sometimes they are not all punched out properly so you may have to prep your eggs by taking a small drill bit and finishing the hole. If you have some eggs at home already that don’t have the holes, a drill will help you with some reusing here as well. Just make sure that the two holes are just slightly off center.
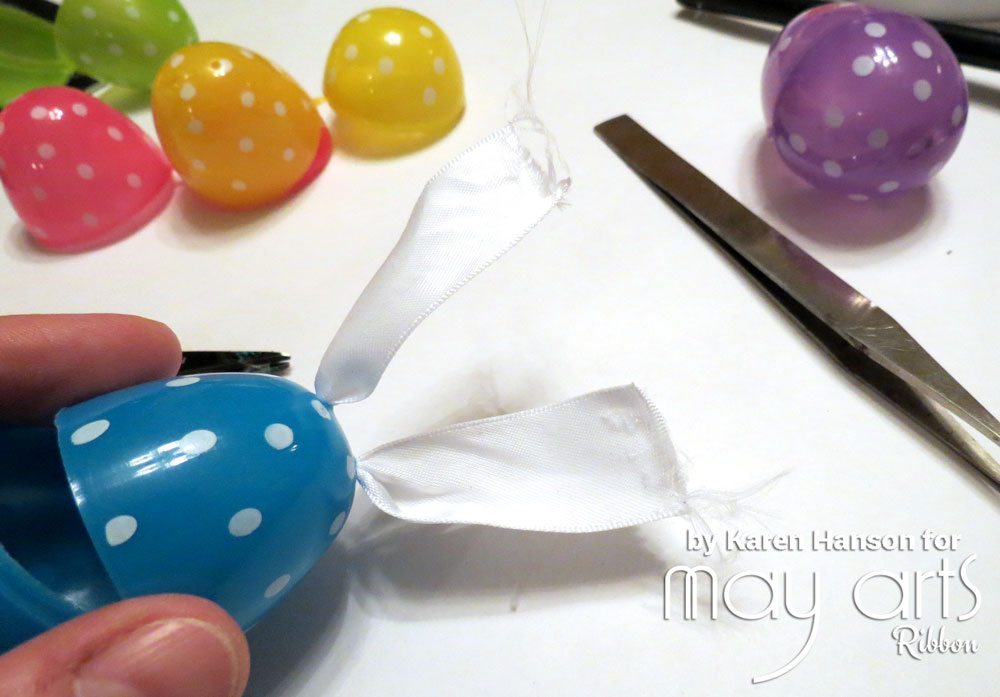
Starting on the inside of the egg top push the ribbon up and out through one of the holes. I used a good pair of tweezers to catch the ribbon and give it a good pull. You will need some muscle here as you are pulling a wide ribbon through a small hole. But don’t be tempted to make the hole bigger – it will help your ribbon stand up if you keep the hole small. Pull out no more than 2 inches.
Take the other end of the ribbon and pull it up through the other hole. You ribbon ends may get a bit “tattered” looking as you pull it through the plastic, but we will clean that up next!
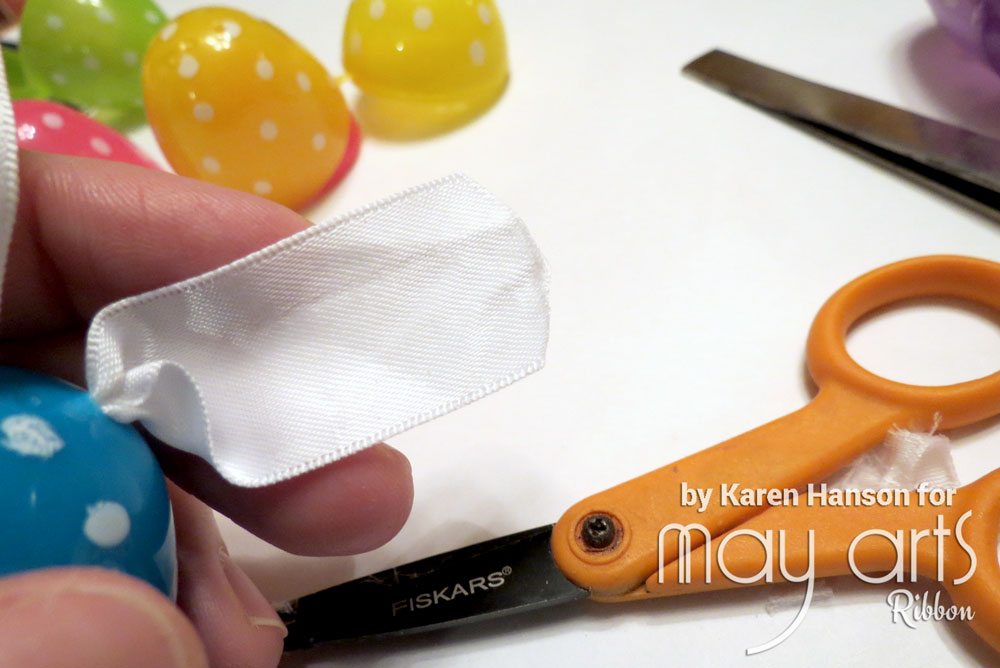
Using a sharp pair of scissors, round off the top edge of your ribbon ends.
Seal the end with a lighter or candle to prevent the ribbon from fraying. Twist up and bend the ribbon a bit and you are all set!
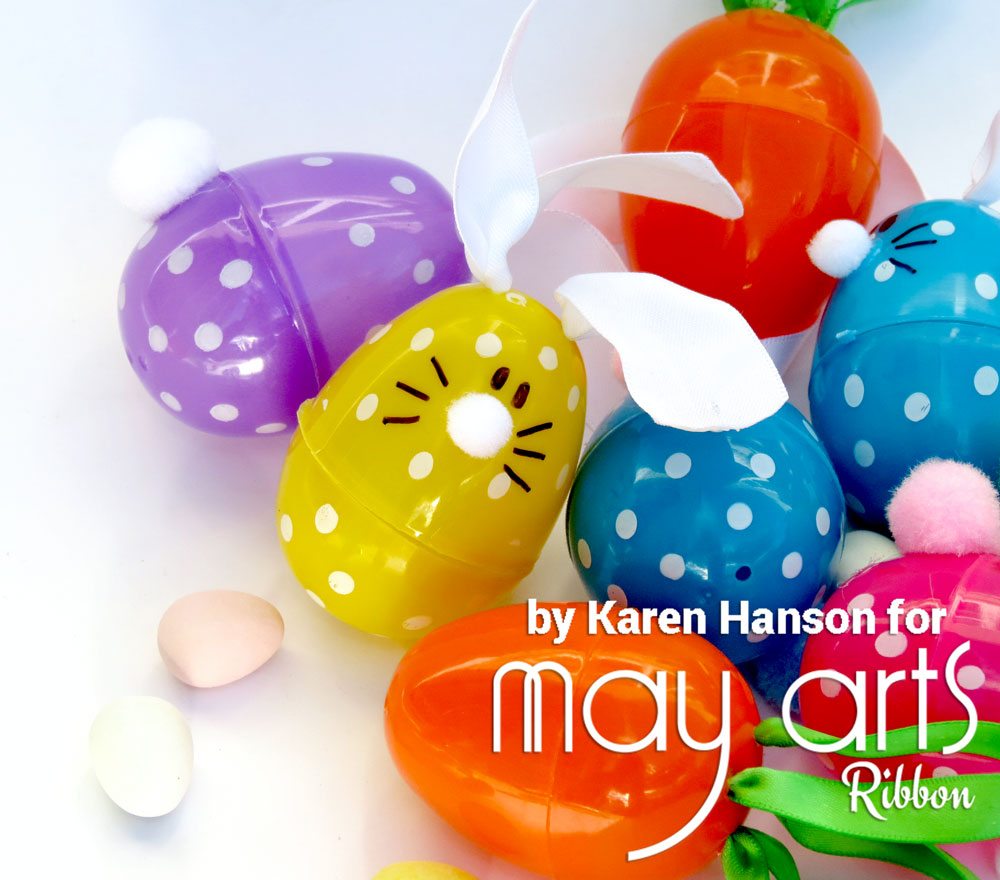
Tell you me don’t want to give these little cuties a snuggle? Add some eyes with a permanent maker and a little pompom for a nose and tail and you are all set!
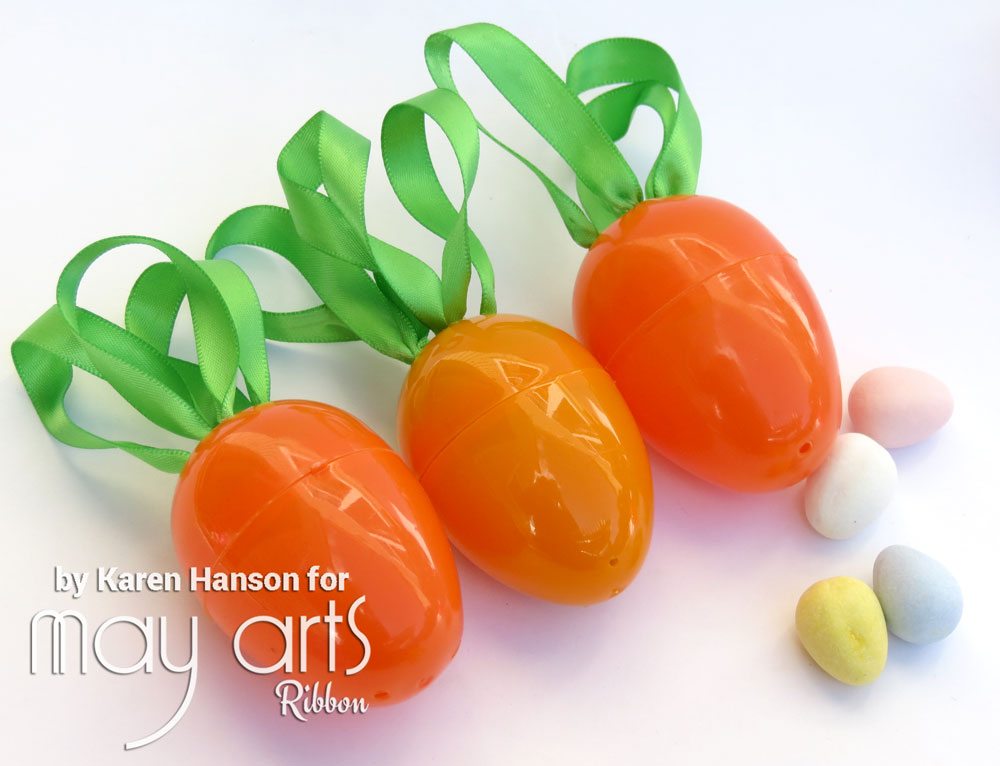
And just in case these bunnies have too much of a cute factor for you, what about using the same technique for carrots?
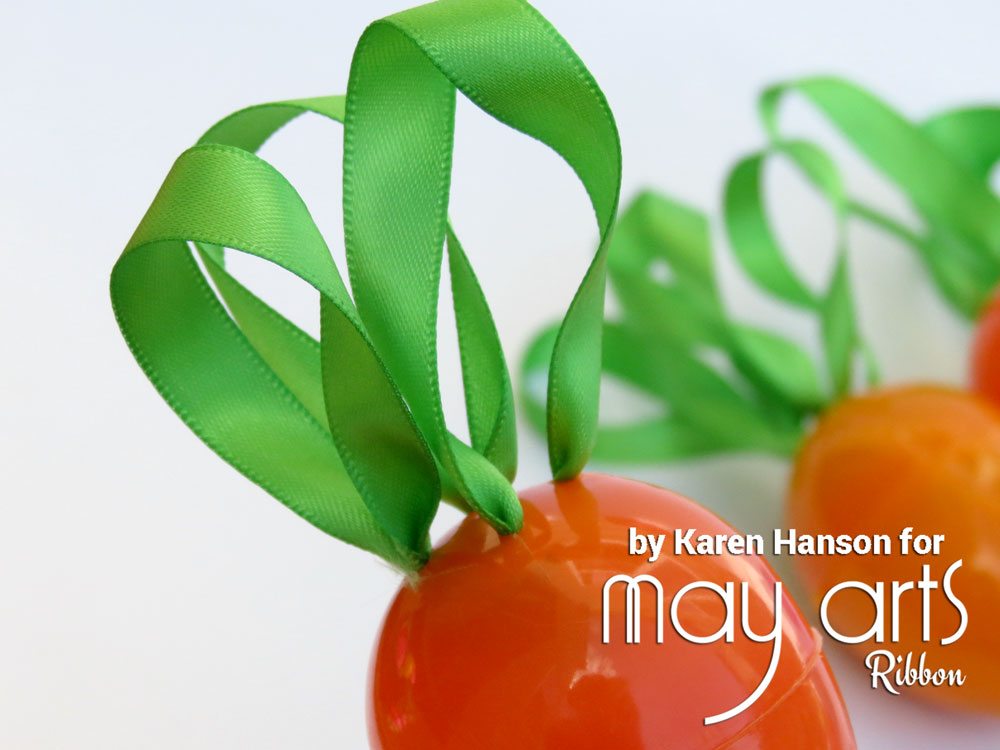
I used exactly the same technique here with a couple of exceptions. First, I used a narrower ribbon – the 3/8” Double Faced Satin in Green (HA-8-15). I used the bottom end of the egg instead of the top to pull the ribbon through (yup – the plastic eggs have holes on this end too). I also drilled some extra hole (for a total of 5) just to be able to create more strands. And while I still started on the inside when I was pulling the ribbon through, I also ended on the inside, tying the end of the ribbon together to secure. All in all, these were just as quick and easy to make!
I am so glad that I found the time to make these happen! I can’t wait to add them to our Easter morning adventures! Thanks for stopping by!
By Karen Hanson
Ribbon used:
Other product:
- Plastic eggs
- Drill (depending on your eggs)
- Mini pompoms
- Permanent maker
- Scissors
- Lighter or candle


