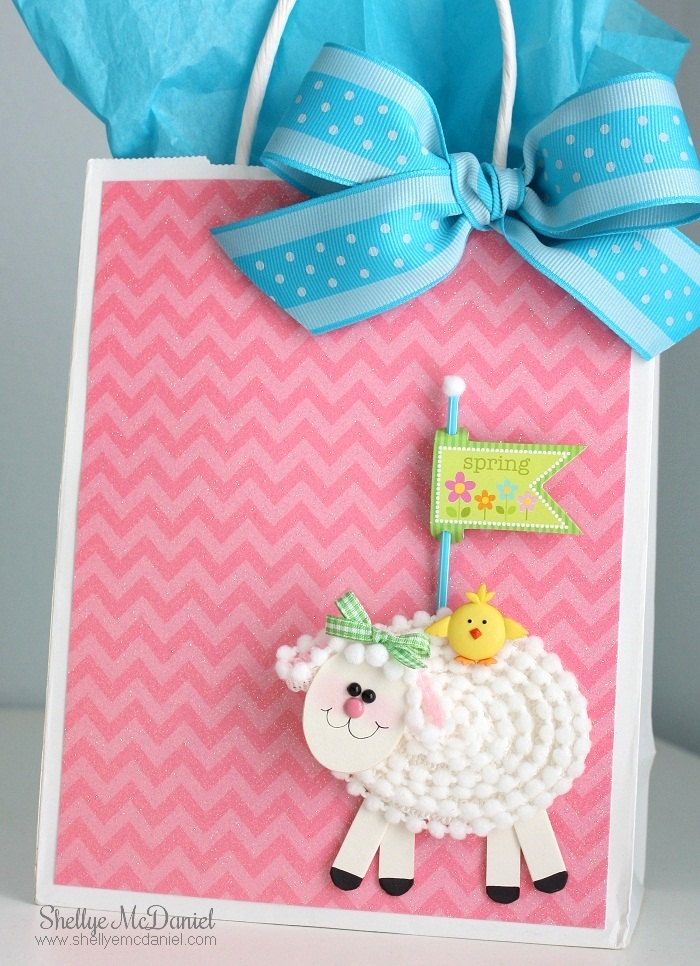
DIY: Mary Had A Little Lamb Embellishment
Whether you are wanting to decorate the front of a basket, make place setting markers or a card, this sweet lamb embellishment would be the perfect addition to any of these projects…and it’s quick and easy!
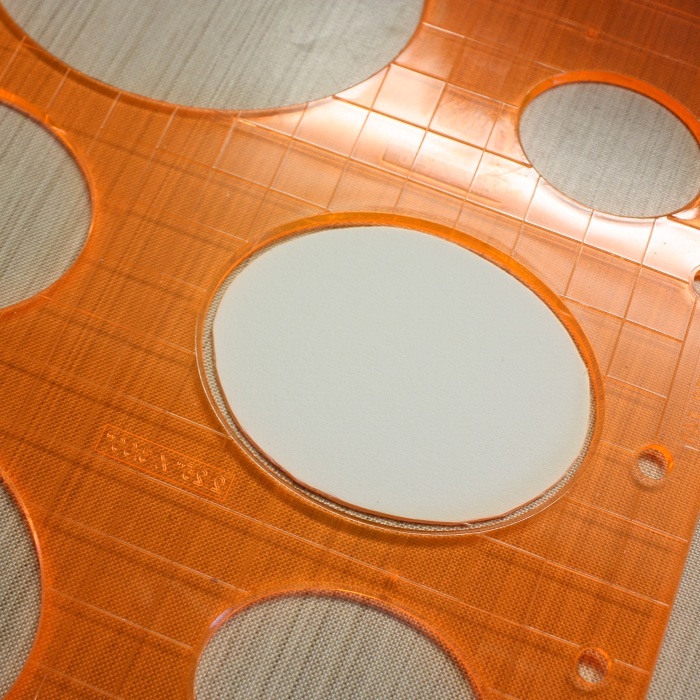
Start with a heavyweight chipboard or mat board; I have used an off-white mat board. Trace or die-cut an oval shape that measures approximately 3″W.
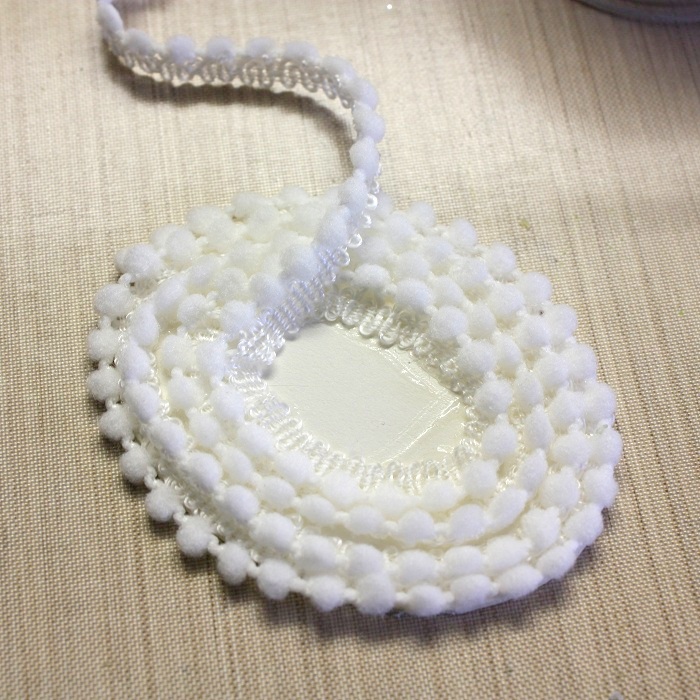
Using a fabric glue, begin covering the oval with white mini pom pom trim by starting at the outer edge and winding the trim inward
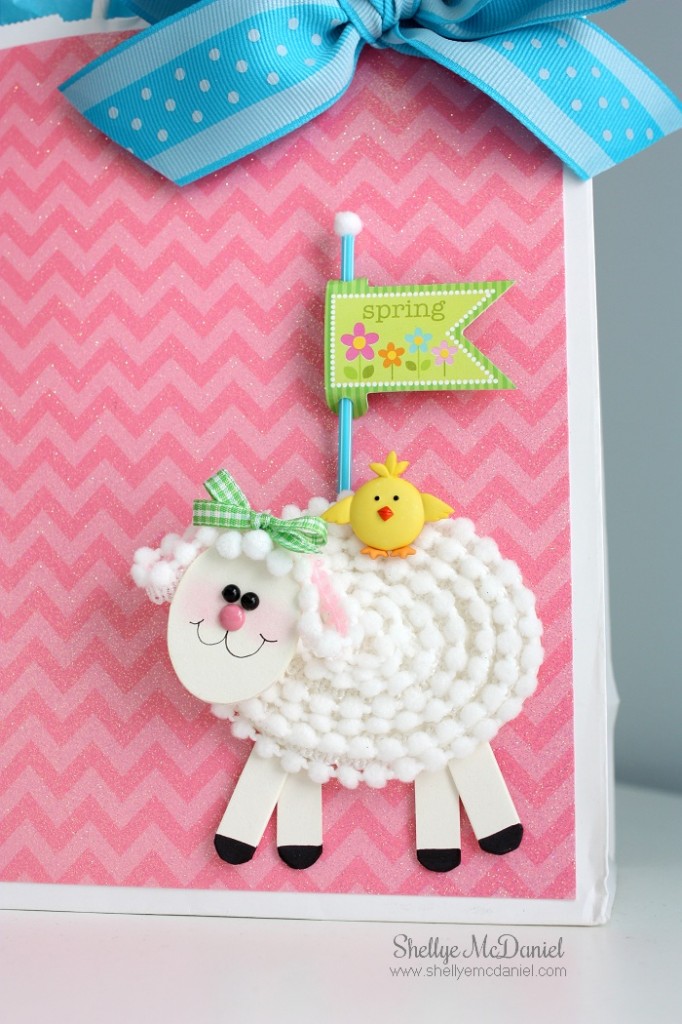
Next, cut a smaller oval from the mat board to measure 1.5″ wide. Cut a 5.5″ length of the white mini pom pom trim and fold in half. Glue the ends together with fabric glue. This piece will be the ears, so glue to the top (back) of the oval.
Cut two small snips of the pink loop ribbon and adhere it to the inside of the loops of the ears. Glue on a small gingham ribbon to the top of the head, followed by three small white pom poms under that. Draw on a mouth and eyes, or use adhesive pearls, beads or enamel dots. Brush on some pink chalk for the cheeks.
For the legs, cut two strips from the mat board to measure 1/2″ wide and 6″ long. Fold the strip in half at an angle. Use a black permanent marker to color on the hooves. Glue to the back of the oval chipboard.
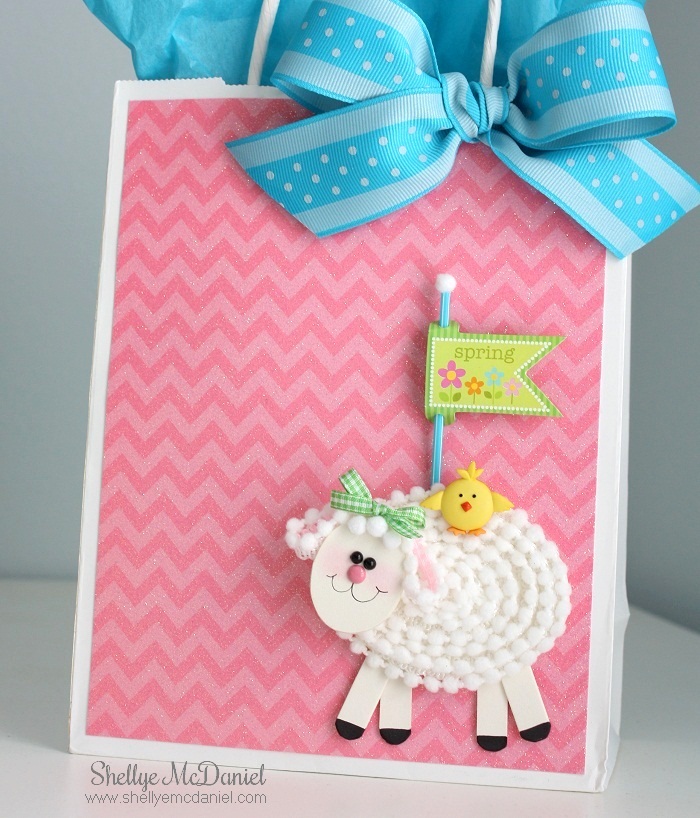
I embellished the front of a plain white paper bag with a glittered pink chevron paper by Doodlebug Design and also embellished the lamb with a cute chick button, as well as a flag by Doodlebug. A generous dot ribbon was then glued to the top.
By Shellye McDaniel
Other Supplies Used:
- Mat Board
- Fabric Glue
- Black Adhesive Pearls
- Pink Chalk
- Black Permanent Marker
- Assorted Embellishments


