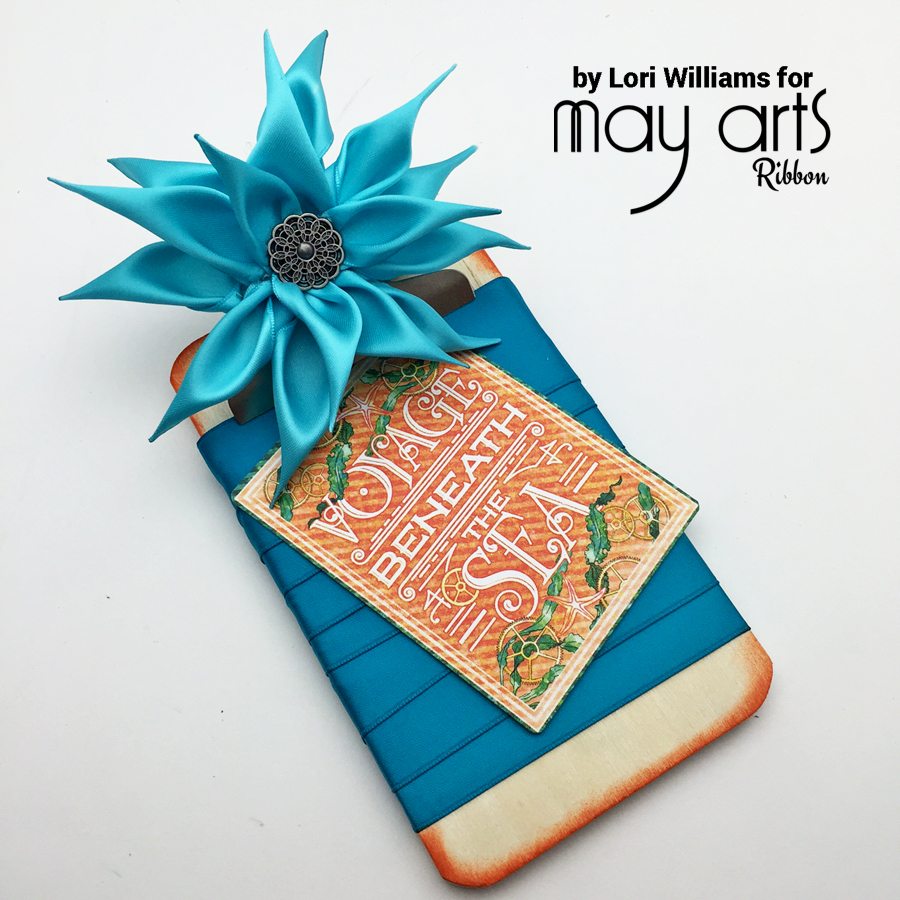
Fun DIY May Arts Summertime Bloom
I’m so ready to see those blooms of summer and since we aren’t quite to that time of the year I thought I would show you how to make your own bloom. See step by step how easy it is to create this stunning flower bloom… make several and add them to anything you want to have an extra pop.
Happy Crafting, Lori

May Arts / Ribbon Resource Ribbons Used
Other Supplies Used:
- Graphic 45 Voyage Beneath the Sea Paper
- Wooden Chipboard
- Brad
- Hot glue gun
- Chipboard
Step 1: Cut 2” strips of satin ribbon.

Step 2: With a pair of tweezers, attach at an angle.

Step 3: Cut on the angle

Step 4: Hold over a flame or a lighter to seal the cut angle.

Step 5: Fold over the ends as shown and heat set with the flame.

Step 6: Make 15-20 of these pieces

Step 7: Attach with hot glue to a chipboard base. I’m using a little doughnut shape, but you could easily use a solid circle. Use what you have.

Step 8: Continue to build around the base until you have a complete first layer.

Step 9: Add a second layer

Step 10: And finally add a third layer making sure the points are sticking up for a full dimensional flower.

Step 11: Finish off your summer flower with a decorative center. I’ve used a large metal brad but let your imagination run wild with your centerpiece. Attach your flower(s) to anything you want for an extra touch of beauty.


By: Lori Williams

