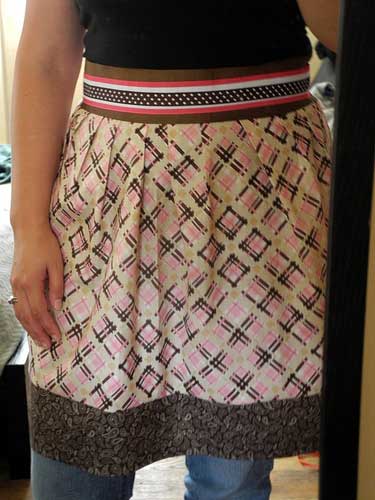
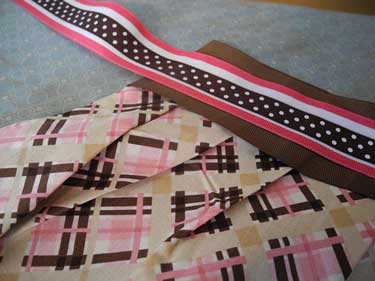
No Sew Project – Half Apron
Supplies:
- May Arts Ribbons: 358-15-22 – 1 ½” White Grosgrain/Band Edge in Pink; DD33 5/8” Grosgrain Dots in brown; 351-33 2 ½” Grosgrain in brown (The wide brown should be the length of the top of the apron (2 strips that length). The other two need to be long enough to tie around the waist.)
- Samantha Walker Fabrics: Pink Cowboy Plaid; Brown Cowboy Dots
- Heat and Bond tape
Warning: I am not a sewer! Hence, the no-sew apron tutorial. However, I am also not a measurer. Each piece is cut based on holding it up to my body to see how long I want it and how much I need to go around. You will find precisely ZERO measurements, however, I am sure you could use a traditional apron pattern for measurements if you need them. This is how I work, folks. Sorry about that, but it works for me! LOL! Enjoy!
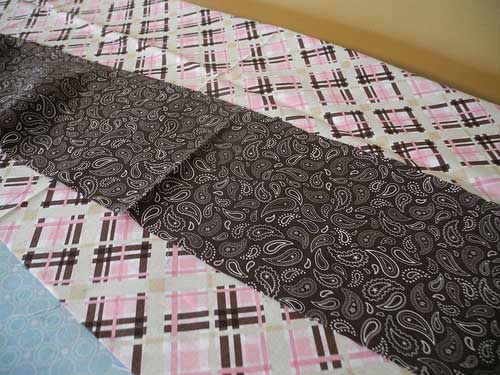
Step 1 – Cut lengths of the two fabric patterns. One will be for the bottom accent fabric, the other for the main body of the apron.
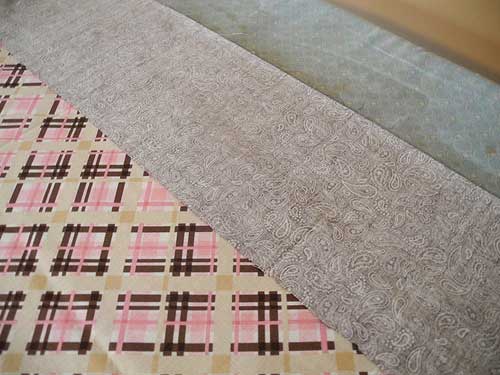
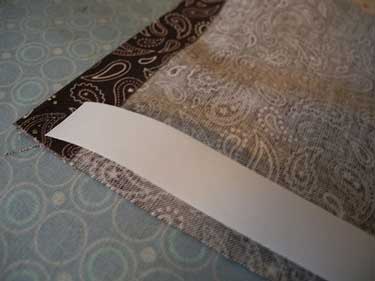
Step 2 – Cut a strip of Heat and Bond the same length as your pink fabric and place along the bottom edge on the ‘right’ side. Layer the brown fabric strip ‘right’ side down over the other and match up the edges. Iron to secure the fabrics to one another. Open the two fabrics and iron again to create a neat, finished seam.
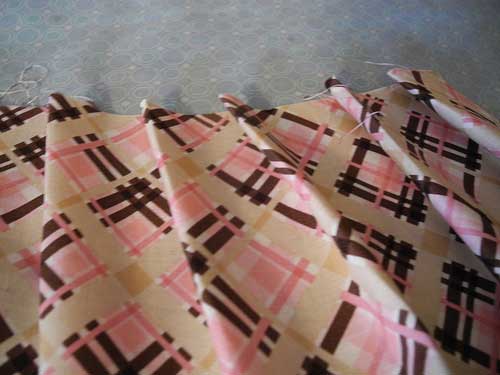
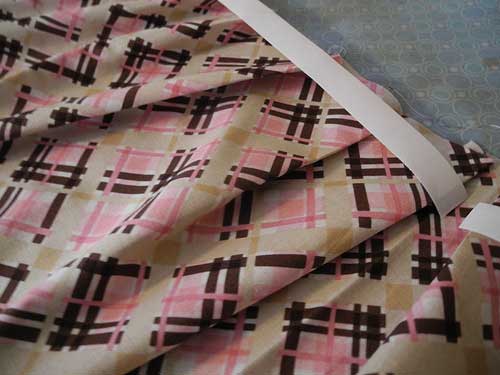
Step 3 – Form pleats with your fingers at the top of the piece by folding and ironing each one as you go along. *You could probably use a ruler to do this evenly…again…I don’t measure. Just say’n.*
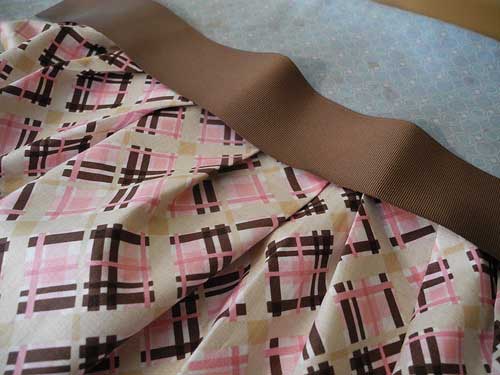
Step 4 – Iron down a strip of Heat and Bond over the top of the pleats. Remove the backing from the heat and bond and place the wide brown grosgrain ribbon over it. I put a strip of fabric over my grosgrain before ironing to avoid any melting. Iron the grosgrain to secure to the waist band. Do this on both the front and back of the apron.
Step 5 – Add Heat and bond along all of the ‘rough’ edges and fold over to create finished edges. You will not need to do this along the top, as the ribbon takes care of that for you.
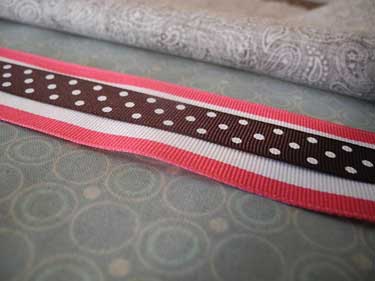
Step 6 – Layer the dot grosgrain over the pink and white grosgrain and use Heat and Bond between the two (again, place fabric over it to iron to keep from melting the grosgrain) to secure them together.
Step 7 – Use a strip of Heat and Bond to secure the layered ribbons onto the brown ribbon waistband to finish your apron!
Blog post by: Jingle


