Oh Christmas Tree!
Welcome to a very special Design Team post! I really have been so excited about this one & have had so much fun organizing it. I know I say this a lot, but I really just couldn’t wait to share it with all of you!
Christmas trees…this wonderful tradition can be traced all the way back to the 16th century. And it is one of my favorites. There’s nothing like the smell of a freshly cut tree when it first enters your home. Today, the Christmas tree can take many forms and be trimmed in so many different styles. That’s why we put together this post. We wanted share the various ways The Ribbonistas have decorated their trees…all with May Arts Ribbon, of course! 😉
Now, we couldn’t have such a special post without a giveaway! So, here’s the prize:
3 Spools of May Arts Ribbon – Your Choice!
All you have to do to enter to win is to post a comment below.
For a chance to win an extra spool, post a comment on The Ribbonistas’ blogs too! Two winners will be announced on Monday, December 10th.
Here are The May Arts Ribbon Christmas Trees! I hope you enjoy them as much as I have.
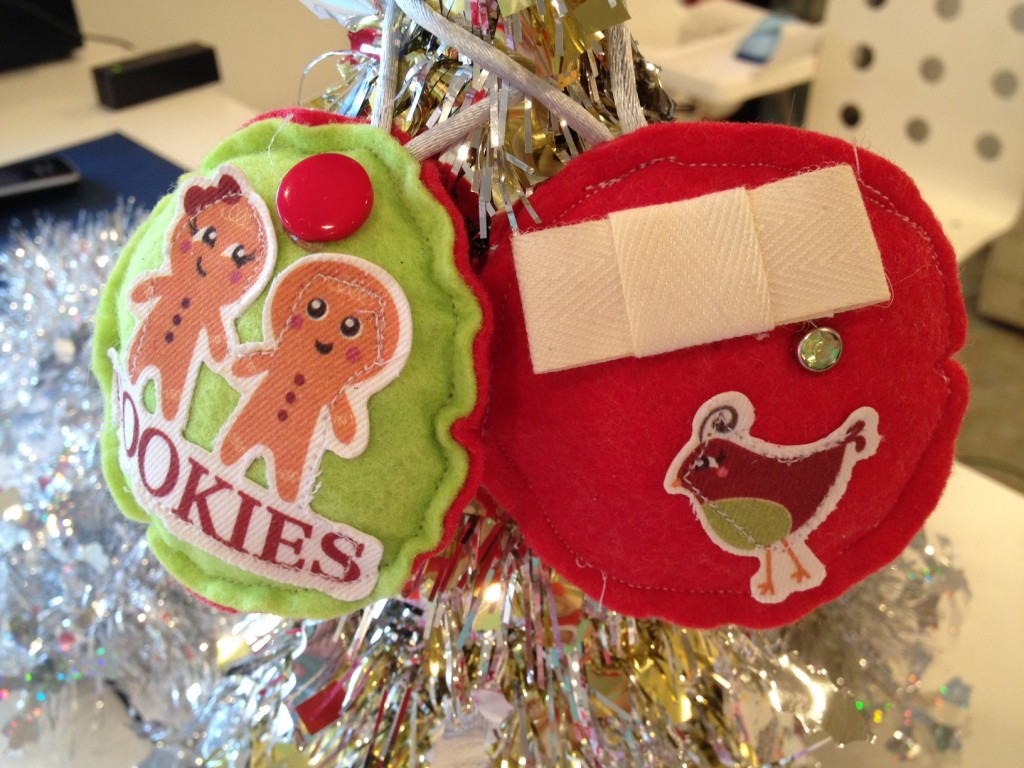
I thought it would be fun to make a series of bright tree ornaments. I used wool felt so that they would endure through many a year. The May Arts white satin cording is the perfect finish for them.
To read more about Alexcia’s project, please visit her blog!
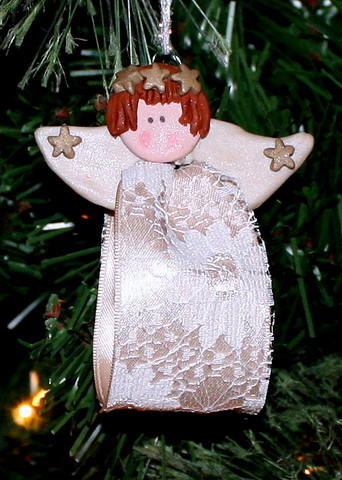
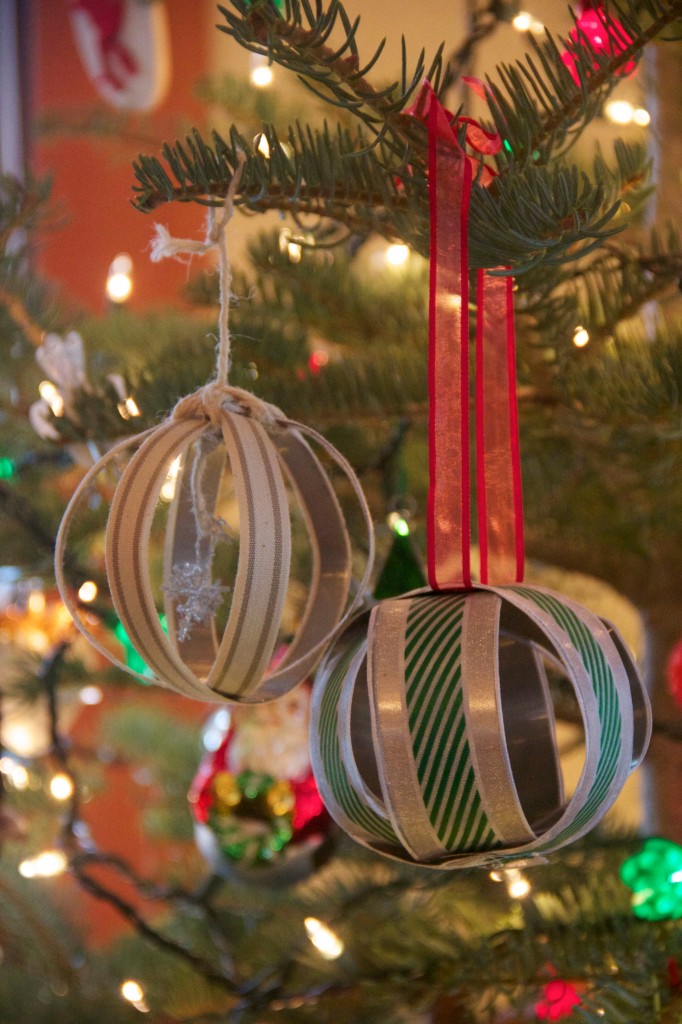
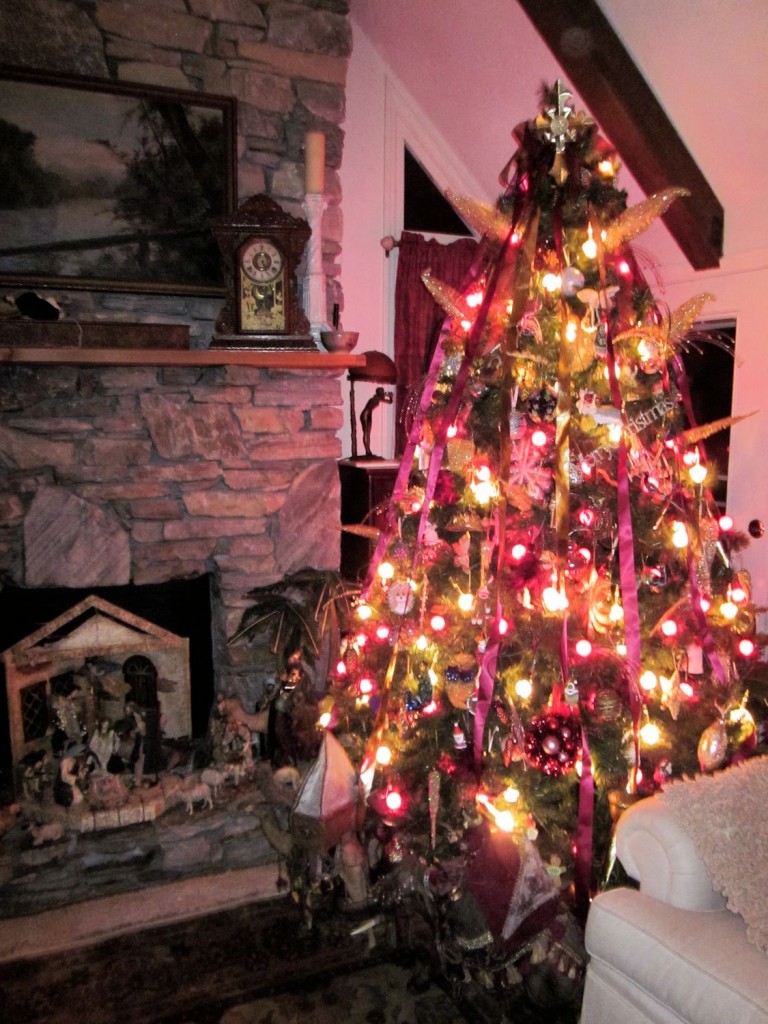
Our tree is a family tree. Every ornament has a personal story or was chosen to commemorate an event in our lives. We love all the little handmade ornaments…the crocheted bells made by my husband’s mother (she’ll be 100 years old on Dec. 15th!) and the little angels that we shaped from Femo clay and dressed in May Arts ribbon are special treasures. The little Navitity made from toothpicks and the glittered and pipe cleaner armed “Martians”, all have a special place on our tree and in our hearts. Of course, we love the new ornaments we made this year too from May Arts sparkling string.
Our most treasured decoration is the little Nativity scene that sits under the tree each year. We bought it the first year we were married, 44 years ago. It’s to remind us of the true meaning of the Christmas season.
From our family to yours, we wish you a safe and joyful holiday season!
To read more about Charlene’s tree, please visit her blog!
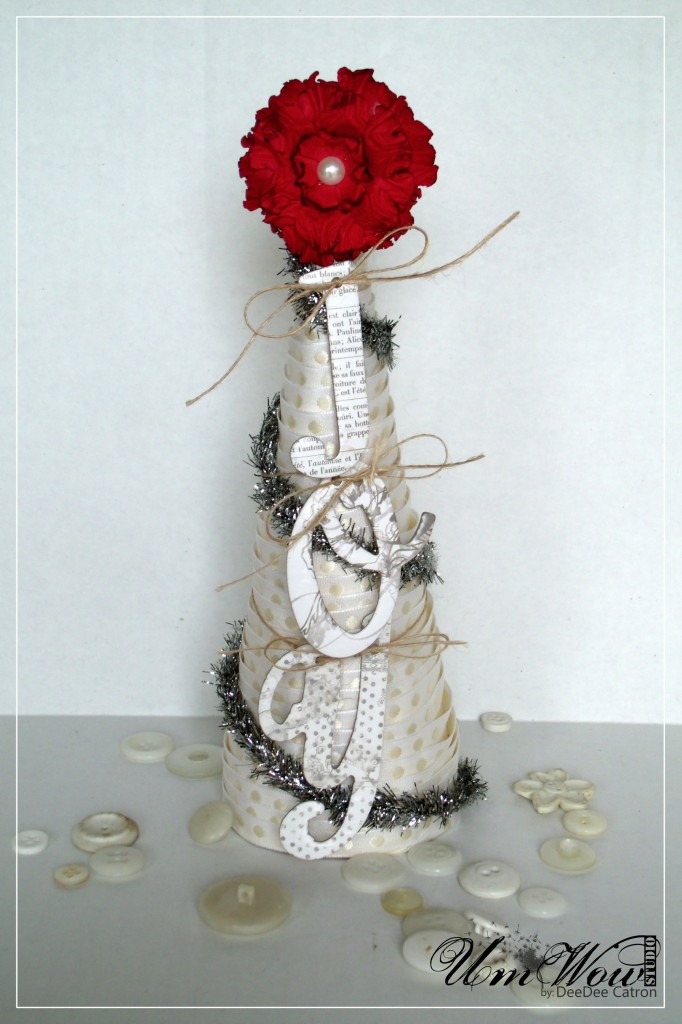
With a 2 year old running around the house I didn’t think it would be very smart to put up a whole tree this year, but I’ve always REALLY loved decorating a mantle and so made my own smaller tree out of paper and ribbon 🙂
To read more about DeeDee’s tree, please visit her blog!
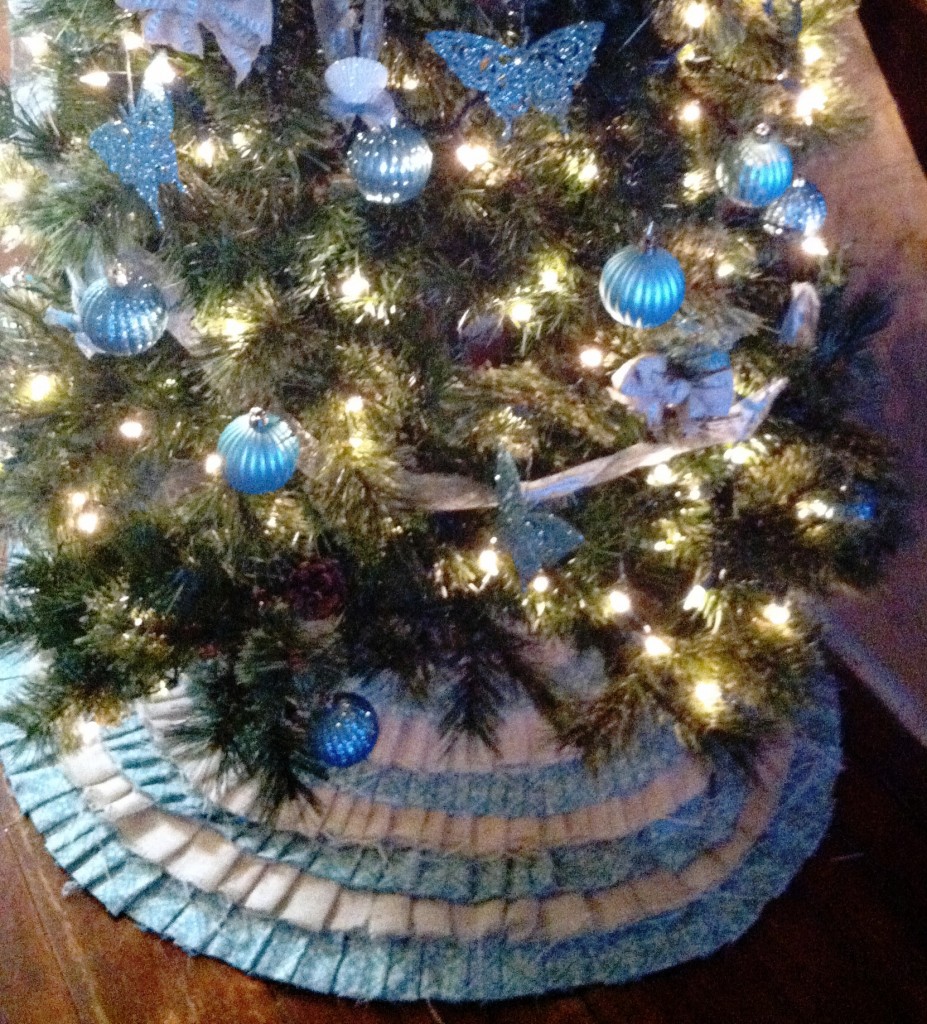
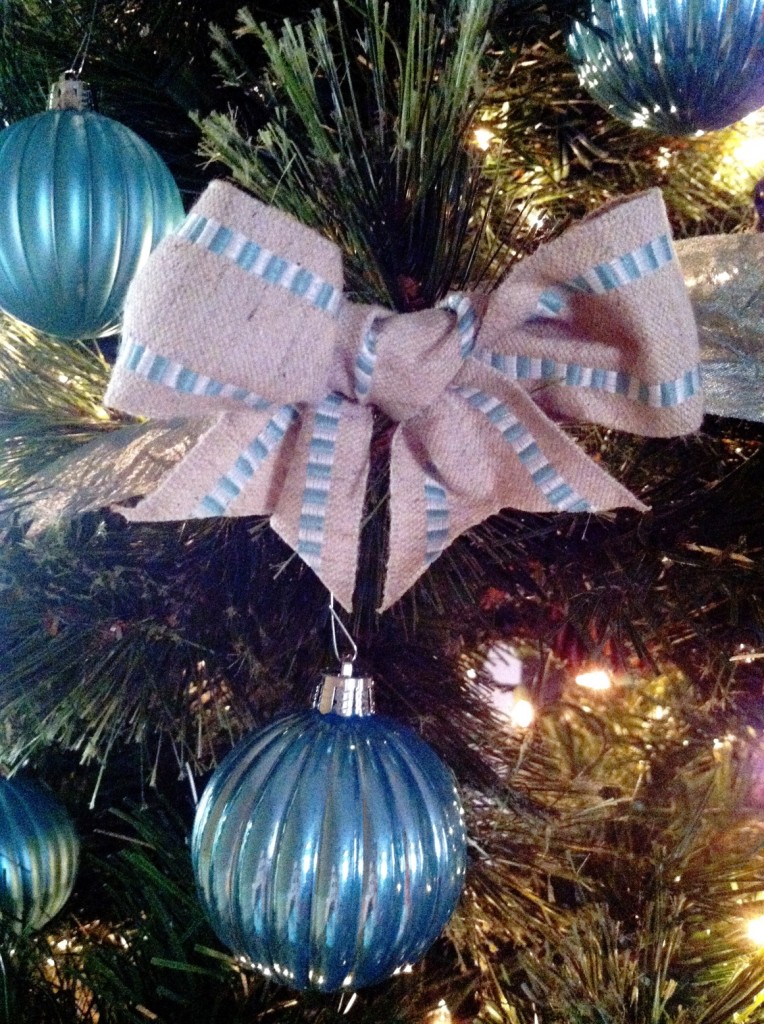
I decided that I wanted to do a beach/coastal type of tree this year. Even though I live in Ohio nowhere near a beach, the thought of being at the beach or anything beachy makes me happy. I went with burlap and pretty teal/blue colors for the overall look of my tree this year.
To read more details on Emily’s tree, please visit her blog!
Our Christmas tree is filled with ornaments from our travels and celebrations of our hobbies, this year we added 2 new ornaments made out of ribbon. Come check out how we combined a few materials from the home garage (flashing, rivets, snips) with a few goodies from the craft room (May Arts ribbon, glue dots, scissors) to create a unique one of a kind ornament.
To read more about Erin’s tree, please visit her blog!
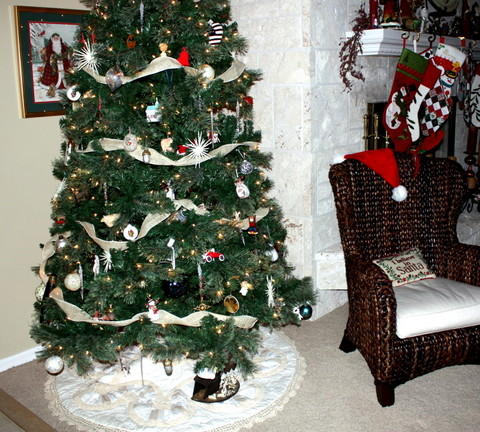
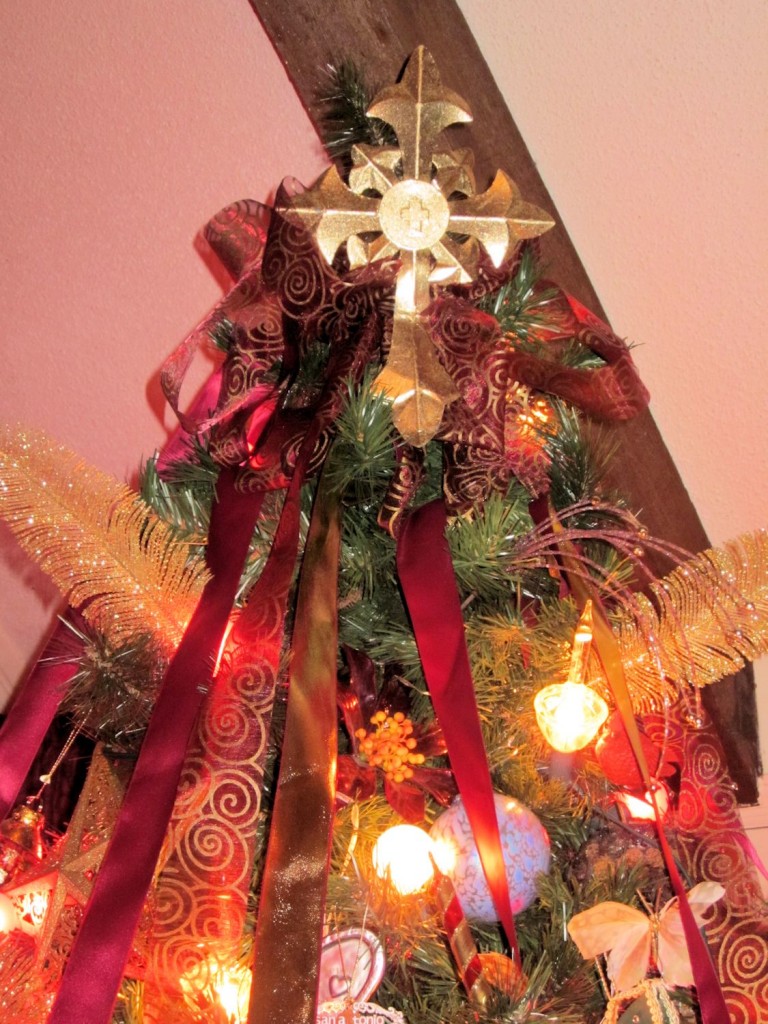
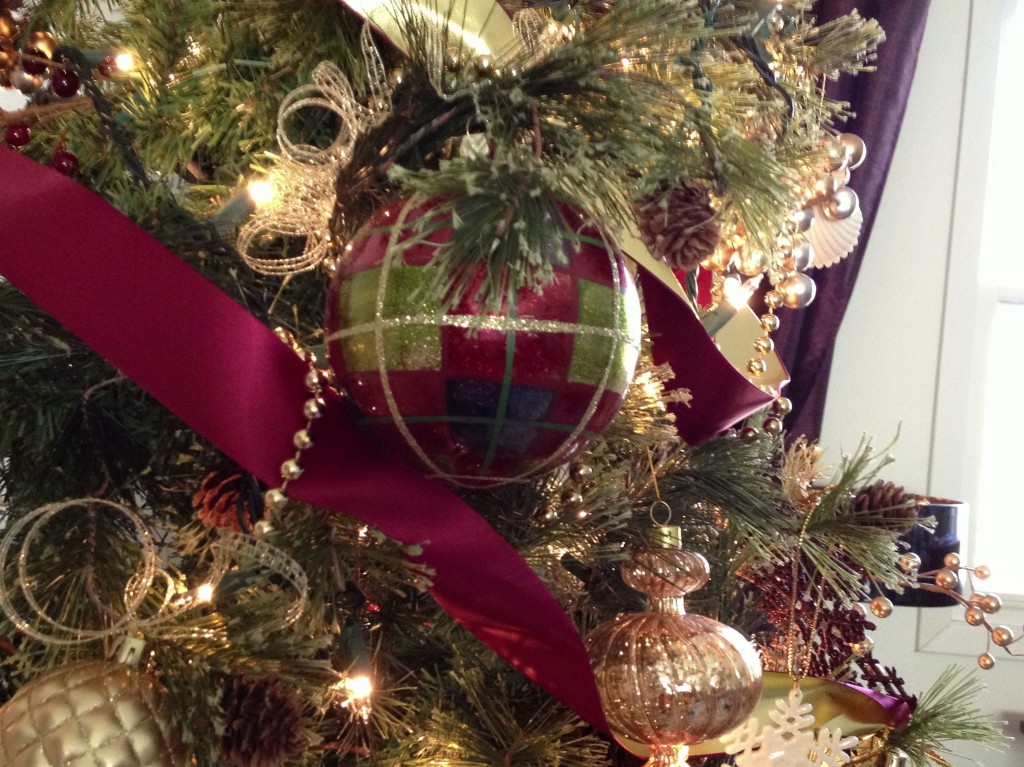
When it comes to decorating at Christmas, I’ve always had the motto – You can’t have too much! I am thrilled with how the beautiful May Arts Ribbons added a little extra to my tree this year, and I’d love to have you stop by my blog and visit.
Our tree is a colorful blend of ornaments collected through the years! There are ornaments from our childhood, from places we’ve visited, and now lots of ornaments that our daughter has made too! Plain red glass balls, and beautiful 2.5″ red sheer/wired tie the eclectic collection together!
To read more about Jen’s tree, please visit her blog!
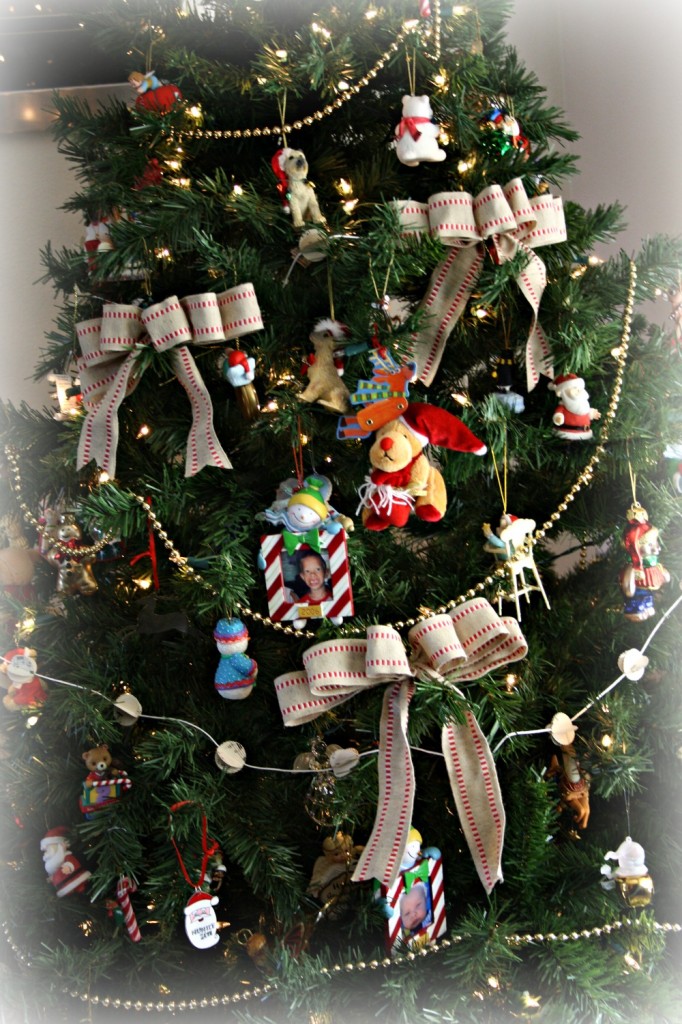
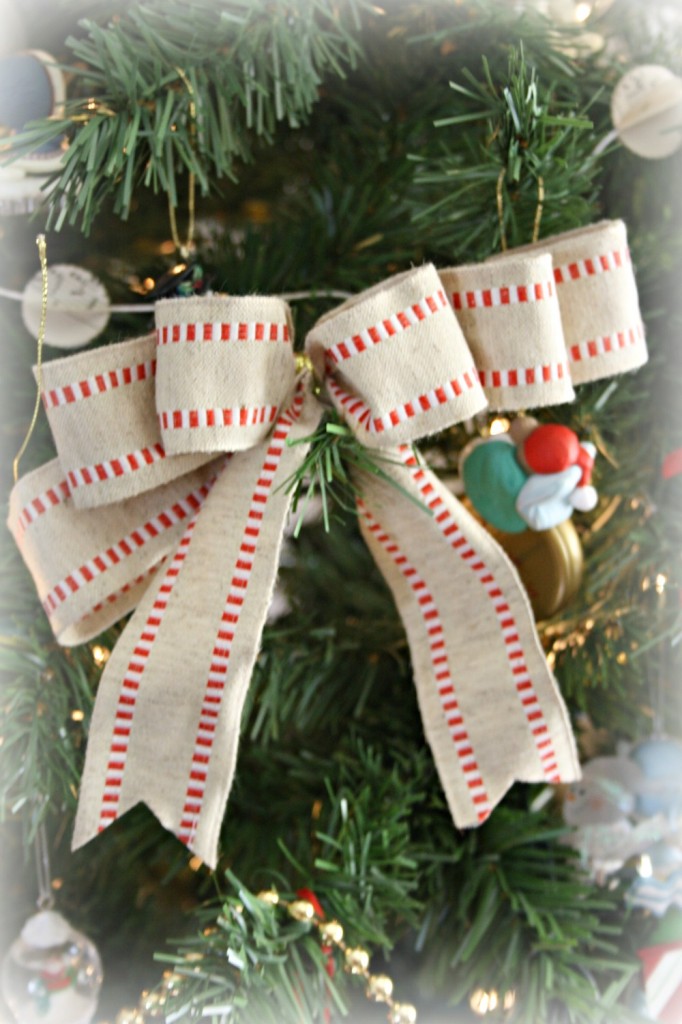
Our tree is really very “kid” friendly with bright colors and Hallmark ornaments. I used burlap ribbon with red stripes to create some full loopy bows to fill in some of the spaces but still keeping it casual with the burlap.
To read more about Jenifer’s tree, please visit her blog!
My Winter Wonderland tree uses gorgeous sheer and faux linen ribbons tucked into the tree and a few sparkling snowflakes to create the perfect pretty holiday feel! I created a lopsy wopsy bow for the top with the faux linen and my Bowdabra! So much fun!
To read more about Jingle’s tree, please visit her blog!
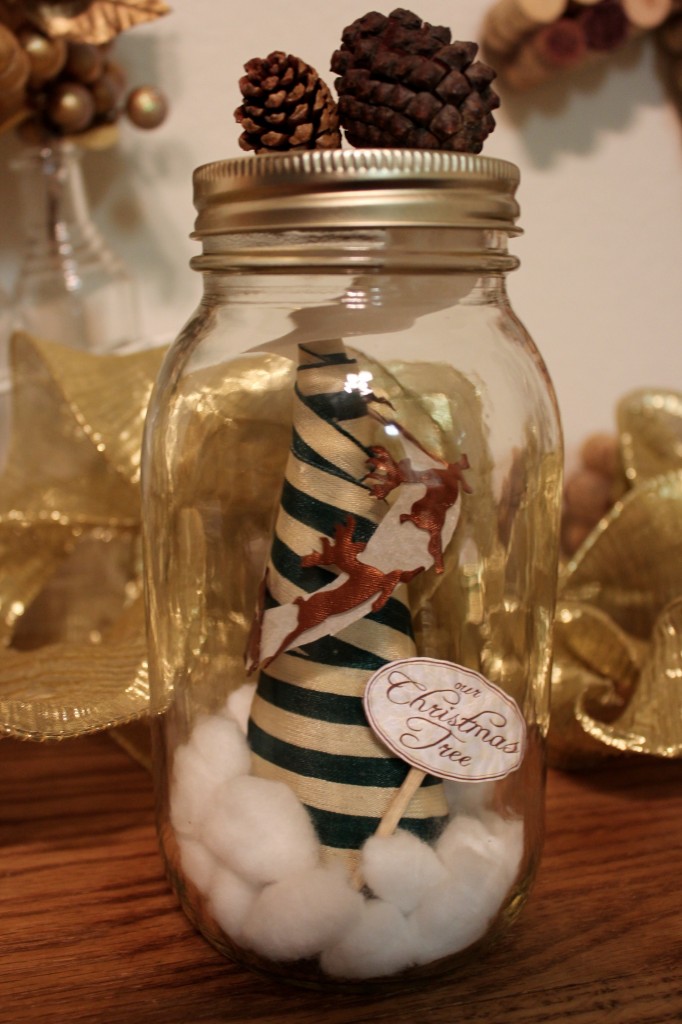
It’s easy to make this “Christmas in a jar” centerpiece, and easy to customize. I added May Arts’ reindeer Satin Cutout ribbon on sheer tracing paper to create the effect of flying reindeer, but you can also add snowflakes, glitter, or whatever else you like! You could even use smaller jars and add a little sign with guests’ names inside each one, and use them as table placeholders.
To read more about Johanna’s tree, please visit her blog!
Go for the unconventional and glamorous this holiday season by decorating in lime green, fuchsia and black, it makes a stunning impact when paired with silver! I created some swanky holiday Christmas Tree decor as a centerpiece on my table or mantle using May Arts Silk Ribbon in Lime Green, Fuchsia and Black, and for that little extra bling, May Arts Wired Pearls in Silver.
To read more about Karen’s Tree, please visit her blog!
Looking for a great way to easily make a colorful bow for the top of your Christmas Tree? Head on over to my blog to see just how easy it is.
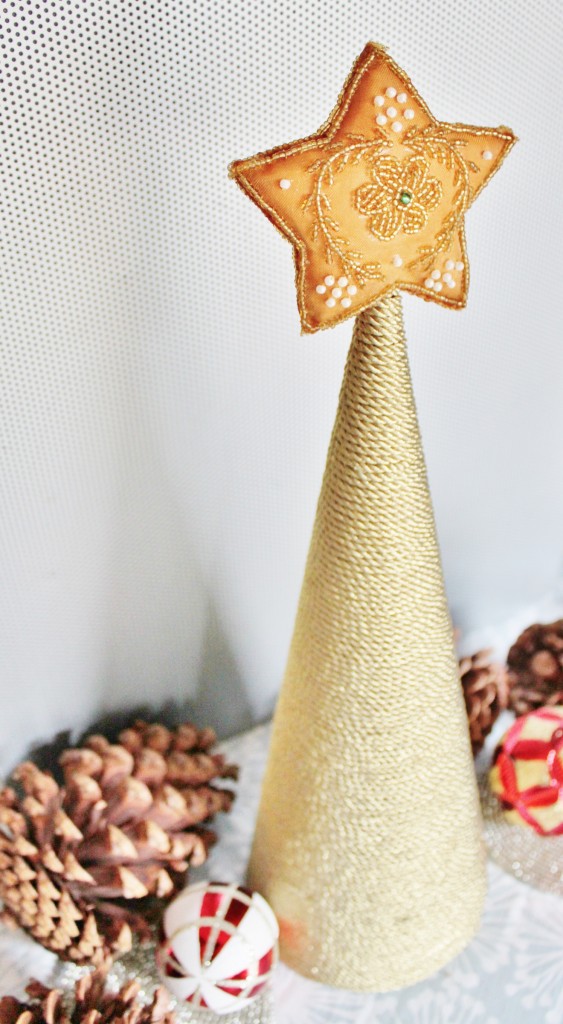
A ribbon tree wrapped in gold cord for a sleek modern Holiday scape.
To read more about Lalo’s tree, please visit her blog!
Lucky me, I had the opportunity to decorate quite a few trees this holiday. I will show you 3 of those trees on my blog! Hope you stop by.
Here is my mini tree! Perfect for any cozy corner that needs a little holiday spirit! I love the versatility of burlap!
To read more about Marie’s tree, please visit her blog!
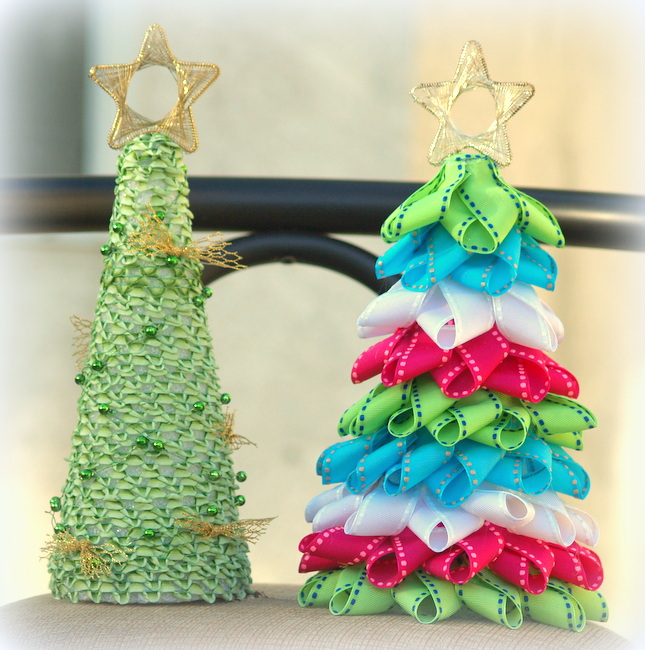
Welcome everyone to my May Arts Festival of Trees!! Ribbon that is. I have made a couple trees all with May Arts trim they are so easy to make and I hope everyone enjoys them. I have posted tutorials on my blog if anyone wants to give one a whirl!! What a fun craft idea for the kiddies to do for the holidays or even as a gift for a friend.
To read more about Monica’s tree, please visit her blog!
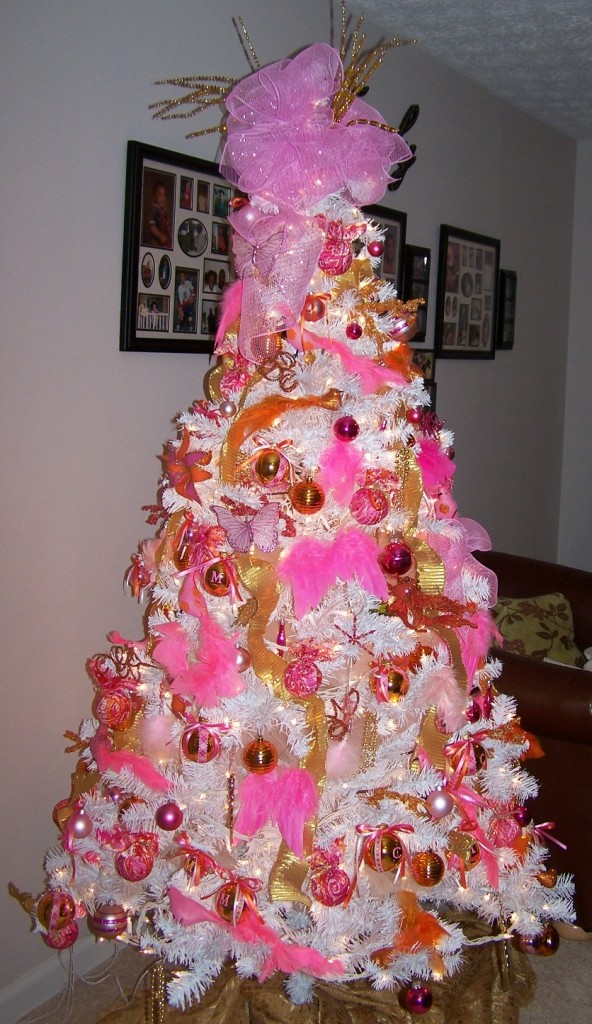
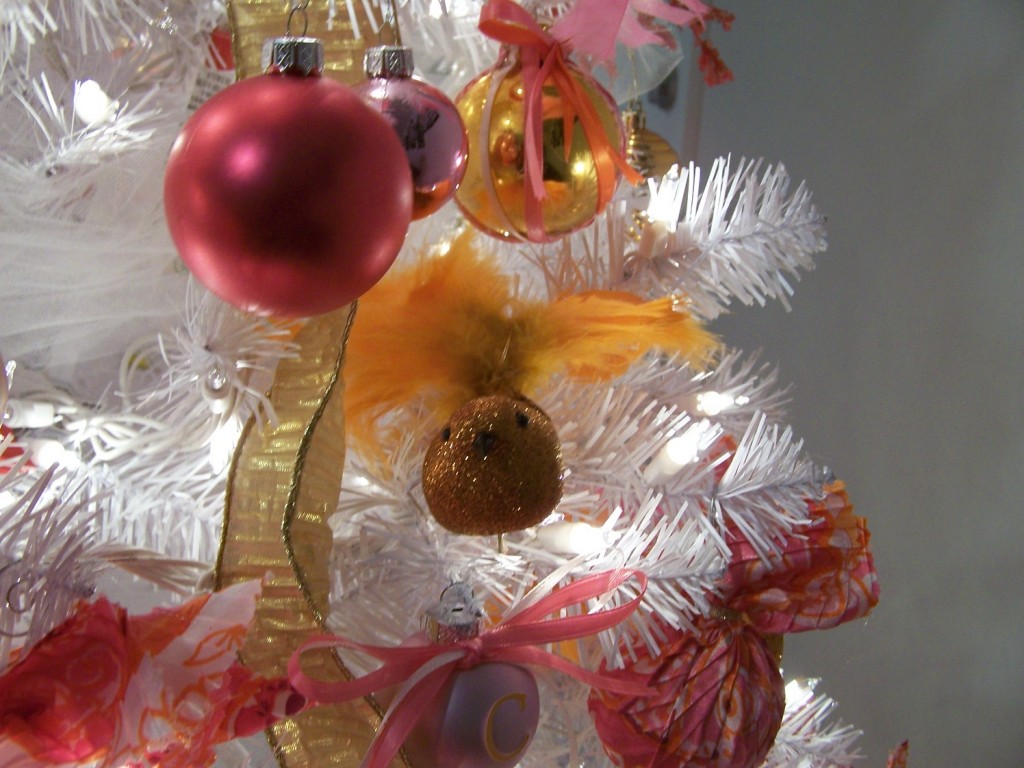
This tree was so much fun to decorate. I got the idea for the orange and pink theme from fabric that I used to make a dress. I loved the vibrant colors and couldn’t possibly throw away the scraps that were left. I made the dress to wear to a summer wedding and didn’t use the scraps until I bought a bag of satin covered ornaments (remember when they were the rave) as Christmas approached. I covered the satin ornaments with squares of the fabric and tied them off with a narrow gold ribbon. The pink and orange tree was born. Not wanting plain solid balls, I began to decorate pink and orange glass balls with contrasting pink and orange ribbon. I also made hot pink birds and added pink wings as ornaments. A large bow made from wire edged netting topped off this not so traditional tree.
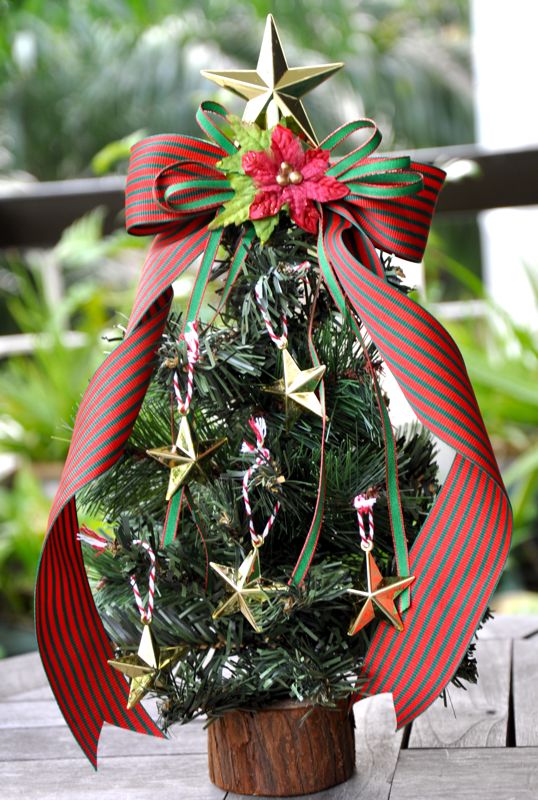
I made this little Christmas Tree as a festive decoration for your office desk or for the side table at home. The focus of the tree is on the ribbon Christmas topper which I created using May Arts ribbons and little poinsettias. Hop on over to my blog for the tutorial on how to create this quick and cheery Christmas decoration. Merry Christmas!
To read more about Susan’s tree, please visit her blog!
Virginia Fynes:
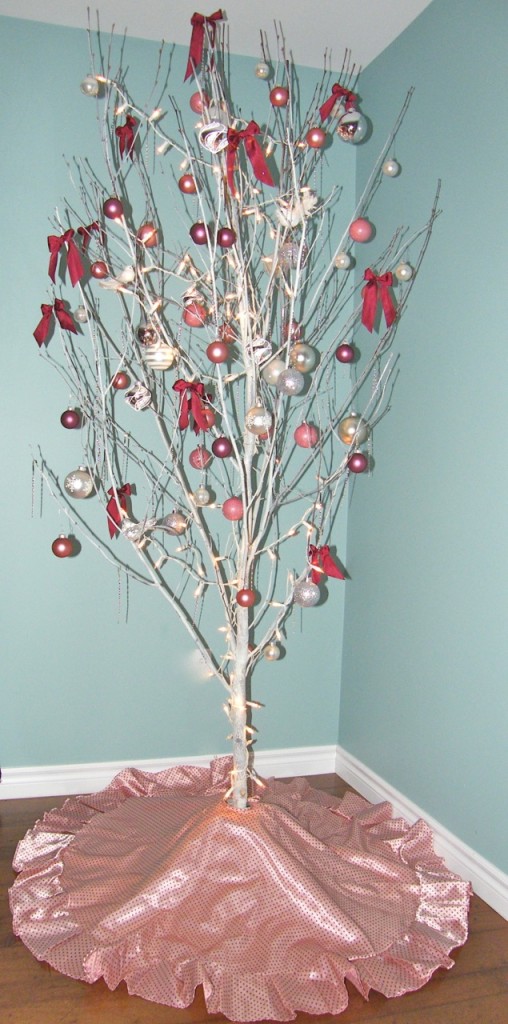
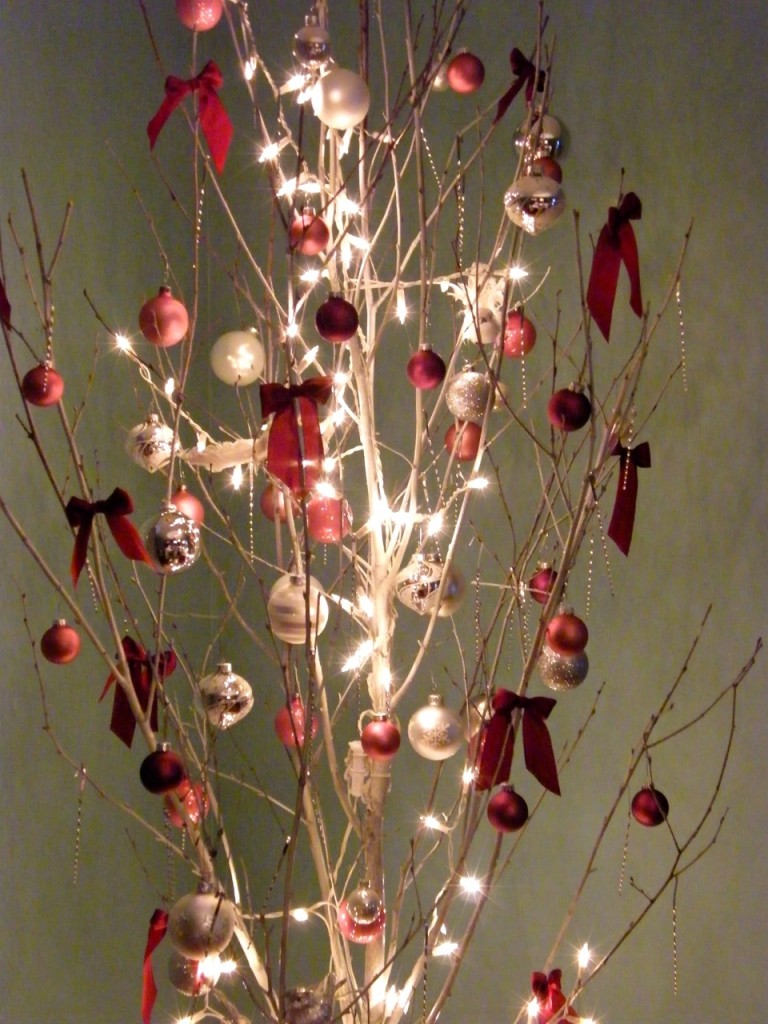
I love to decorate multiple trees at our house every year… and I like to do it early. Since fresh fir trees don’t last long in our wood heated house, I put this birch tree up at the first of the month to get me through until we can have the fresh sent of spruce in the house. I also like to switch up my colors often. This year I chose to decorate my birch with hues of pink, white and silver. The SK25 May Arts Silk Ribbon bows add the perfect punch to this well dressed tree.
Winners!
We have a couple winners! The winner of our first prize is:
AliceW.
wow! beautiful projects and thanks for the inspiration!
The second prize goes out to:
Debby
Wow…I’m overwhelmed with how beautiful it all is. I love the big bows on the presents!
Congratulations, Ladies! Email me at Bethney@mayarts.com with your shipping address to claim your prize!
**all winners have 2 weeks to claim their prize**
**when emailing, please note which giveaway/prize you are claiming**


