How To Make Paper Cord Flowers
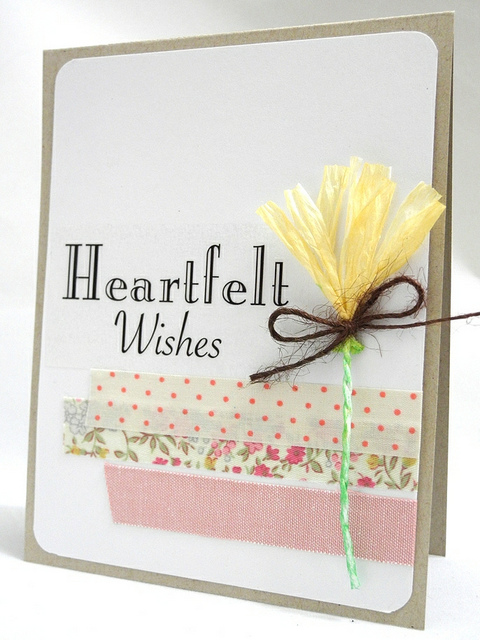
Hello, May Arts fans! This is Jennifer Ingle here and I am super excited to share this fun trick with you today! Have you played with the May Arts Paper Cord line yet? Oh.MY.GOODNESS! It’s amazing stuff! Today I am going to show you how to make some fun little flowers using the Paper Cord.
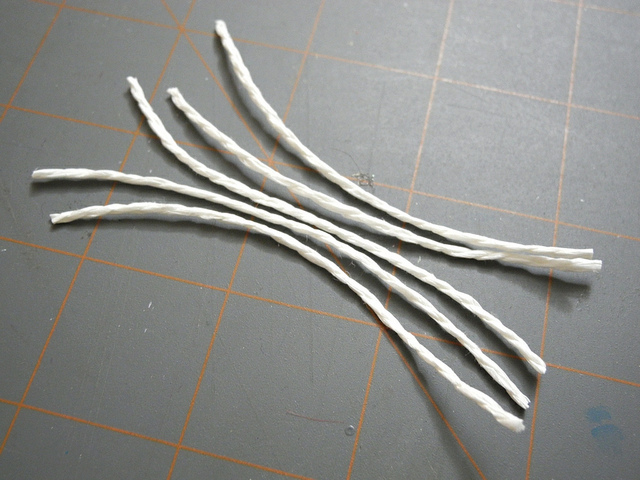
To begin, you will need some water and paper cording in white. Cut the cord into several lengths, a few inches each.
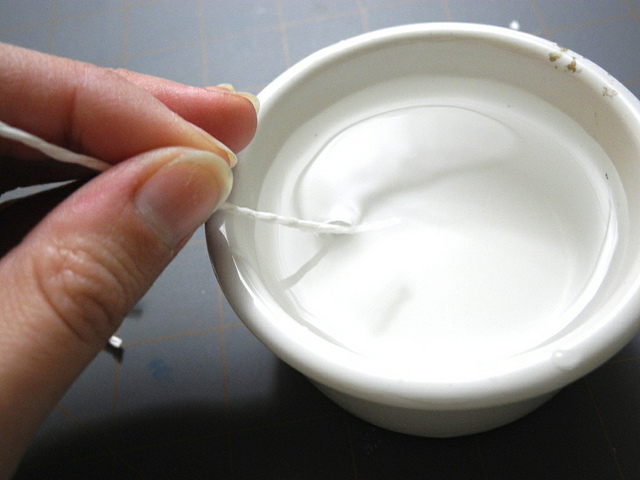
Gently dip the end of each length into some water to moisten it.
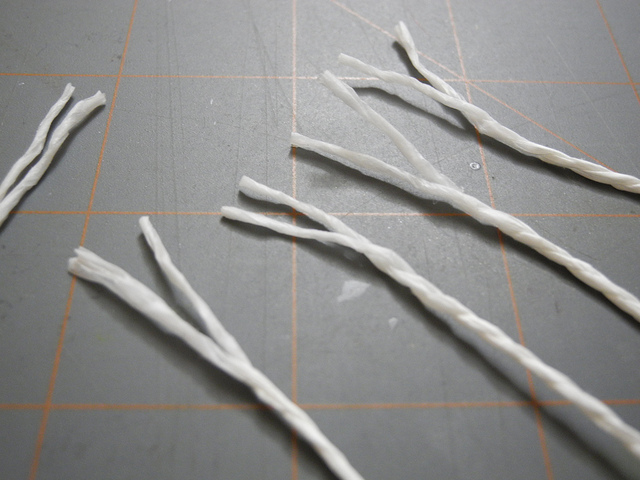
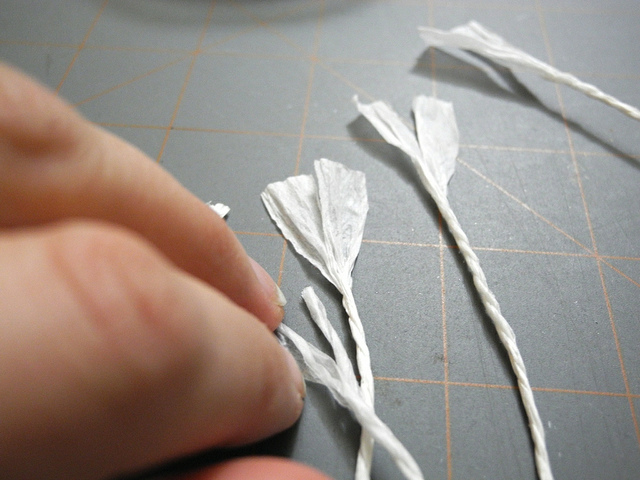
Gently separate the ends – the paper cord is double stranded, so you are basically just unwinding the two strands in this step. Do this for about an inch or so.
Very gently, unroll the paper of each strand and spread it out to dry. Work gently, as the wet paper can tear easily.
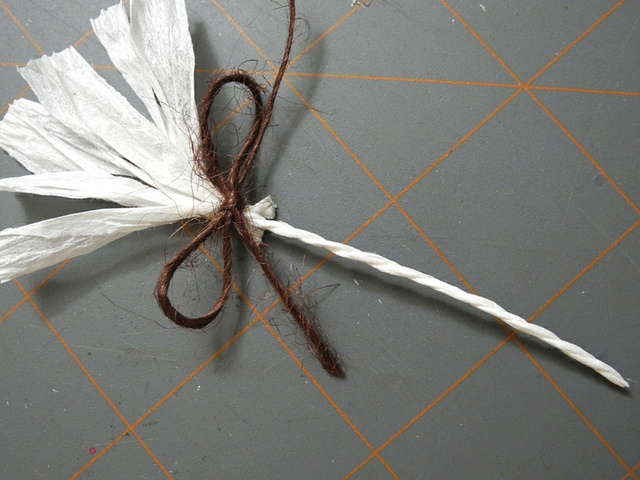
Once the pieces are dry, bring them together in a bundle and tie with some May Arts Burlap String. Trim off any additional stems, so you only have one left. You may want to add a dab of glue to the back of your flower after doing this to secure the pieces.
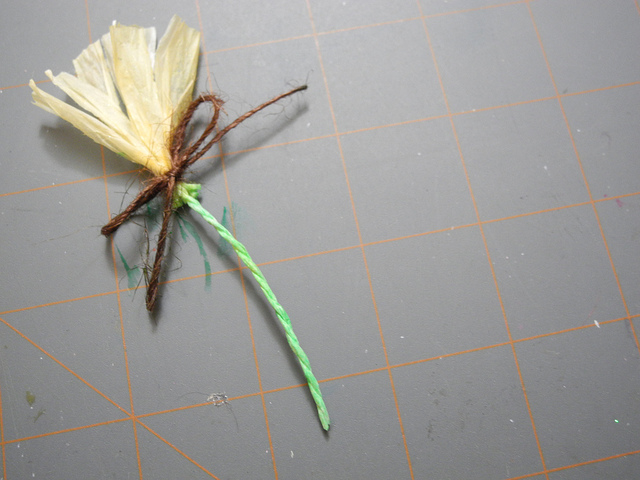
To color your flower, mist the paper with spray ink, masking off any areas you don’t want to have the color you are spraying.
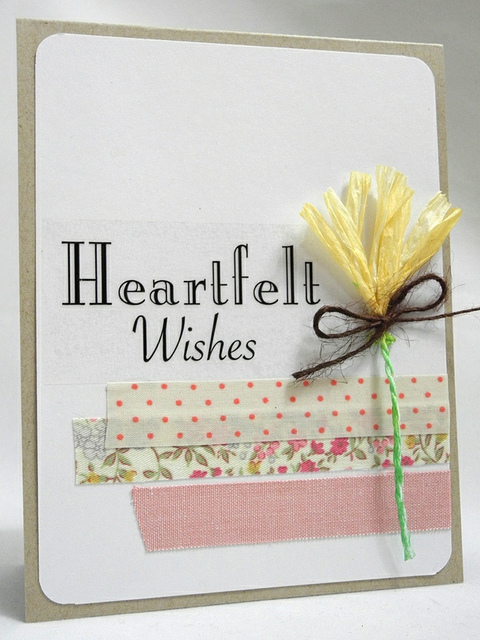
Finally, use your flower as an embellishment on a card, bookmark, or any other project that strikes your fancy! You can even create different types of flowers by arranging them in new ways!
Thanks for visiting and don’t forget to come back tomorrow for more May Arts inspiration!
Blog post by: Jingle
There’s still time to enter both our giveaways!
May Arts Ribbon Used:
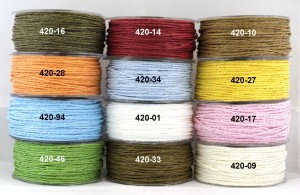
- 420 Paper Cord
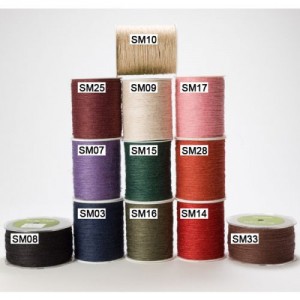
- SM Burlap String


