Tutorial: Birthday Party Hat
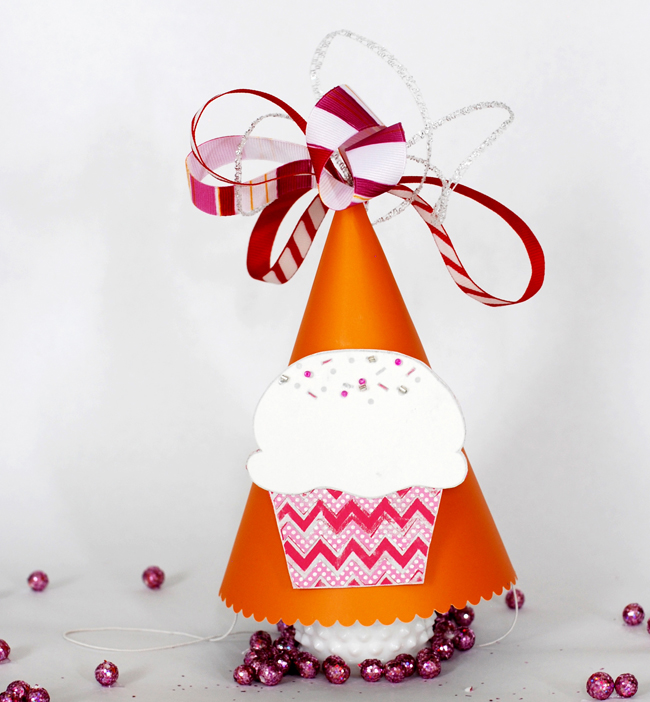
Hi! Tiffin here from Linwood Avenue. I am a firm believer that every small birthday munchkin needs a party hat. A little one blowing out their candles, wearing a super special party hat makes for a great photo! In this tutorial, I combined May Arts ribbon, a Hero Arts® stamp and some brightly colored paper to create such a hat. This tutorial is great, because you can customize it to match any party theme you have.
supplies
– 1 yd – 3/8″ grosgrain diagonal/stripe (3363814)
– 1 yd – 7/8″ grosgrain horizontal/stripe (3427822)
– 1 yd – 1/8″ curly/sparkle (SE31)
• 4 sheets of coordinating colored paper
• Party hat (existing image doesn’t matter)
• Spray adhesive
• Straight and scalloped scissors
• Tape (regular and double stick)
• Silver stamp pad
INSTRUCTIONS
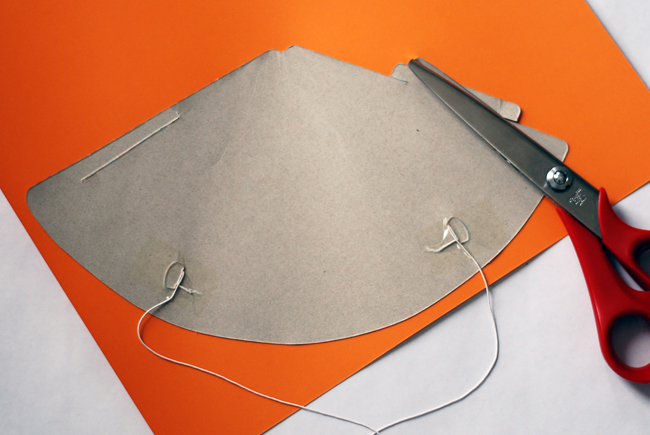
Step 1 – Open existing party hat and spray glue the image side, then adhere it to your orange paper.
Step 2 – Trim edges of orange paper to follow line of existing hat. If you have scalloped scissors, you can add a decorative trim to the bottom edge. Trim 3/8″ off of the top loop of the hat to allow space for ribbon.
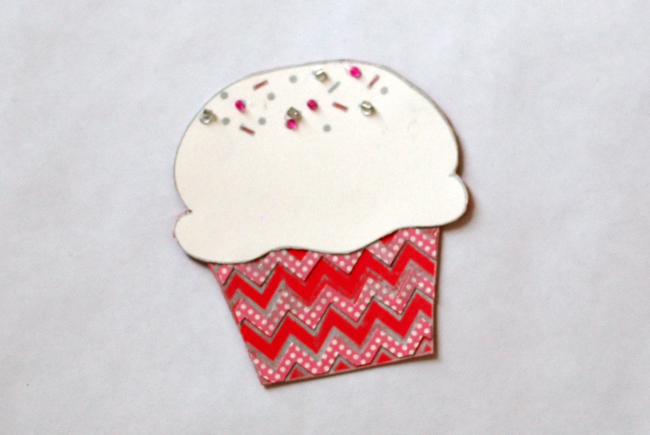
Step 3 – Using silver stamp pad, stamp cupcake image onto 3 remaining sheets of paper.
Step 4 – Cut sections of stamp out of each page to create a layered cupcake. Use spray glue to adhere pieces. Glue on decorative beads as sprinkles if you want. Set aside.
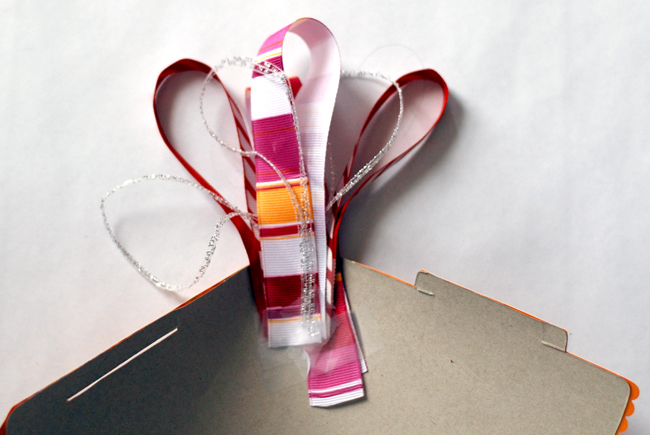
Step 5 – Cut your ribbon into 10″ strips, loop and tape to inside of the hat.
Step 6 – Fold your hat back into a cone shape and insert tab into existing slit. Tape flap to the inside of hat if needed to secure in place.
Step 7 – Run a strip of double stick tape down the center of the cupcake and adhere to the front of your hat. With tape only down the center, this will allow your cupcake to pop off the background.
Blog post by: Tiffin Mills
Download the tutorial to this project Here!
Be sure to hop on over to Hero Arts for more inspiration!


