Tutorial: Popcorn Christmas Ornament
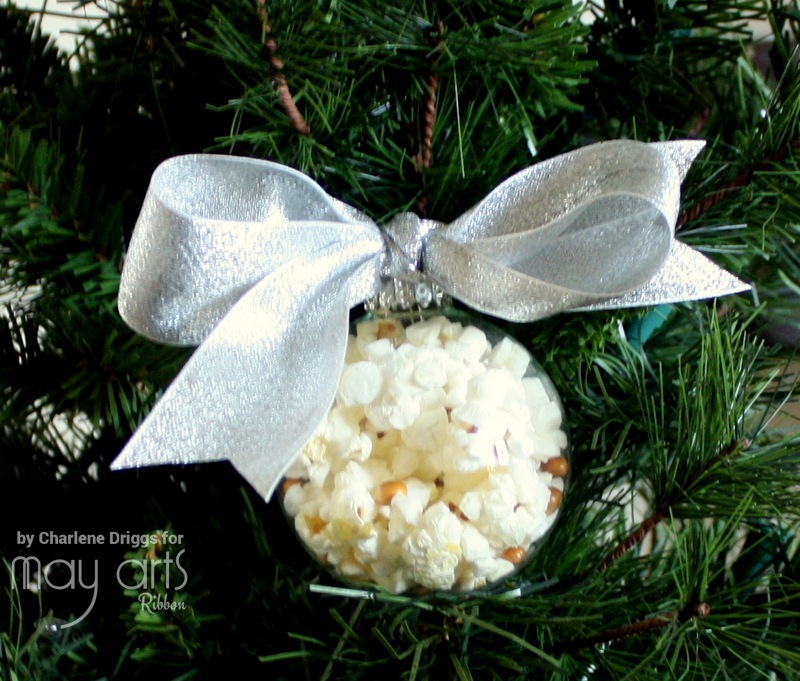
While perusing Pinterest, I happened upon a “Magic Ornament”. Magic? Well, yeah, how did they get that popcorn in the ornament without smashing it to bits? That’s where the magic comes in! The original idea comes from make-stuff.com.
I’m always looking for kid friendly crafts and ways to use up some of my scrap ribbons and these are so quick and easy, you’ll want to make them for friends, teachers and neighbors.
Here’s what you’ll need:
- Clear glass ornaments plastic will melt. (I got mine at Michael’s. They’re 2.63”)
- Brown paper bag
- 1-3 teaspoons popcorn (Be sure to use fresh popcorn. Mine is a bit stale so all my kernels failed to pop.)
- May Arts Ribbon
Remove the metal cap from the ornament and pour in the popcorn. I started with 3 teaspoons but it was too much. 1 ½ teaspoons was about right.
Remove the metal cap from the ornament and pour in the popcorn. I started with 3 teaspoons but it was too much. 1 ½ teaspoons was about right.
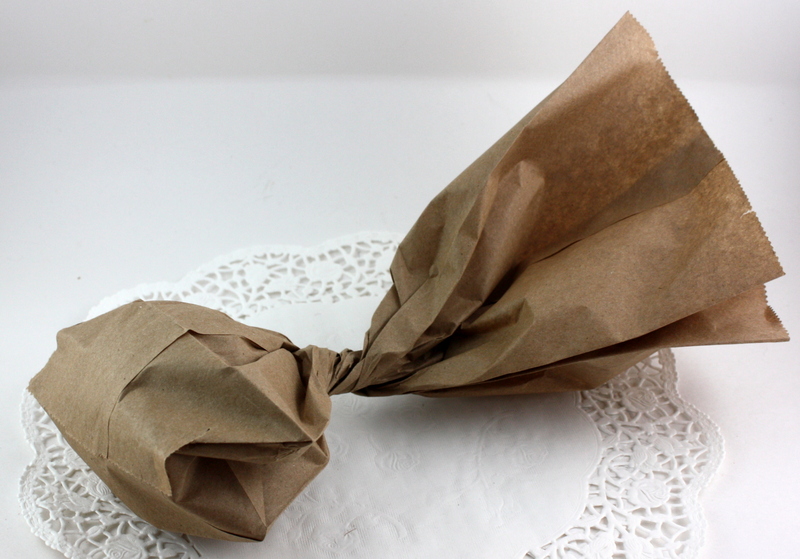
Place the ornament in the brown paper bag then twist the bag tightly around the ornament. Place the bag in the microwave. Be sure to watch it and remove when the popping stops.
Open the bag carefully as the ornament will be hot. (Parental supervision recommended)
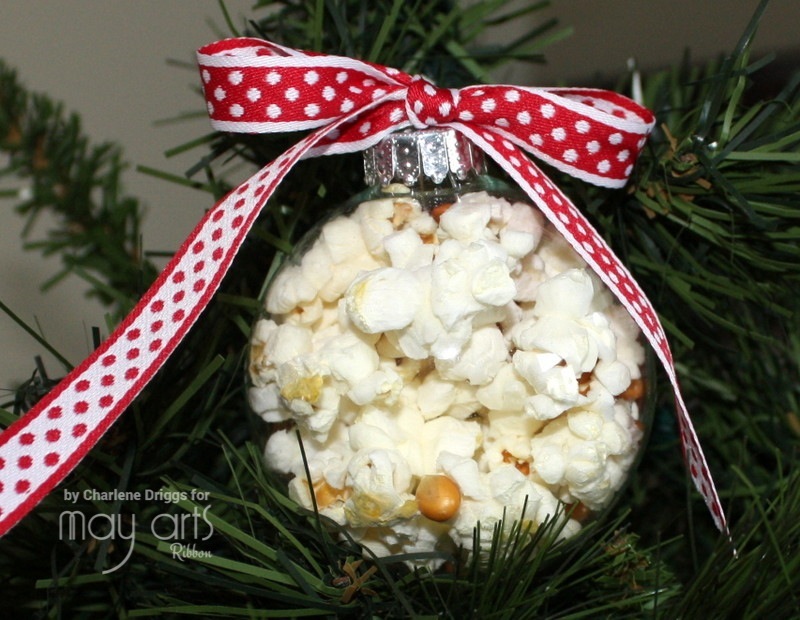
Let the ornament cool, replace the cap, tie on some pretty May Arts Ribbon and done! Everyone will wonder how you did it. Magic!
Here’s a tip for re-using any extra ornaments after the holidays. Remove the ribbons and caps and fill the ornaments with water. The popcorn will shrink and soften so you can just shake it out. Rinse the ornament thoroughly and let dry before storing.
Thanks for joining us on the May Arts blog!
By Charlene Driggs
Other Supplies Used:
- Glass Ornaments – Michaels Stores
- Popcorn kernels
- Microwave oven


