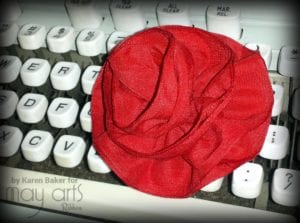
DIY: Retro Red Rose Hair Pin
I was offered to join in for a retro photo shoot and couldn’t turn down the chance to dress up! I had everything on hand except for something to enhance a victory roll hairstyle. Since I don’t have any girls of my own, and often don’t do anything special with my hair, I knew I had to reach for my May Arts Ribbon to make a retro-styled hair pin!
This retro red rose hair pin was so easy to put together!
- I cut two 48” lengths of red 1.5” faux linen ribbon, laid them on top of each other and then did a simple, running stitch along one edge of the ribbon. My hand stitching isn’t the best, but… it doesn’t matter, because this part gets covered up in the end!
- After completing the running stitch along the entire bottom of the ribbon, I pulled on one end of the thread while keeping taught the other end. This created a rouching effect.
- Next, I rolled the ribbon onto itself, adhering with glue along each bend.
- After the rose was formed, I attached a hair pin to the back with hot glue as well. (If I were giving this as a gift, I would have adhered a circle piece of matching felt or fabric to the rolled flower before affixing the hair pin, just to make it more visually appealing to the eye.)
I separated the two pieces of ribbon from each other to give the rose a full bloom effect. The faux linen ribbon is perfect for this project! The ribbon comes with a sewn edge so there is no fraying, and it is rigid enough to keep its shape, but delectably easy to work with due to it’s soft weave. I also really like that May Arts and The Ribbon Resource offers many colors of this faux linen ribbon. Can you imagine the sweet look from a rose made with the soft pink?
Ribbon Used:
Other Supplies:
- Hair Pin
- Hot Glue
- Glue Gun
- Thread
- Needle


