How To: Ribbon Bow Tie
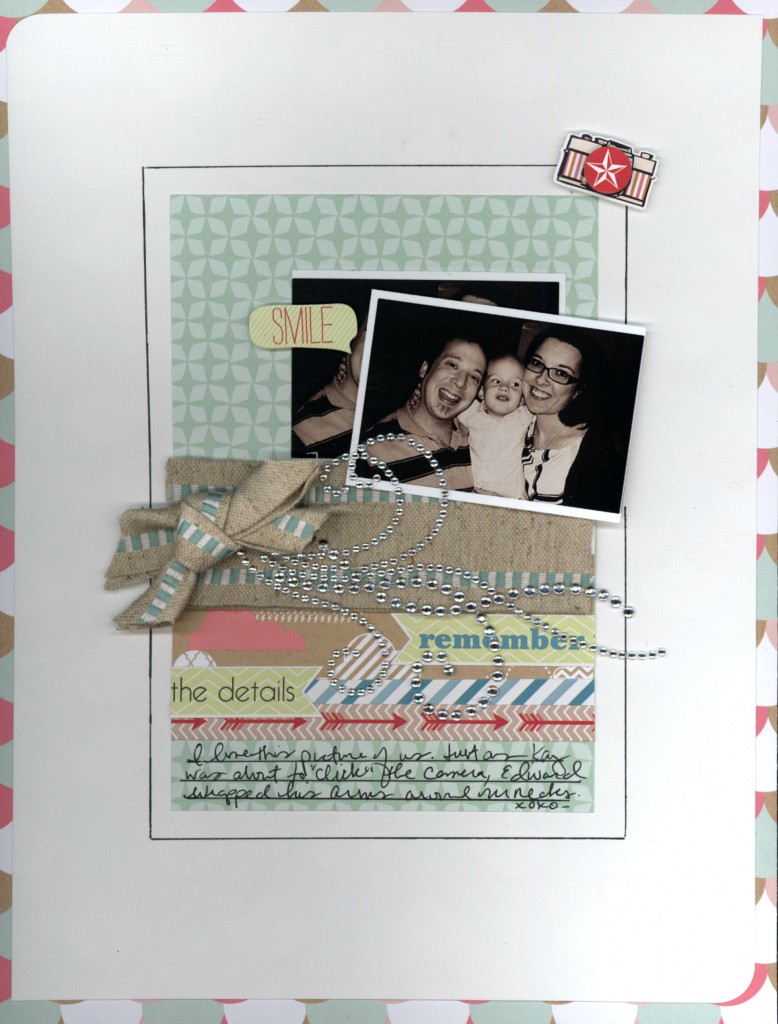
Hello ladies. Nicole here today with a tutorial on how to create a bow tie. 🙂 Just recently, my cousin mailed me a photo that she took of me with my hubby and son on Easter. I’ve been asking for months to see the picture she took on her camera (this is why I like to take pictures on my camera) and she finally mailed it. I love this picture, it makes me smile. I think the Echo Park papers and stickers work so well with the photo. What a happy layout!
Instructions:
- Cut two pieces of ribbon. Cut one piece at 3” and another at 6”.
- Create a border from ribbon by stapling the ribbon onto the paper.
- Wrap the 6” piece of ribbon around the 3” piece of ribbon and tie it.
- Using scissors, cut the edges to make them pretty.
- Adhere foam square to the back of the bow and adhere it to the border.
Blog post by: Nicole Martel
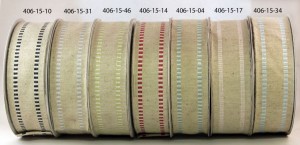
May Arts Ribbon Used:
- Natural Burlap with Striped Edge


