DIY House Decor: Ribbon Christmas Tree
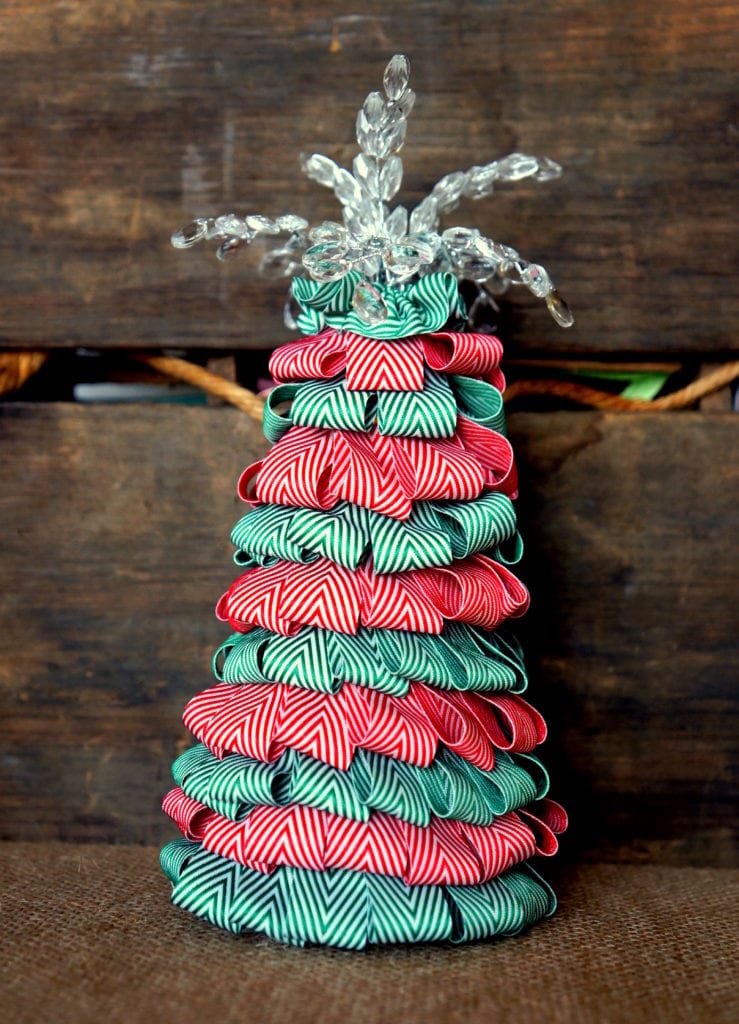
It’s that time of year where we start thinking about Christmas. Can you believe that the year is almost over? I know I can’t and it’s hard to believe that I’m already thinking about Christmas when it seems like I just finished with New Year’s! Since we are talking about the holidays, I have a nifty little decoration idea that is quick, simple and super inexpensive.
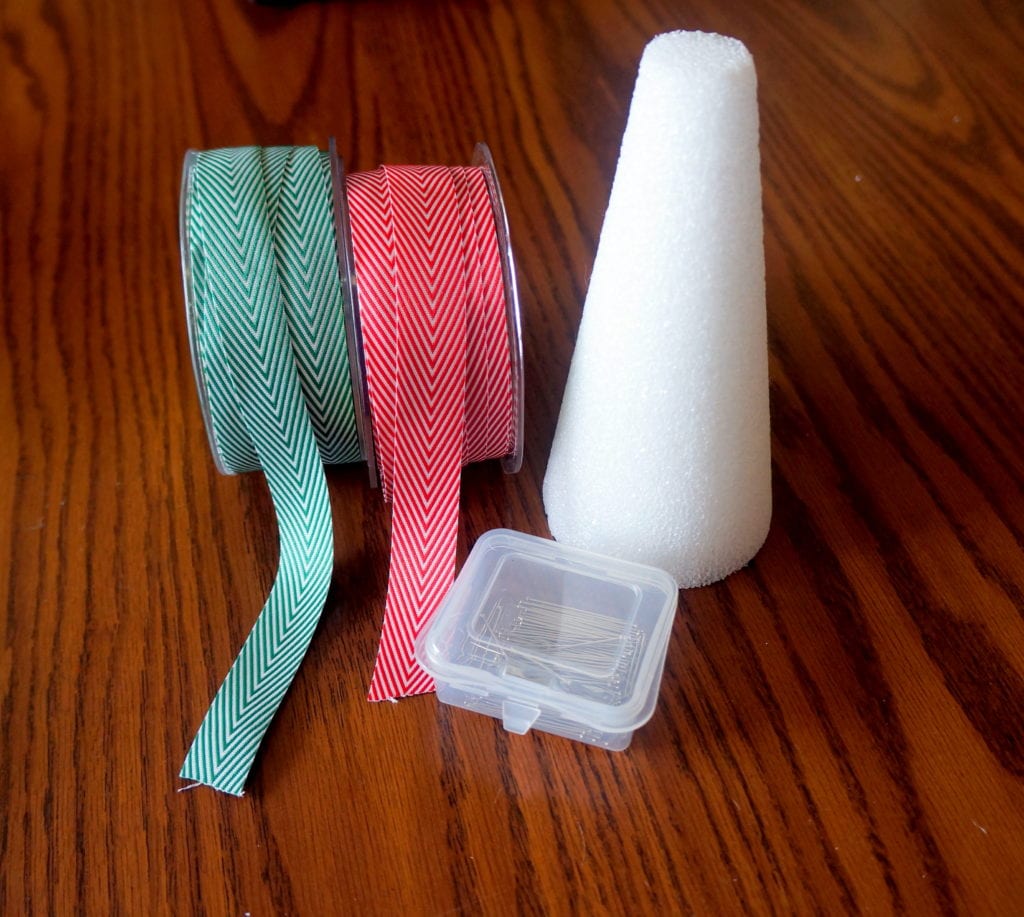
All you need is a couple spools of your favorite May Arts Christmas Ribbon, some straight pins, a styrofoam craft cone, and a cool li’l tree topper. I used some of my Chevron Twill, in red (382-34-14) and green (382-34-15).
Step 1:
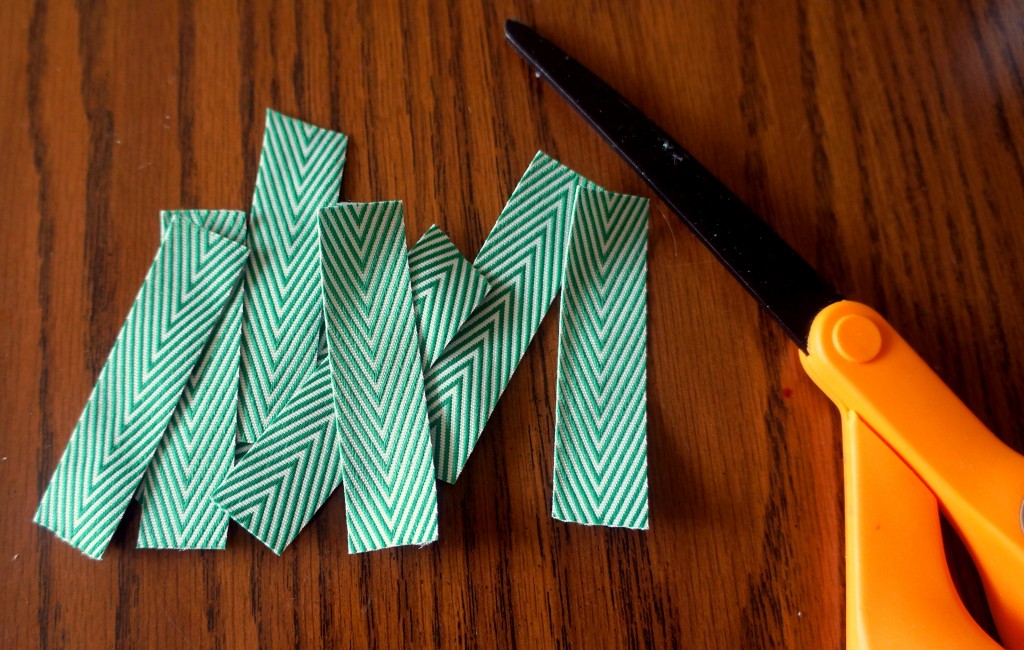
Cut your ribbon into strips that are about 3 inches long. There’s no need to cut a bazillion of them at one time. I cut a few as I needed them to prevent waste.
Step 2:
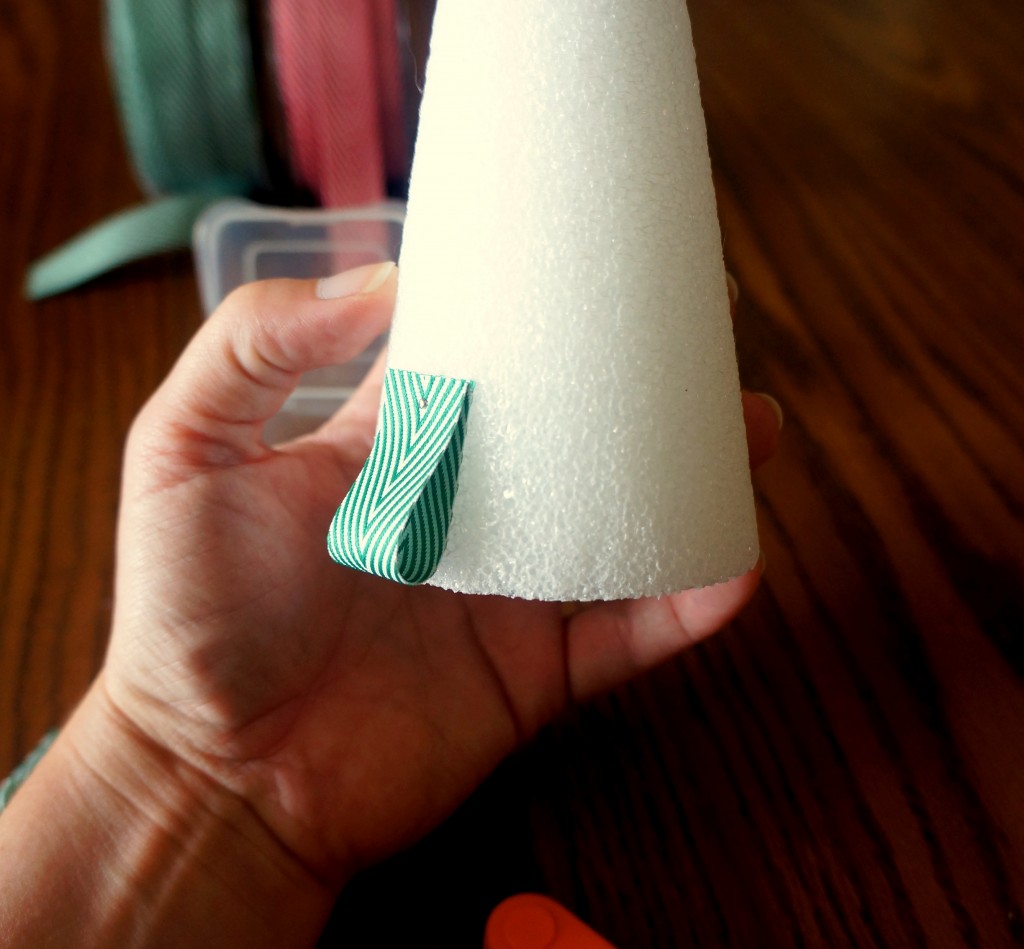
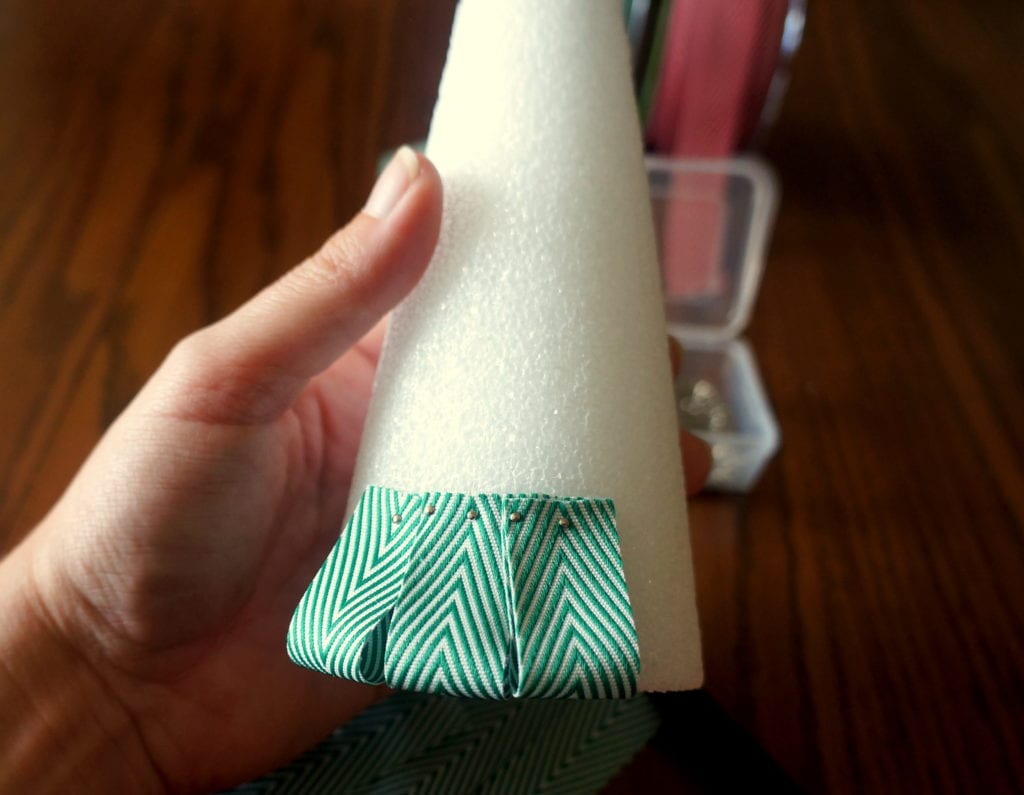
Fold one strip into a droopy loop and stick a straight pin through the ends. Then, pin the droopy loop to your styrofoam cone. I found it easier to work from the bottom toward the top, but whatever floats your boat.
Work your way all the way around the cone.
Step 3:
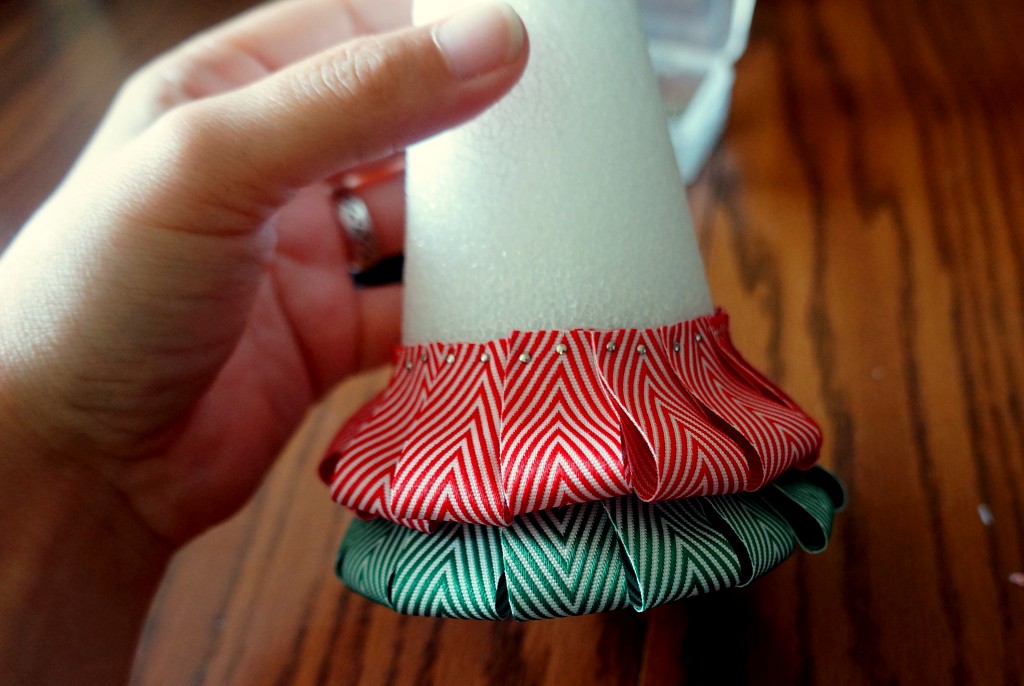
Add your second color, if you chose one. Make loops and pin them just as you did in step 2.
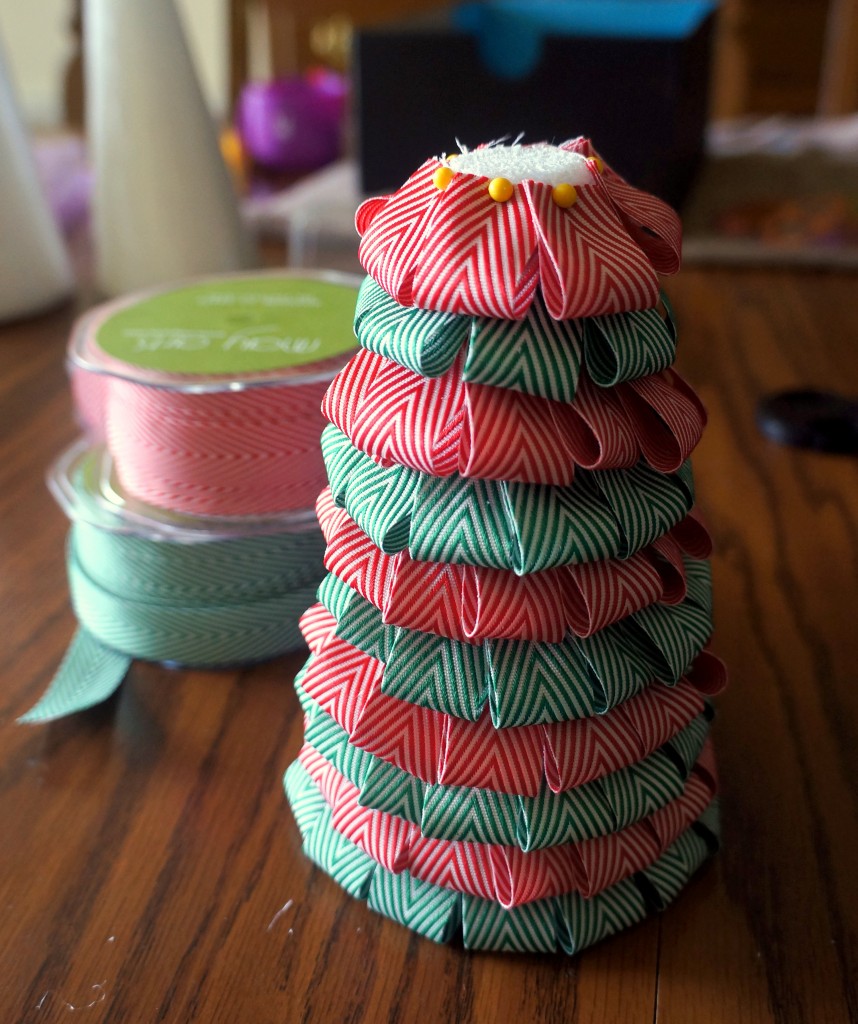
Keep making droopy loops and alternating your colors until you reach the top of the cone.
Step 4:
Now it’s time to hide the top. For mine, I used some more chevron twill and sewed a ruffled flower.
Simply use a needle and thread and do a running stitch along one edge of the ribbon. As you stitch, pull the thread through causing the ribbon to ruffle. Keep going until you have made a complete circle. Secure the ends and call it done.
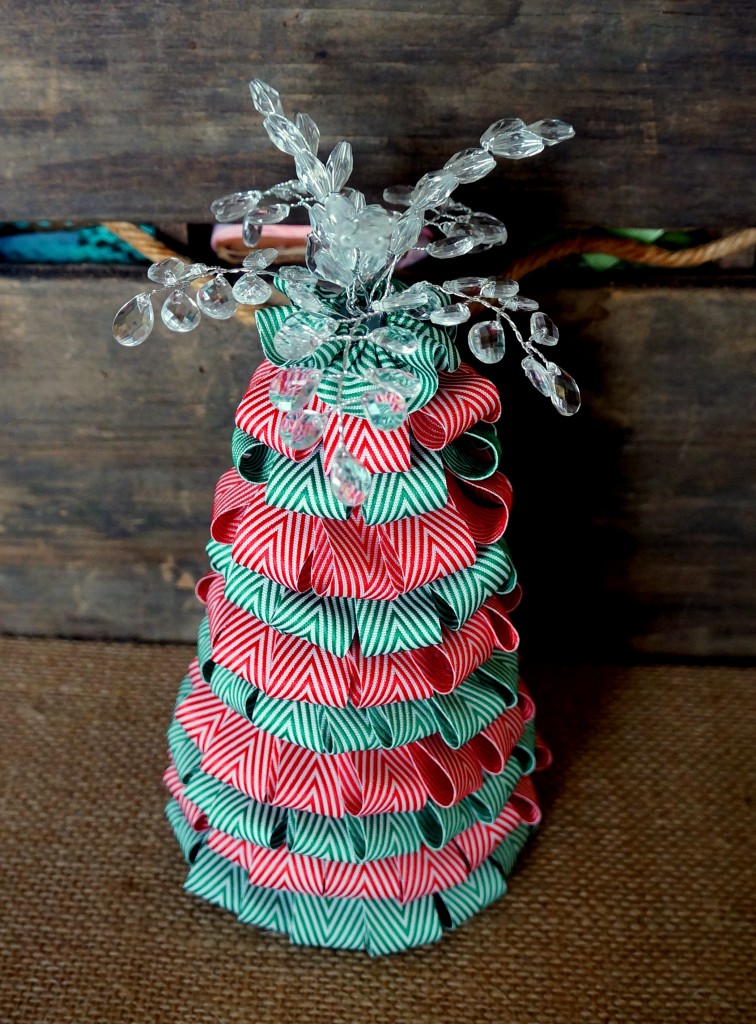
I grabbed my ol’ reliable hot glue gun and glued the ruffled flower to the top of my cone and added some crystal bead sprays that I had in my stash.


