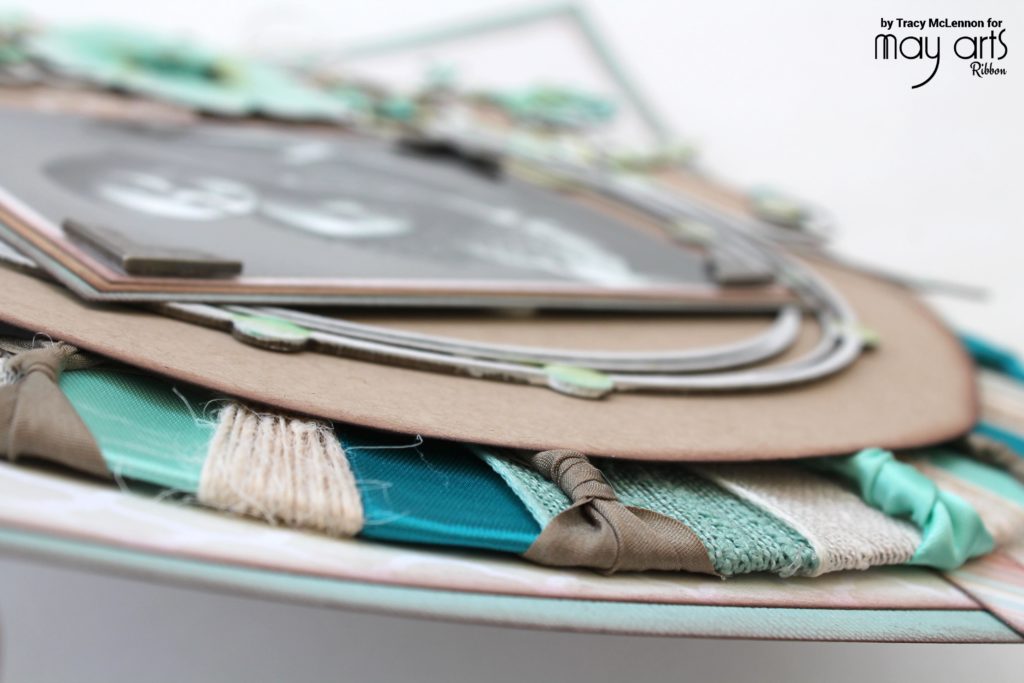
Craft Idea: Scrapbook Layout – Create a Ring of Ribbon
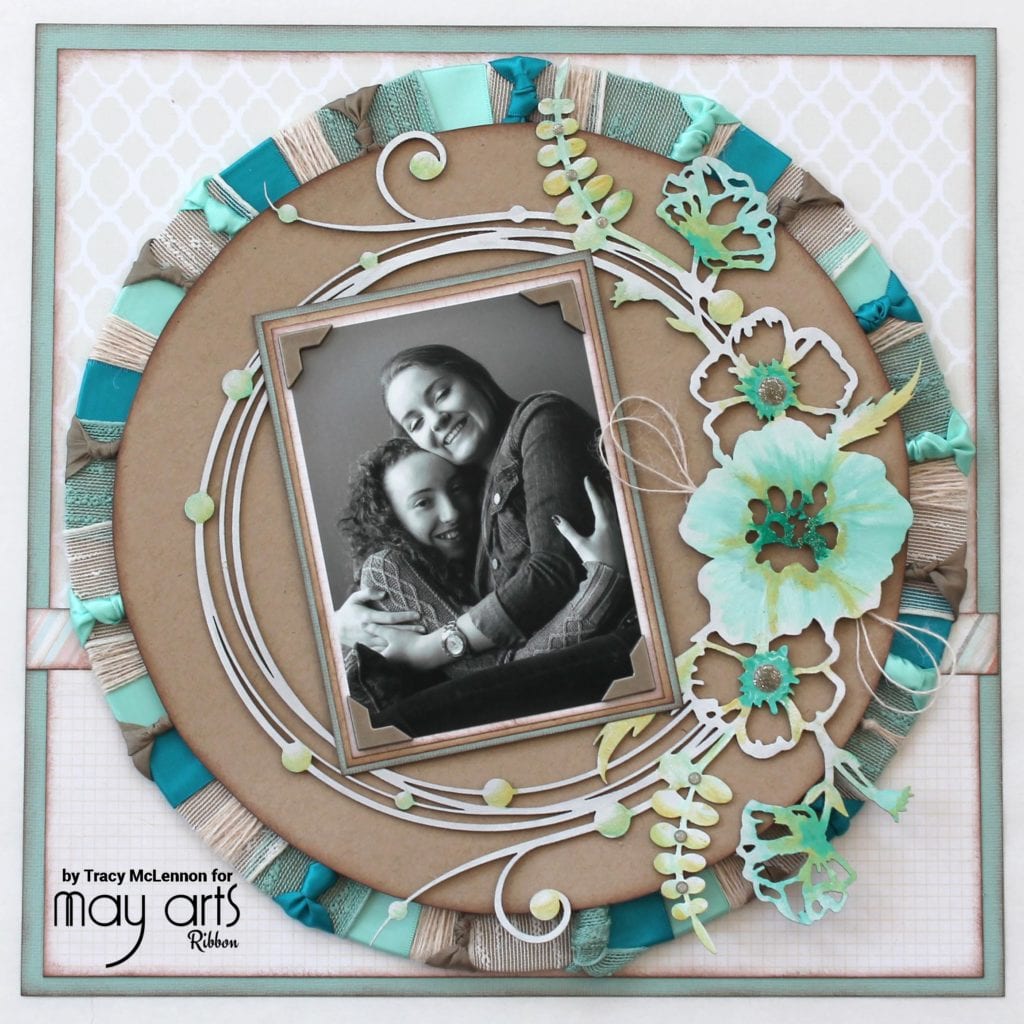
Have you ever been laying in bed, unable to fall asleep and come up with a GREAT layout idea. Well this is one of mine come to life. But I will warn you now…it was a lot more work than I would have thought! Here is my finished product.
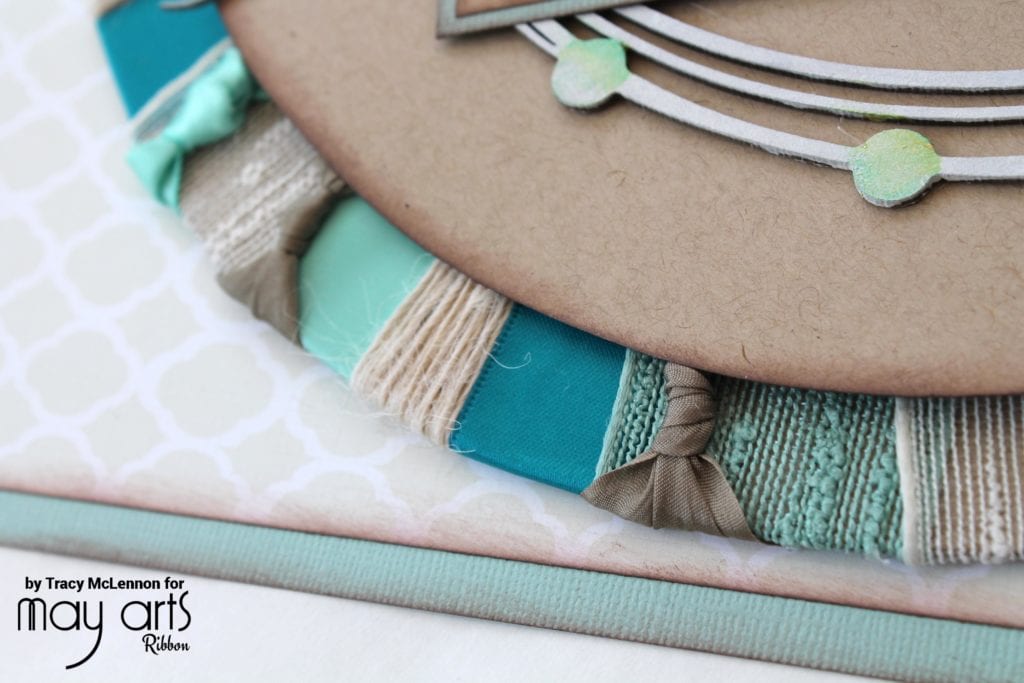
I started this layout by creating a large “chipboard ring”, that is about an inch wide. It does not have to be perfect, as once the ribbon is wrapped around it, it will hide lots of little flaws.
Then I began wrapping pieces of ribbon around the ring. I used both my ATG adhesive and a hot glue gun throughout the process. You will be able to pre-cut pieces of ribbon for the process, some a little longer so that you are able to tie a knot in the middle.
Project Recipe:
- Ivory Burlap String
- Ivory and Seafoam 1.5” Frayed Thread Ribbon
- Teal and Robin’s Egg Blue 7/8” Double Faced Satin Ribbon
- Taupe 1.25” Silk Ribbon
- Blue Fern Studios Chipboard Flourish
- My Mind’s Eye- Follow Your Heart Collection
- DecoArt Paints
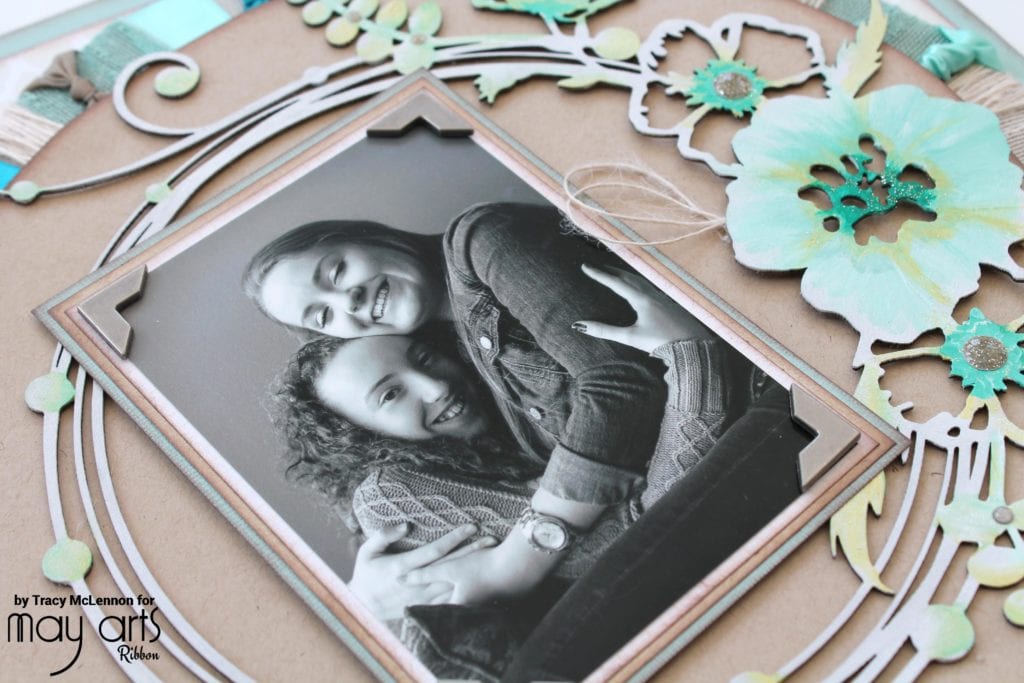
- Glitter, Metal Photo Corners and Enamel Dots
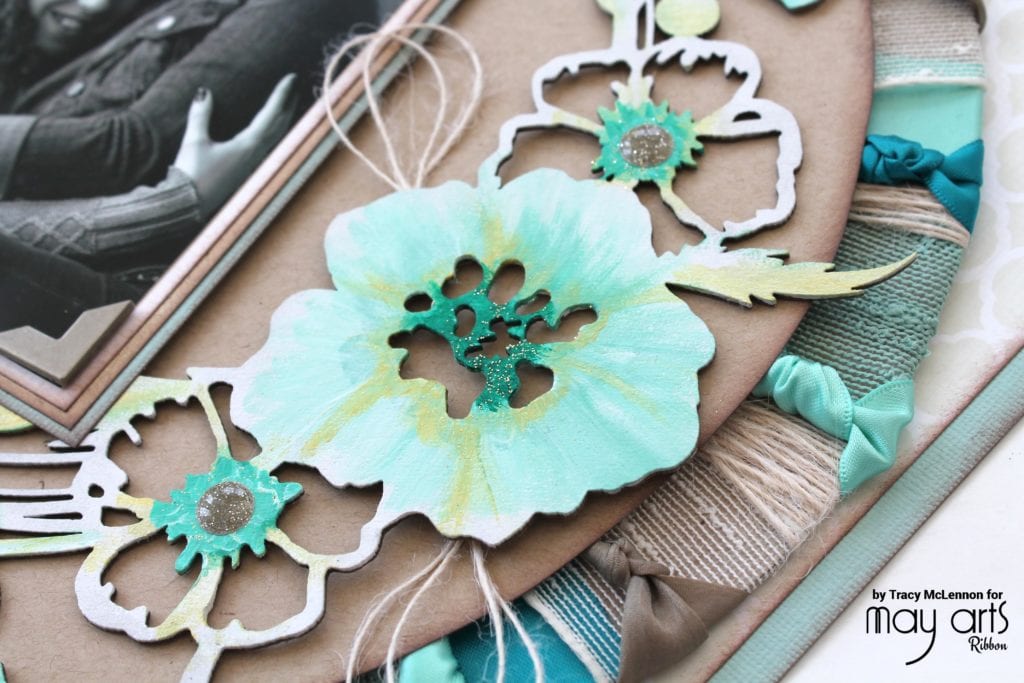
I painted the chipboard flourish white, and then added the other hints of color while the white paint was still a little wet. Once I felt I was finished I also add some loose glitter in a few places and it stuck to the wet paint.
Once I had started to assemble my layout I quickly realized that it turned out a little thick. SO I’m not sure if it’s going to fit in an album. But I adore it, so I think it may go in a shadow box frame instead.
Thanks so much for stopping by to check out my Ribbon Ring layout.
By Tracy McLennon


