How To: Scrapbook Layout using Ribbon Banners
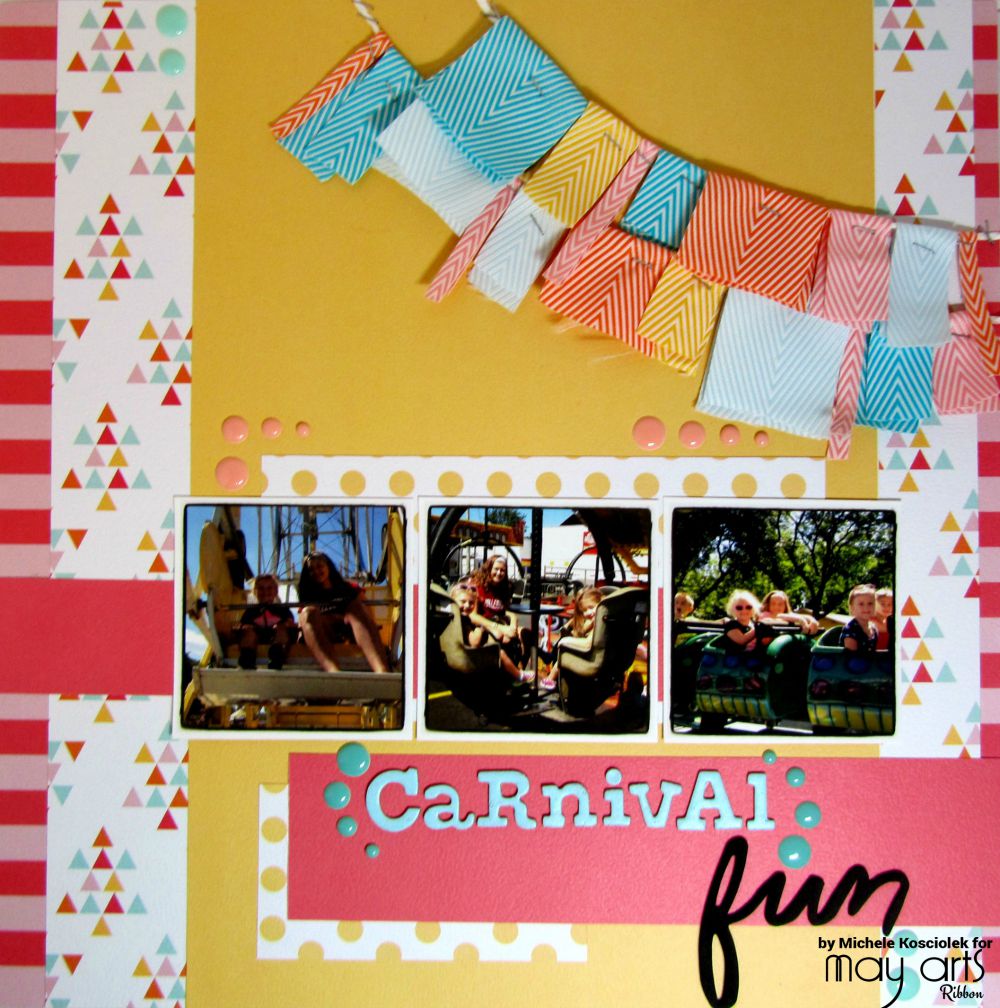
Calling all scrapbooking ribbon LOVERS!! Michele here today with fun ribbon banners, they are a great embellishment for any layout.
This Chevron Twill is my ALL TIME FAVORITE…in every color and all widths!!
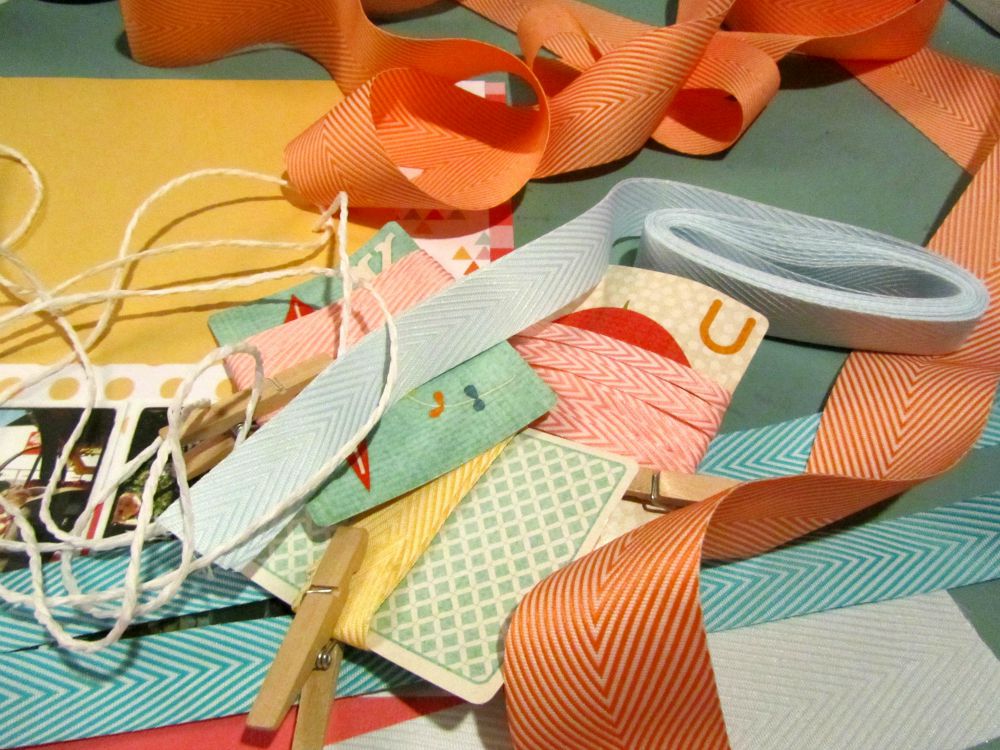
Here is what you will need.
May Arts Ribbon Used:
- ¼ Inch twill ribbon with Chevron Stripes– orange and pink, 6-8 inches each
- ¾ Inch twill ribbon with Chevron Stripes– yellow, pink, light blue and turquoise, 6-8 inches each
- 1.5 Inch twill ribbon with Chevron Stripes– orange, light blue and turquoise, 6-8 inches of each
- Paper Cord Ribbon– white, 18 inches
Other Supplies Used:
- Fancy Pants Summer Fun
- Tim Holtz Tiny Attacher
- Thickers
- Distress Paint
- MME Enamel Dots
I started by piecing together paper to create my 12×12 base, added the photos and some additional paper elements for the title.
Then I was ready to create my banners.
I first determined how long the paper cord needed to be for the banners.
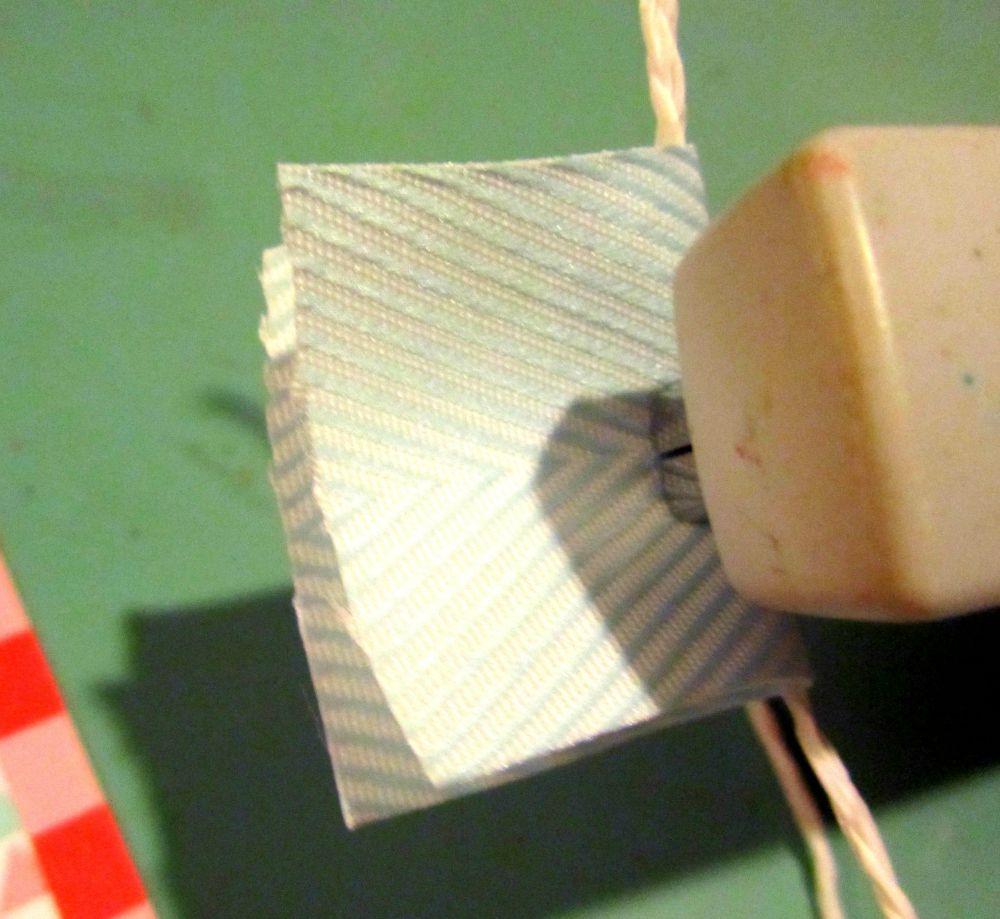
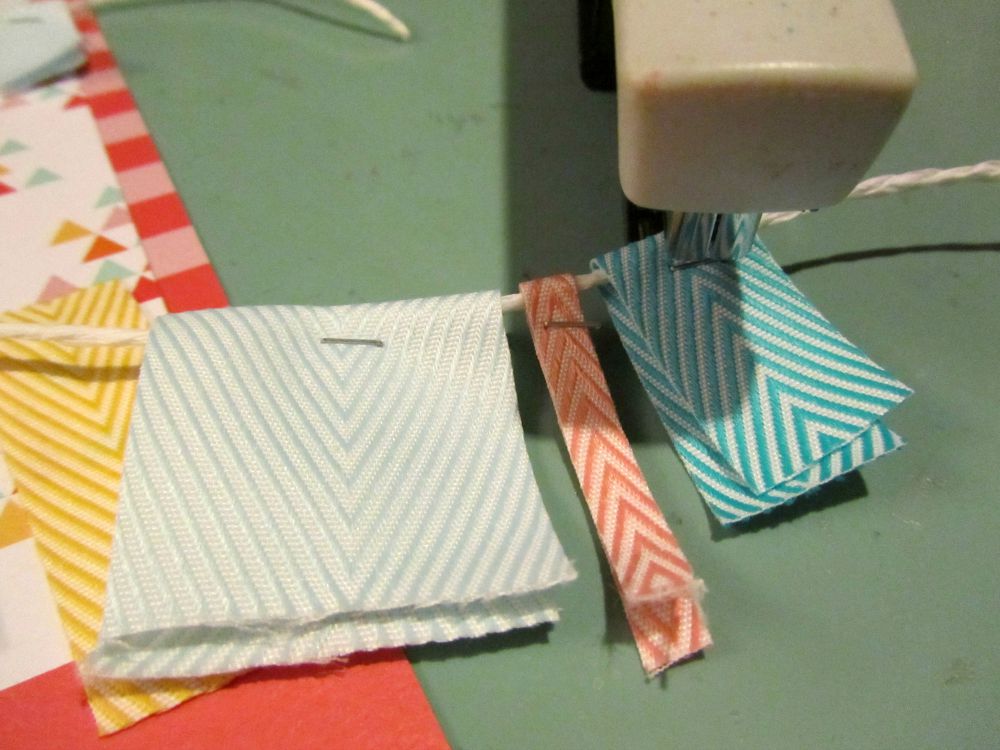
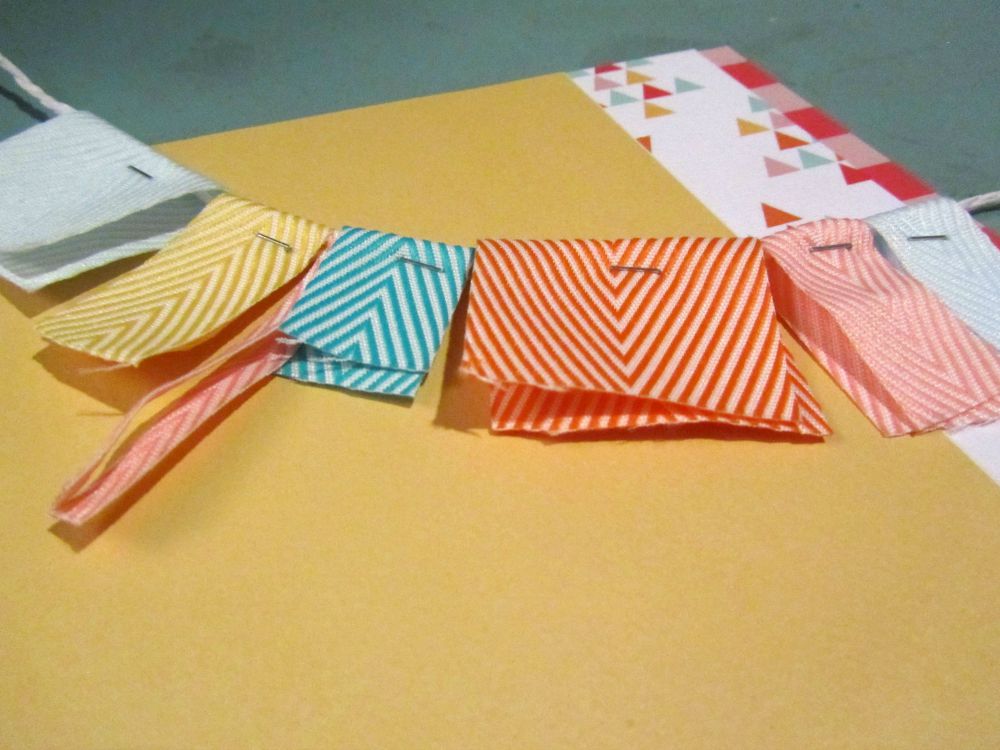
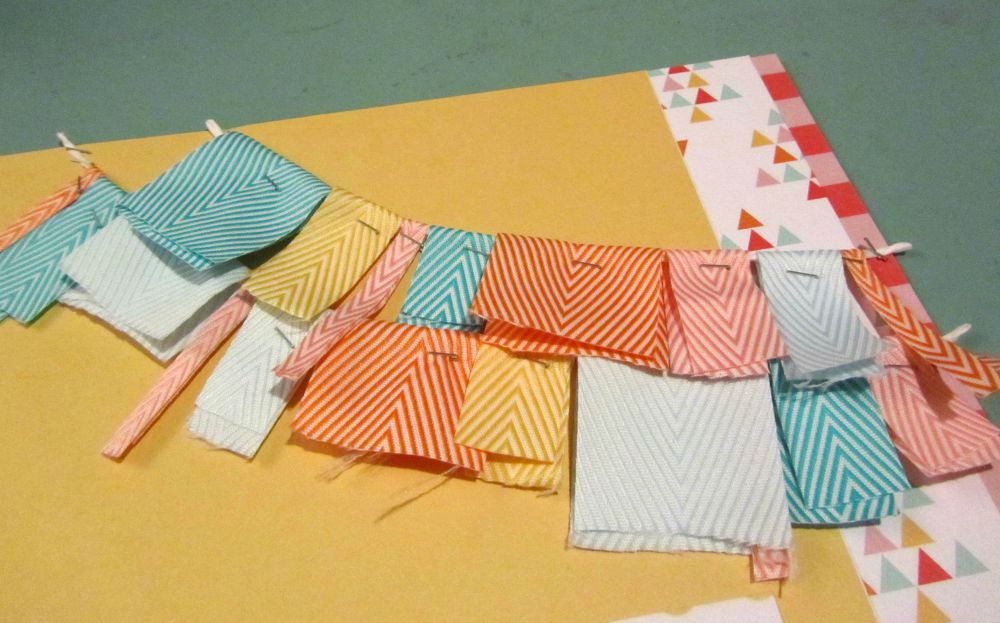
I cut pieces of ribbon to various lengths and stapled over the paper cord.
I continued alternating colors and thicknesses.
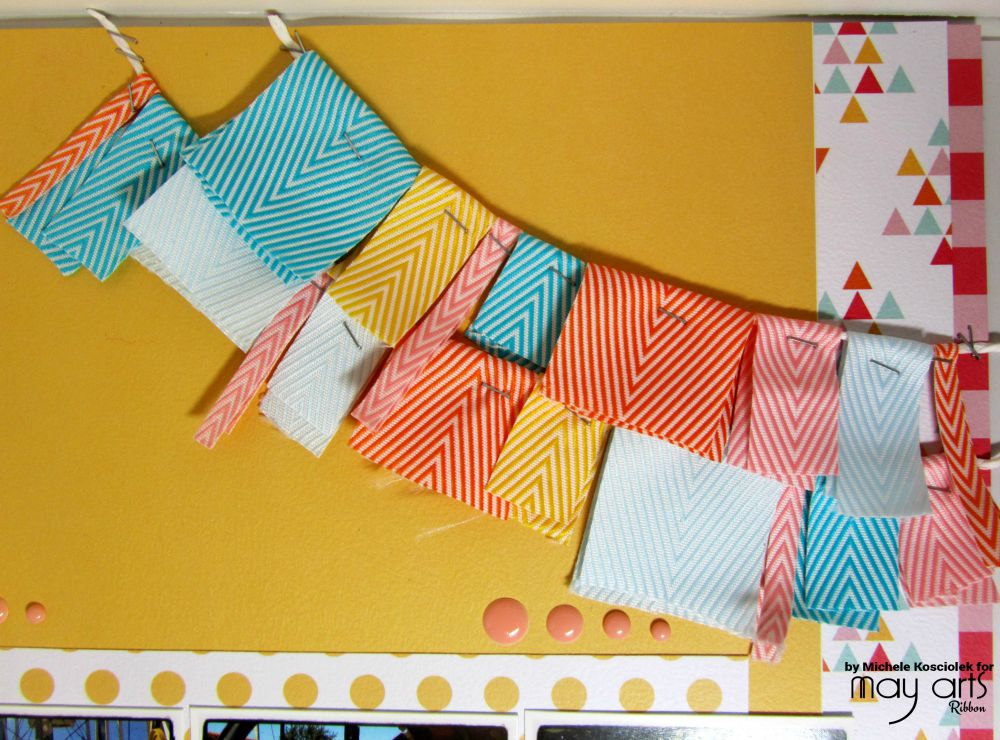
I laid the top banner out making sure the colors were arranged the way I liked them.
And then tried them both together, like an audition.
Then I committed and stapled the ends down.
One more close up of the finished banners…
Until next time…wrap everything in ribbon!


