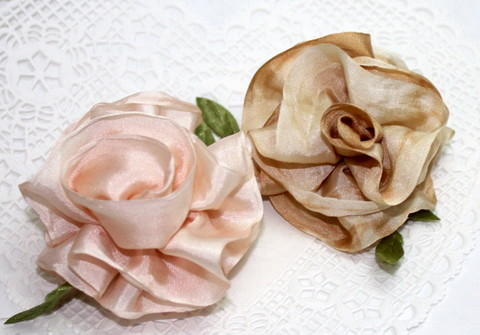
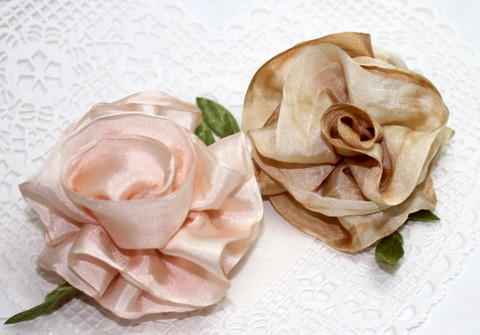
Make Your Own Silk Ribbon Roses
Welcome back to the May Arts blog! If there’s anything more beautiful than May Arts Silk Ribbon; I haven’t found it yet. I think it’s my number one favorite for all kinds of projects.
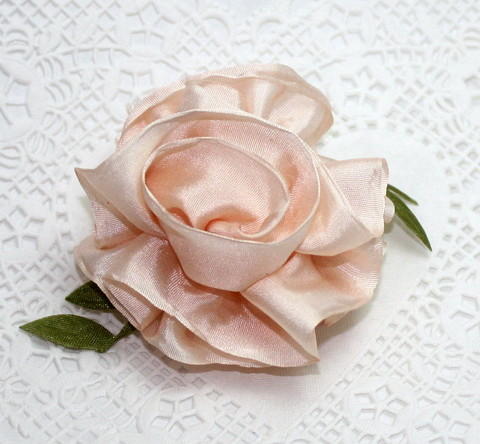
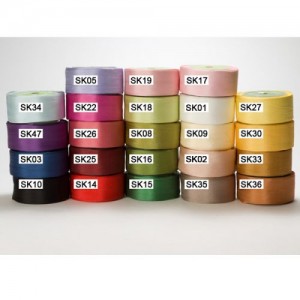
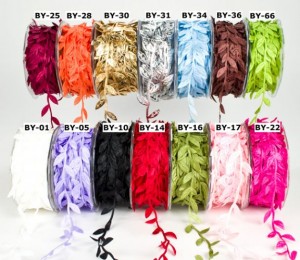
Today, I’ve got a simple tutorial for you to create the most beautiful ribbon roses using May Arts Silk Ribbons and Satin Leaves. All you need is a needle and thread and 30 inches of your choice of any of the 23 luscious colors of May Arts silk ribbon for each rose.
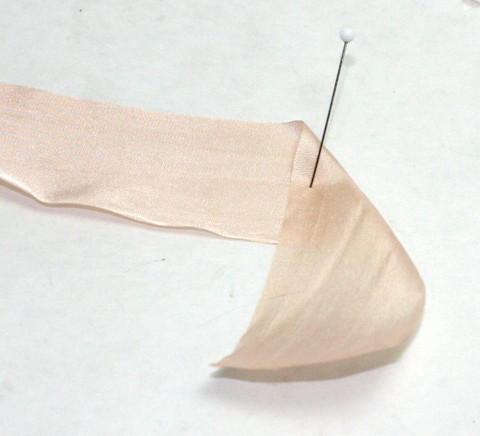
- Fold over approximately. 2 inches of silk ribbon to form a tail.
*Pin for demo only*
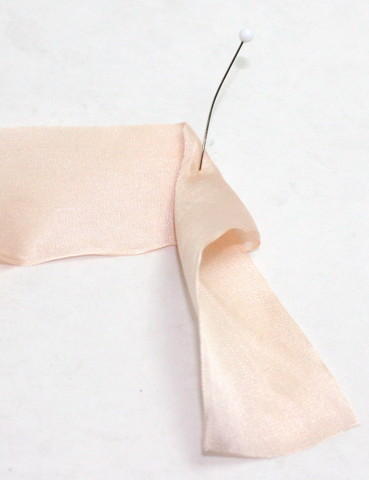
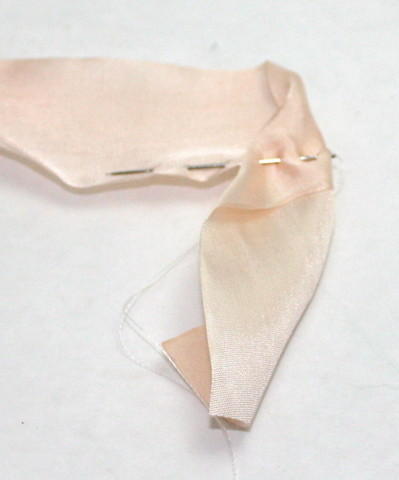
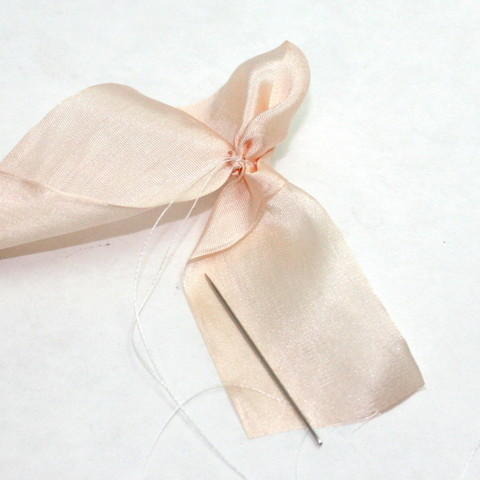
Fold again to form another point. Secure with needle and thread.
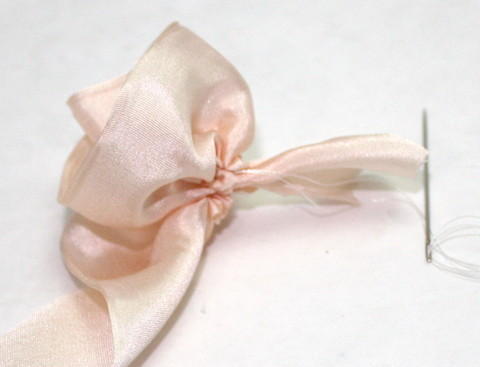
- Begin to make medium basting stitches. Pull up the threads, roll, and then backstitch to secure.
- Continue to roll, pull up and secure until you reach the end of the ribbon.
- Fold the end under, then make small stitches to secure the end. Sew ribbon leaves to the bottom of the rose. Trim off the tail, if desired or leave long to attach to a wire to form a bouquet. You may also sew a small round of ivory felt to the bottom of the roses to attach a pin for use as a boutonniere, dress pin or corsage or add one to a wrapped gift, a wreath or handmade cards.
May Arts Champagne Silk
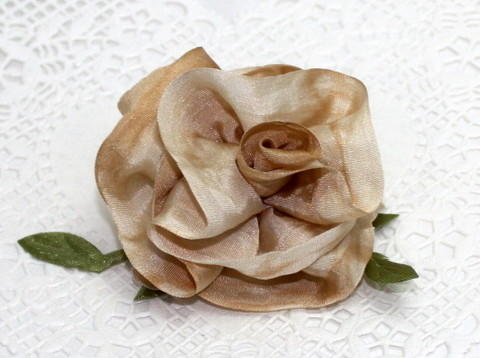
May Arts Tea-dyed White Silk Ribbon
Blog post by: Charlene Driggs
May Arts Ribbon Used:
Other Supplies Used:
- Needle/thread


