How To: Stamp & Distress Ribbon
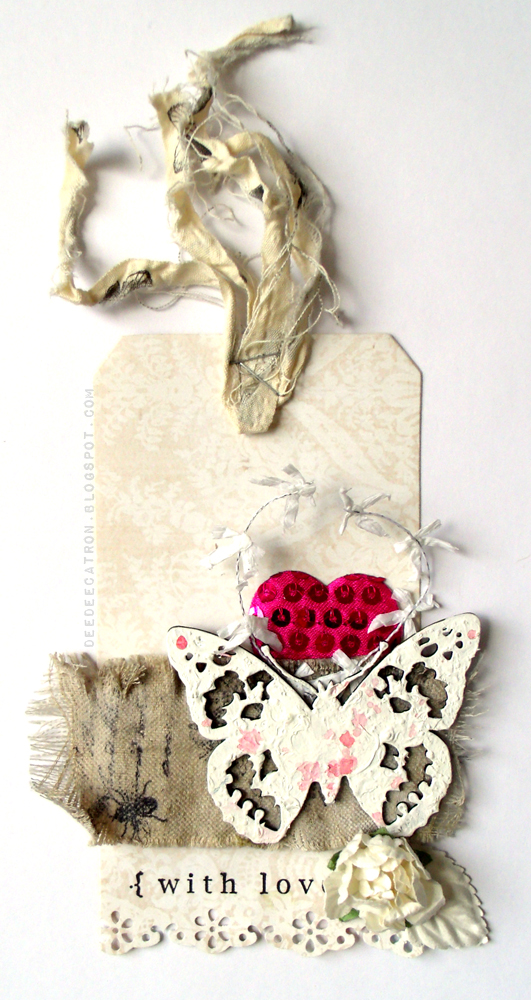
Hello everyone! DeeDee here today to help ring in all the beautiful new releases. I received four yards of the newest ribbons and am excited to share with you today a tag I created.
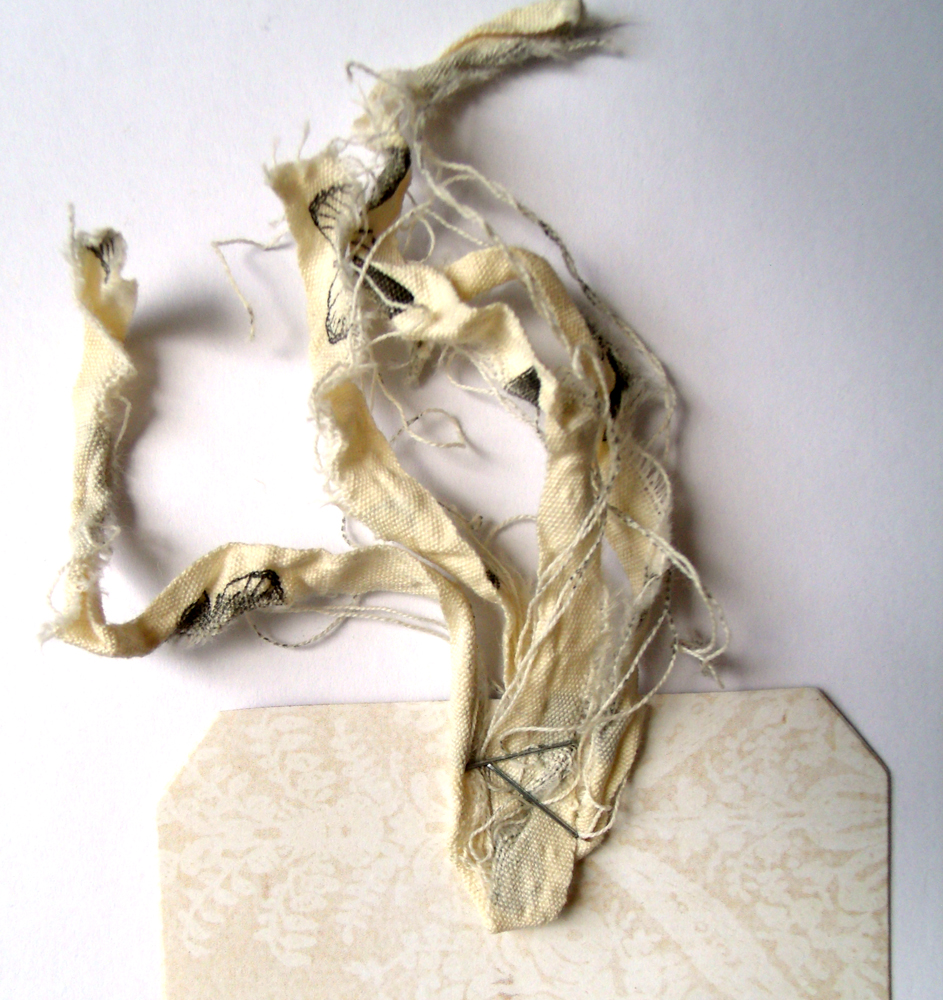
My main tutorial today is on stamping and distressing this lovely portion of ribbon. It’s super wide and has a great amount of “realty” for stamping on! Watch the following video to see the How-To on altering the ribbon:
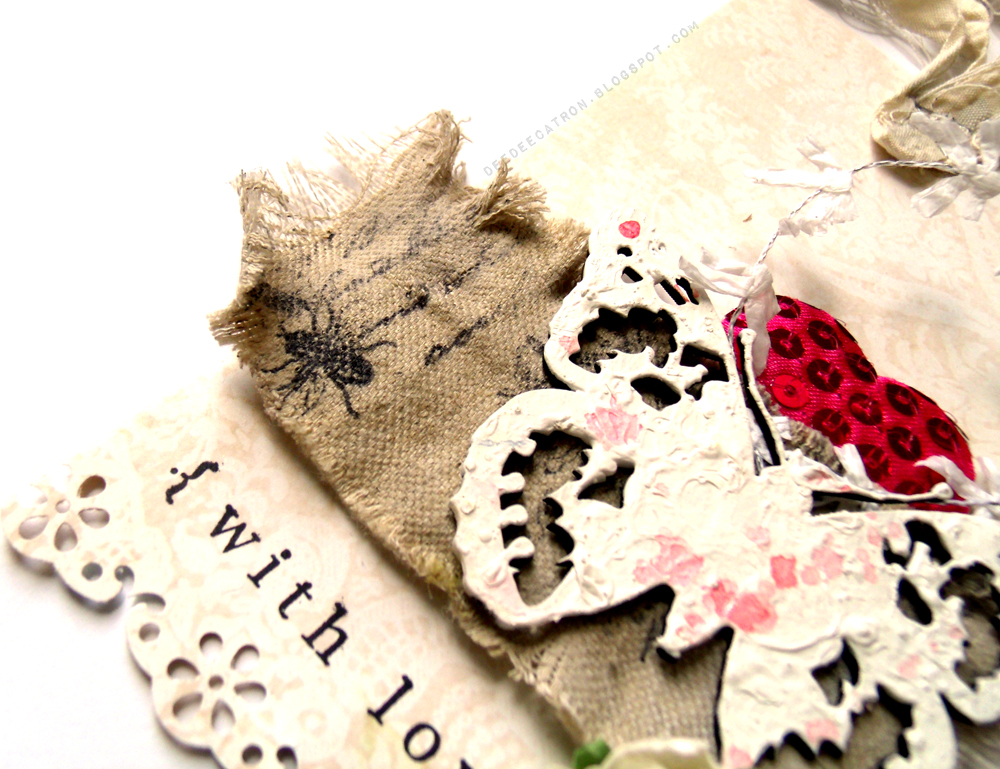
I’ve also distressed the ivory printed canvas ribbon by tearing it down the center. I love the effect of the half butterflies mingling with the thread at the top of the tag. It does scream “BUTTERFLIES” across the whole tag, but still tells a part of the story.
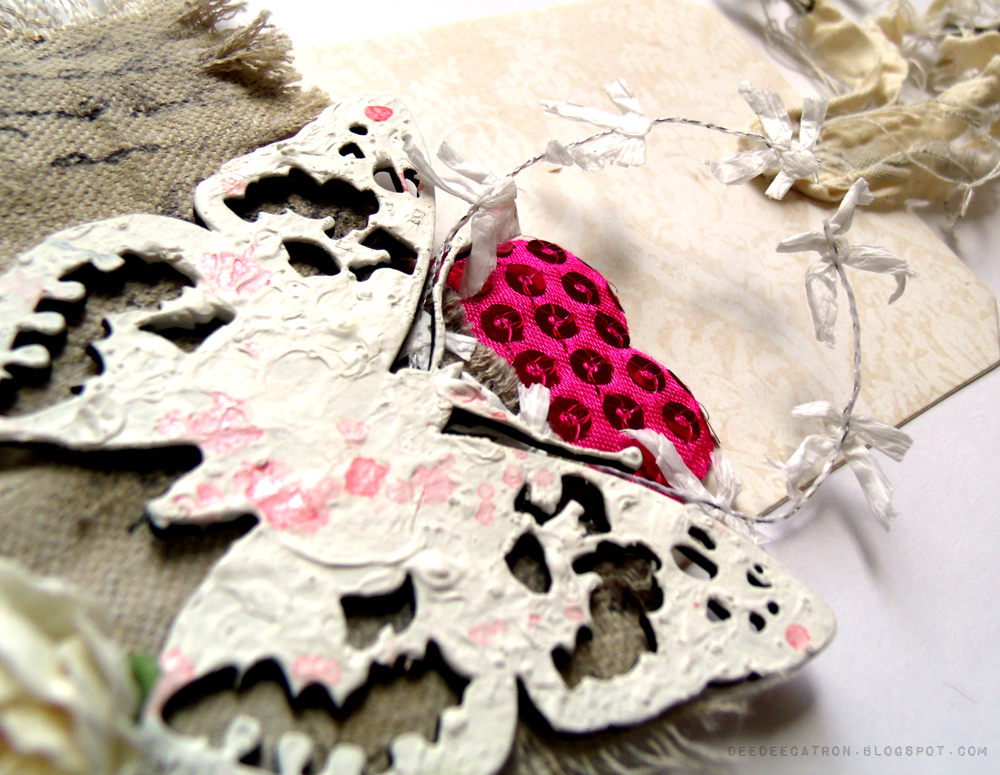
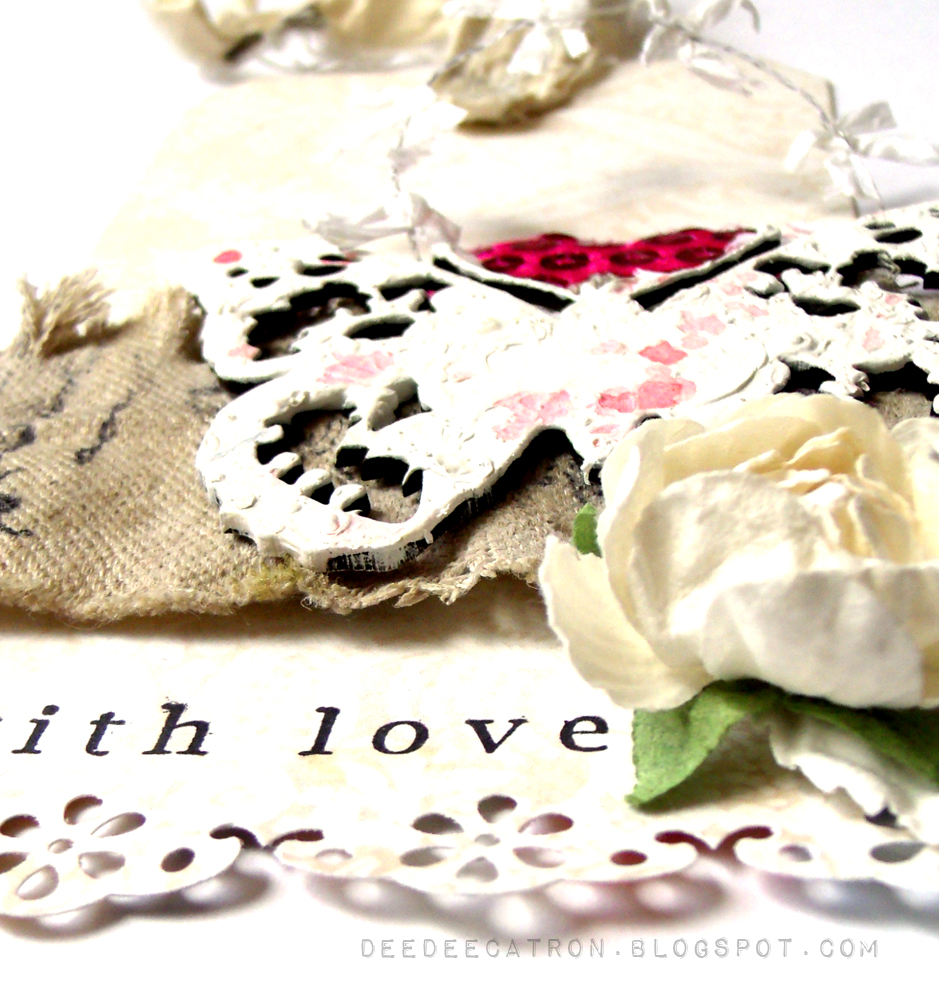
For a little added depth on the tag I popped up the distressed ribbon on Scrapbook Adhesives foam squares. This also helps even out that layer of embellishing. When I tucked the Sequin Heart behind the butterfly it ended up a little uneven. Fixed 🙂
And last, you can see the Raffia Bows in this photo. I’ve used them to replicate the antenna on the butterfly. I mentioned in the video, it seems to make it feel a little more moth like, which is nice. I always try to show you new and different ways to use the beautiful May Arts Ribbons. I hope you’ll take some time and experiment with any ribbons you have, they don’t always have to be a bow!
By DeeDee Catron
Leave plenty of comments for a chance to win!
Partners in Craft Supplies Used:
- Imagine Crafts / Tsukineko – StazOn Jet Black
Other Supplies Used:
- UmWowStudio – Butterfly Chipboard
- Viva Las VegaStamps! – Rubber Stamps
- Design Memory Craft – Melon Gelato
- Scrapbook Adhesives – Foam squares
- Glitz Designs paper
- Gesso
- Stapler
- Prima distresser, flowers


