DIY: Summer Notebook/Magnetic Ribbon Bookmarks
I know a few kids and quite a few teachers who are counting down the days until school is out and summer vacation begins. I like to make notebooks for the kids to record their summer adventures. In these days of electronic everything, I think having a fun place to write helps inspire writing practice plus they can draw their adventures as well.
We’re going to turn this: (nothing against the Jonas brothers ;-), of course!) ($.50 on clearance at the drugstore)
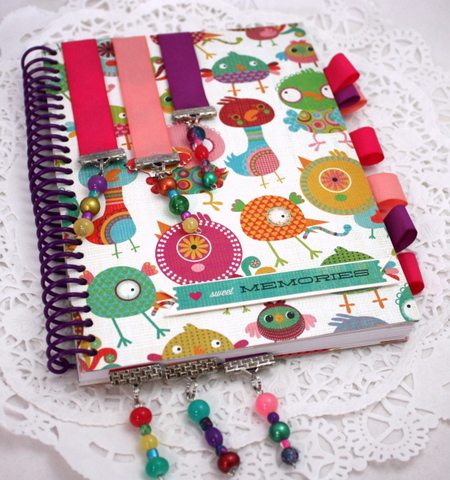
Into this happy little writing spot with a little help from May Arts Ribbon, BasicGrey paper and a few beads and findings.
The fun bookmarks stay on the front of the notebook with a little help from some tiny magnets.
You can make one for every little (or big) writer on your list in no time!
First, remove the coil. This one is plastic but the technique is the same for metal as well. Just straighten the bend on one side of the coil and spin the coil out of the holes. Set aside.
Next, I traced the front and back covers onto scrap pieces of chipboard making sure to mark the holes on one side.
Cover the front with Scor-Tape making sure to go all the way to the edges so your paper won’t curl up, then place the designer paper over the chipboard and press firmly. Trim with scissors. Punch the holes.
I used a Crop-a-dile to make the holes in the new covers making sure to punch in the same spots and the sample. Repeat for insides and back covers. Replace the coil.
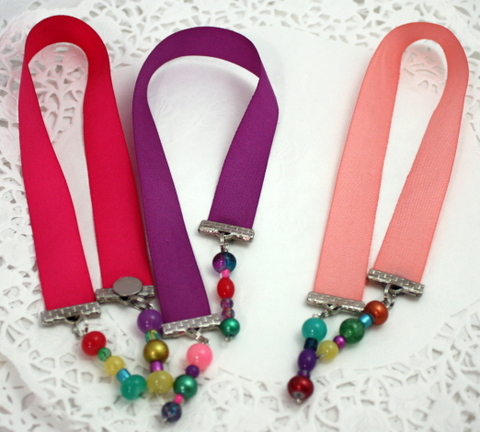
I made some fun ribbon bookmarks using May Arts new Lightweight Faux Canvas ribbon to add to my notebook. You’ll find the tutorial for the bookmarks here.
I used jewelry glue to attach small round magnets to one end of each bookmark so that they could be attached to the front of the notebook. The opposite pole magnet was attached to the front of the notebook with glue. I covered the magnets with a sticker so the notebook looks nice even with the bookmarks removed.
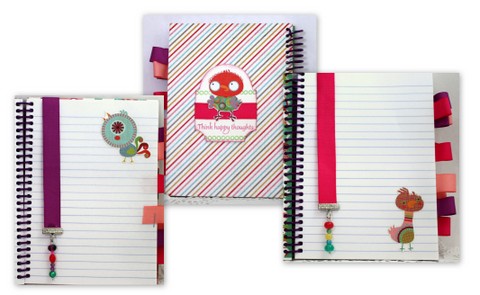
The inside has to be fun too so I cut some of the cute images from the designer paper and ran them through my Xyron to create custom stickers for the inside and the backside too!
Staple a few strips of ribbon throughout the notebook for added color.
Now that’s a fun place to record summer’s happy moments. Thanks for joining us!
Click Here for the Ribbon Bookmark Tutorial!
Blog Post: Charlene Driggs
May Arts Ribbon Used:
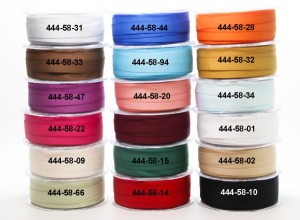
- 444 5/8″ Faux Lightweight Canvas
Partners in Craft
Other Supplies Used:
- Xyron Create a Sticker
- Ribbon Clamps
- Misc. Glass beads
- Beading tools
- Stapler
- Reverse pole magnets
- Papertrey Ink Tag die
- Stamps/ink (optional)


