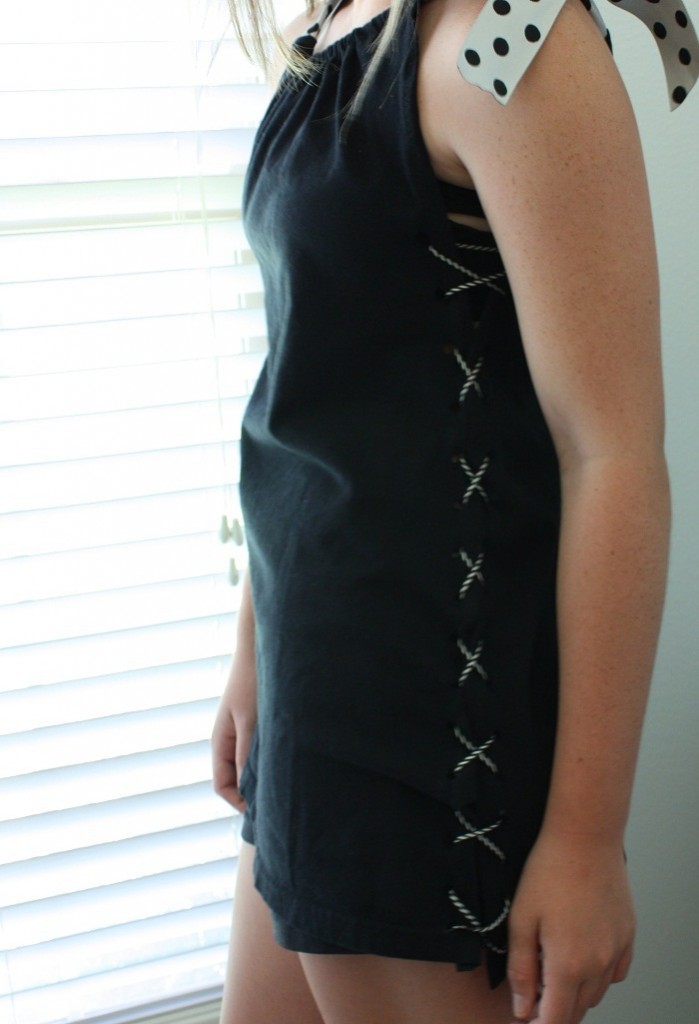
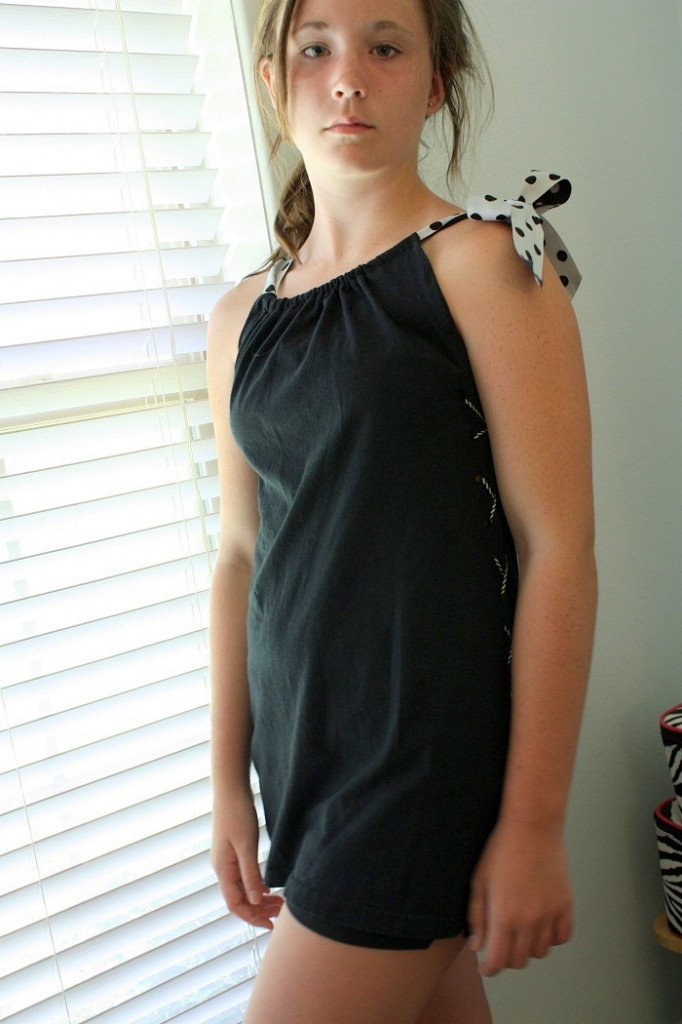
Step-By-Step T-Shirt Remake
Whether you’re needing a unique bathing suit cover-up or a cool new top, this T-Shirt Remake is a fun and crafty way to make a statement…and very inexpensive to boot!
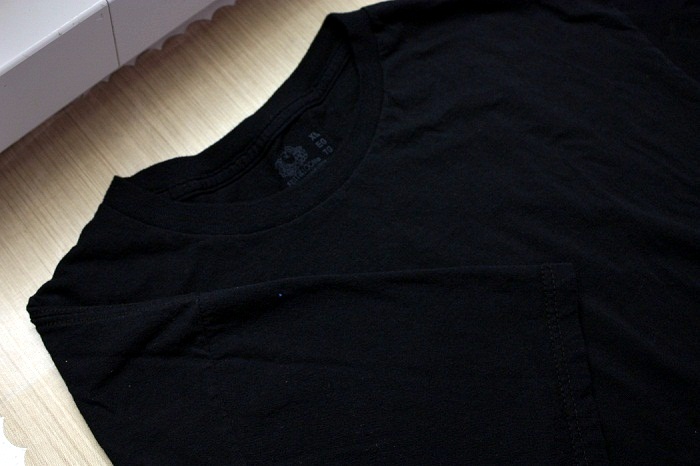
My daughter wears a Juniors 0-2 or X-Small, so I went with an X-Large men’s black t-shirt. Wash and dry the garment before beginning the project.
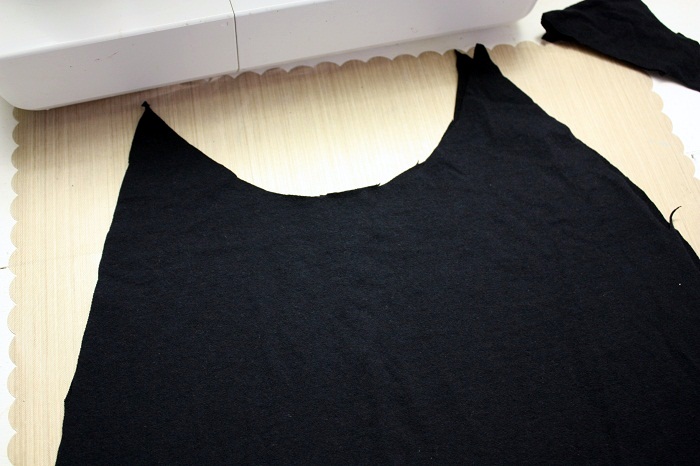
Cut away the band around the neck opening, the sleeves and then along the two sides of the t-shirt. I modified my cut a bit and made a straight cut line from the bottom sides of the shirt to the top of the neckline; this takes away a lot of the bulk, so if you’re wanting more of a blousy top then leave as much of the fabric in place as possible.
For the neck:
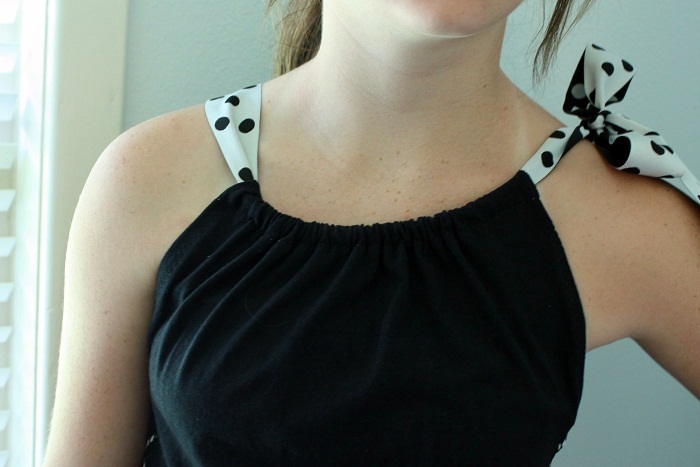
Make a fold that’s approximately 1/2″ to 3/4″ and pin in place. It may be necessary to cut ‘darts’ into material so that the neckline will ’round’ easier. Machine stitch across the bottom of the fold. This is where the ribbon will slide through, so just make sure you make a large enough hole to accommodate.
Cut a generous piece of 1.5″ or 2″ ribbon into about a 1.5 or 2 yard length. Fold end of ribbon in half and secure a safety pin at the end. Thread the ribbon through the opening of both the front and back of the shirt. Depending on how much gathering you’d like at the neckline, will determine how much ribbon will be cut off after tying a bow off to the one side.
For the sides:
Before beginning this step, you should have a front and back piece of the t-shirt…we will now join them back together! Fold over a small edge of each side of the shirt and make a simple machine stitch or use fabric glue to hold down the seam. Repeat with the remaining three sides.
Joining the sides:
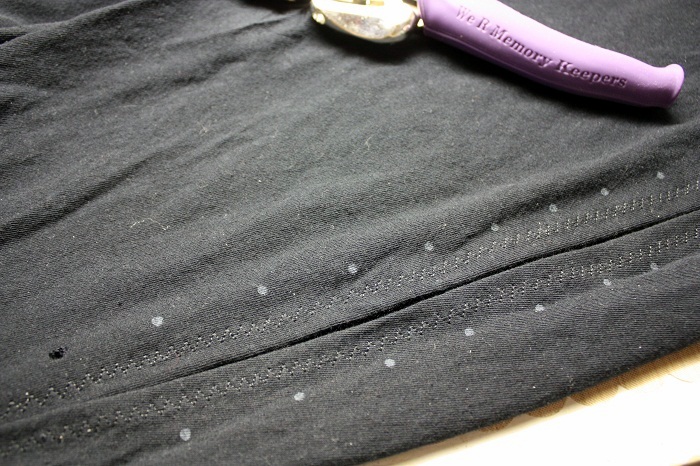
There are several different ways that you can do this next step, but this is just what I came up with 🙂 Align the front and back pieces so that they are completely even. Match up edge to edge and make a small dot on the front piece and back piece (I’ve used a white marker, but a fabric marker will work). Continue all of the way down the side with the dots, spacing them about every inch or so.
Next, use a crop-a-dile or small tip scissors and punch a hole where you’ve marked.
Cut approximately 2 yards of 1/4″ or 1/8″ ribbon. Begin with the holes at the top of the shirt and criss-cross the ribbon back and forth between the front and back pieces of the shirt. Knot off the ribbon at the bottom or tie into a bow.
Working with a t-shirt this size will also make a cute dress for a smaller child. Again, just leave enough room on the sides if you’re wanting more of a full top.
By Shellye McDaniel
Other Supplies Used:
- White Fabric Pen
- Sewing Machine or Fabric Glue
- Fabric Scissors
- Crop-A-Dile or Micro-Tip Scissors
- Straight Pins
- Large Safety Pin


