Fun Valentine Canvas Project
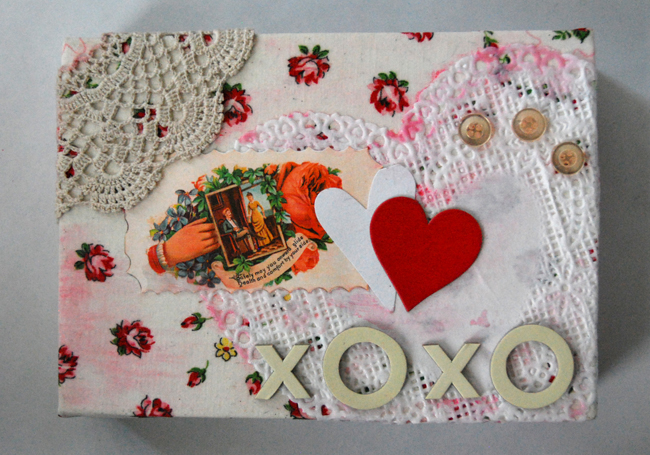
Hi! Tiffin here from Linwood Avenue. I can’t believe we have said goodbye to December and that Valentines Day is fast approaching! I don’t go all out for this holiday, but I do like to have a few valentine themed decorations hanging up here and there. I love to use canvas bases to create mini-collage pieces of art. Just because I don’t paint, doesn’t main I can’t use stretched canvas. This project is a perfect way to use up all your art scraps and could be adapted to any holiday.
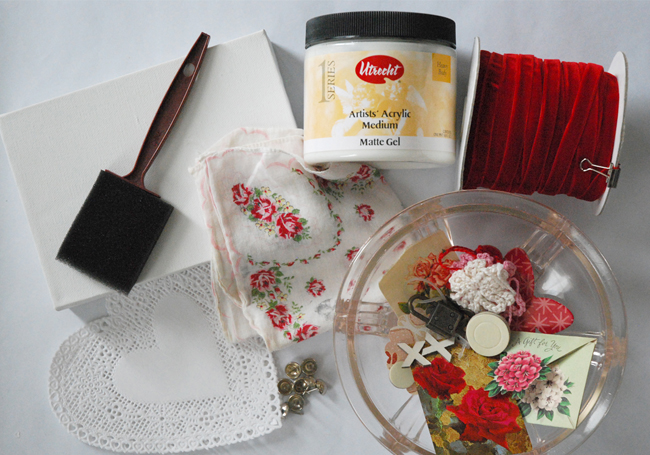
supplies
– 1 yd. – 3/8″ red velvet (PV14)
• 5″x7″ Stretched canvas block
• Foam brush
• Gel medium (glossy or matte)
• Vintage hankie or fabric scrap (stains are ok)
• 8 upholstery tacks (found in any local hardware store) and a hammer
• Paper doily heart
• Miscellaneous paper, and trinkets
• Kids watercolor set
• Clear gloss spray paint
INSTRUCTIONS
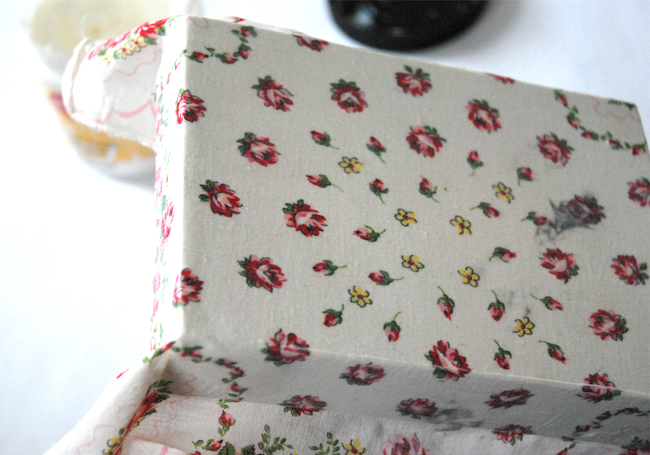
Step 1 – Adhere your hankie onto canvas with gel medium and foam brush. First apply a thin coat of medium to all sides of the canvas. Lay hankie on top of medium and smooth out wrinkles with more medium.
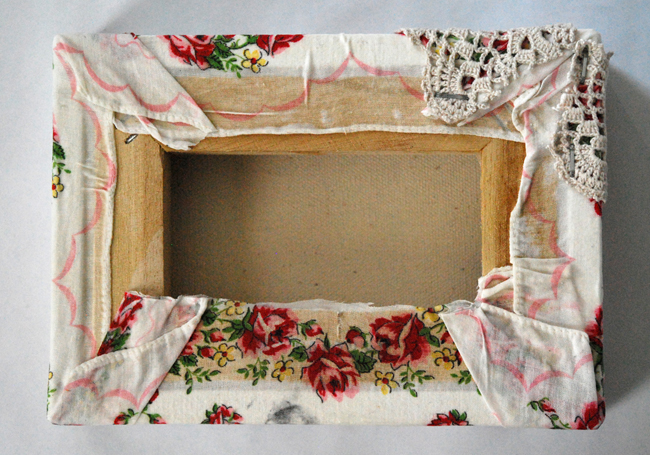
Step 2 – Miter the corner of your hankie like you are making a bed. Apply a thin, even coat of medium over all sides of hankie and fold excess to the backside of canvas. Let dry thoroughly.
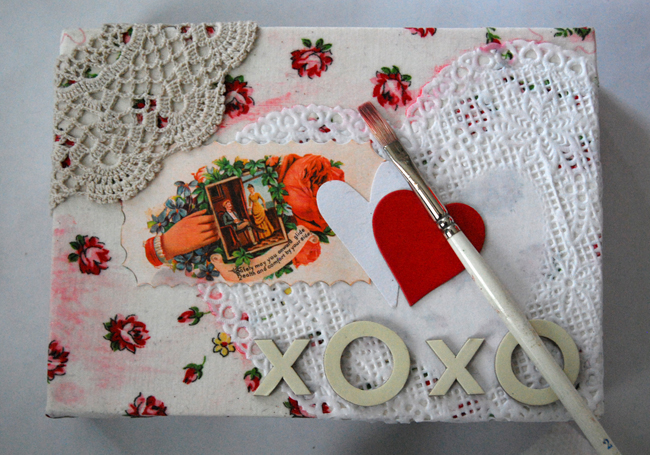
Step 3 – Apply a thin, even coat of medium to top of canvas and start arranging your miscellaneous items until you get a composition you like. I positioned my paper heart doily first in order to cover up stains on the vintage fabric. Let dry.
Step 4 – To add a little depth, heavily water down red watercolor and paint onto sections of canvas. If you add too much, wipe off with paper towel and begin again.
Step 5 – At this time, add any 3 dimensional elements you wish with glue, such as vintage buttons.
Step 6 – Cover the sides and top of your canvas artwork with 2 coats of clear glossy spray paint.
Let dry thoroughly between coats.
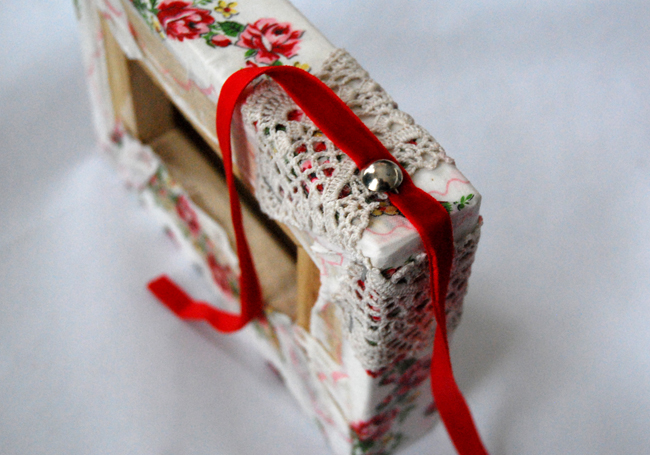
Step 7 – finish your piece by adding velvet trim. Beginning on the top side of your canvas, start 8 inches in and secure in place with a hammer and upholstery tack. Continue this process at all 4 corners. You will end up with 2 tacks per side. Finishing up on the other end of the top, cut your excess trim to be the same length as where you started and secure with a knot for hanging.
Blog post by: Tiffin Mills


