Make Your Own Vintage Layout
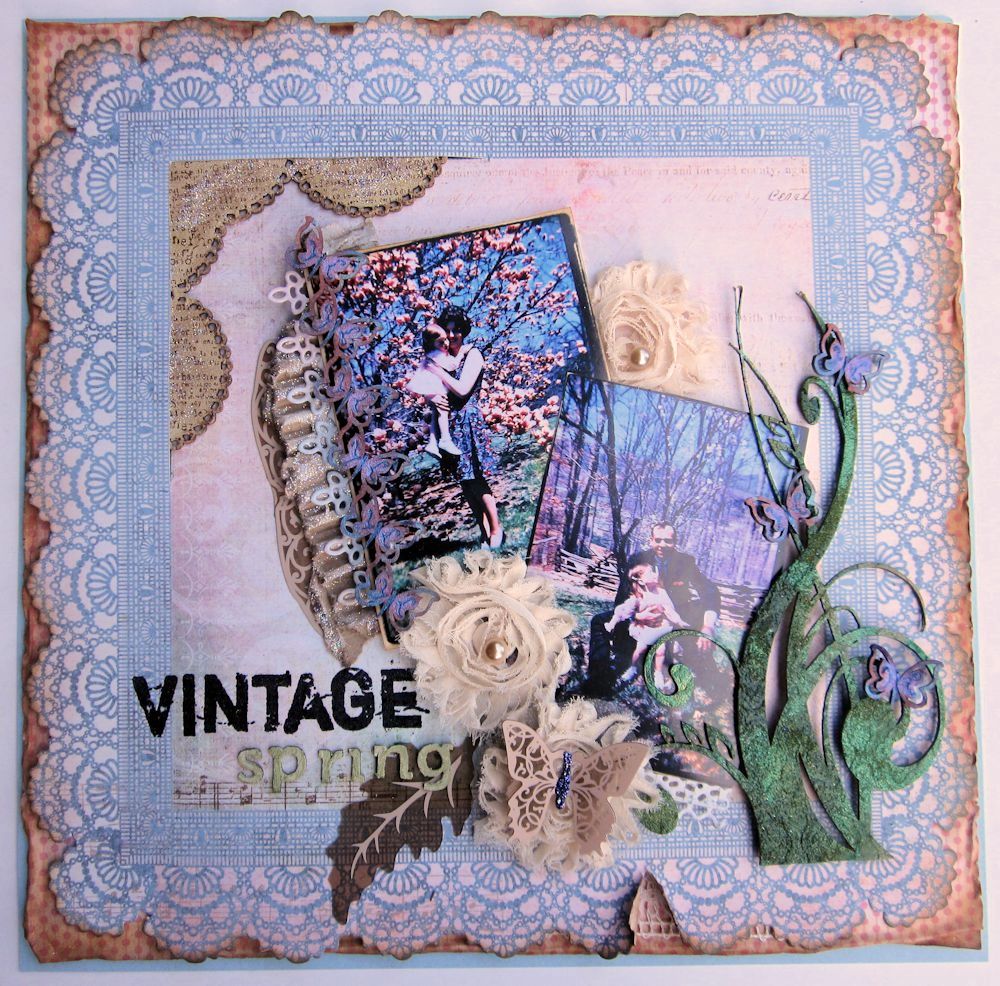
Hi, it’s Gini, and I have a vintage layout to share with you today. I almost hate calling this “vintage” since these are pictures of me when I was about three years old! I really love using May Arts Ribbon to add depth to my layouts.
Designer Notes:
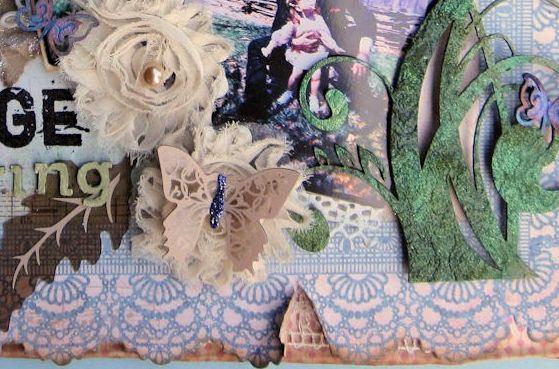
- Distress background papers with ink and water. I always use a sold piece of cardstock that is not distressed at all to anchor my page and give it more stability. Tear a small opening on the bottom of the lacey die cut sheet of paper, and add a snippet of the crocheted ribbon in the opening. These are the small details that can really make a layout sing.
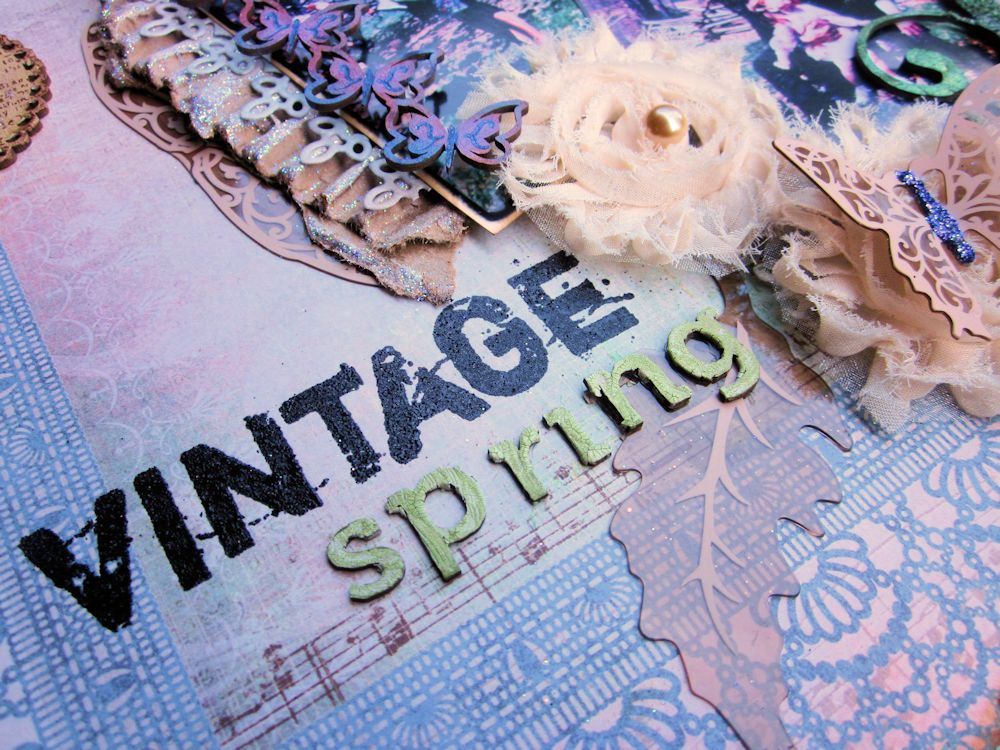
- Arrange your photo cluster as you wish. Add different textures to embellish the cluster. I used corrugated cardboard with a coating of glitter, transparencies, chipboard, diecuts, and of course, ribbon.
- The Sheer Frayed Flower Ribbon is perfect to cut away the background ribbon, and use the flowers individually. Add interest to your layout by placing parts of the flower underneath pictures, and by adding height to some flowers with dimensional adhesives. Add pearls/butterflies to the center of flowers. Don’t be afraid to layer.
- Part of the title is stamped and embossed, and the rest is painted chipboard letters. This gives a nice combination of textures, that match the layout.
So, the moral of this story is: don’t be afraid to hide part of your ribbons on your projects, so that they will be a wonderful surprise to discover!
- Supplies
- May Arts Ribbons: 393 2.5″x10y – SHEER / FRAYED / FLOWERS / WIRED, NP 1.5″x15y ——- CROCHET
- Kaisercraft: Patterned Paper – Sweet Nothings, Pearls
- Chipboard: Twiddleybitz
- Dies: Cheery Lynn Designs
- Stamps: Hampton Art
- Wow Embossing Powder
- Tattered Angels: Acrylic
- Clearsnap: Ink, Fairy Dust Glitter
Blog post by: Gini Williams Cagle
Help The Ribbon Lady name our new team & enter to win this Awesome Prize Pack!


