Tutorial: Vintage Style Apron
Many of us…ok, a few of us, are old enough to remember the simpler times of the 50’s. Our Moms were in the kitchen creating wonderful aromas while Dad worked and the kids played outside until dinnertime after homework was finished.
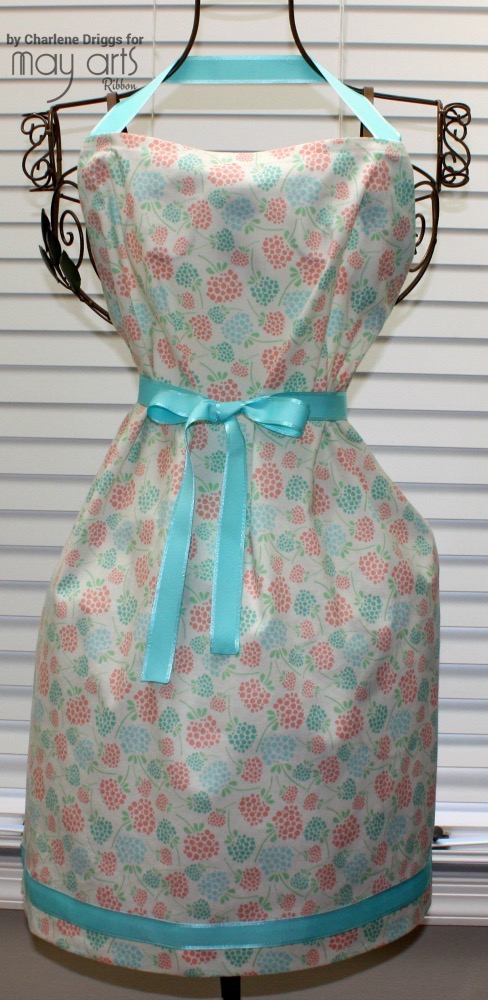
That memory was the inspiration for my project when I saw the lovely colors and pattern in this pretty Camelot Fabric from the Folklore Collection by Heather Rosa.
I love the soft, pretty colors against the ivory background. I had about a yard to work to work with which was the perfect amount for this sweet and easy adjustable apron. If you can sew a straight line with a sewing machine, you can make this apron.
I washed my fabric to remove the sizing then followed the easy instructions here until it got to part 9 about making the ties. Who needs all that work when we have beautiful May Arts Ribbon!?
You can skip steps 9-10 and go to the finish line! You’ll need about 3 yards of ribbon.
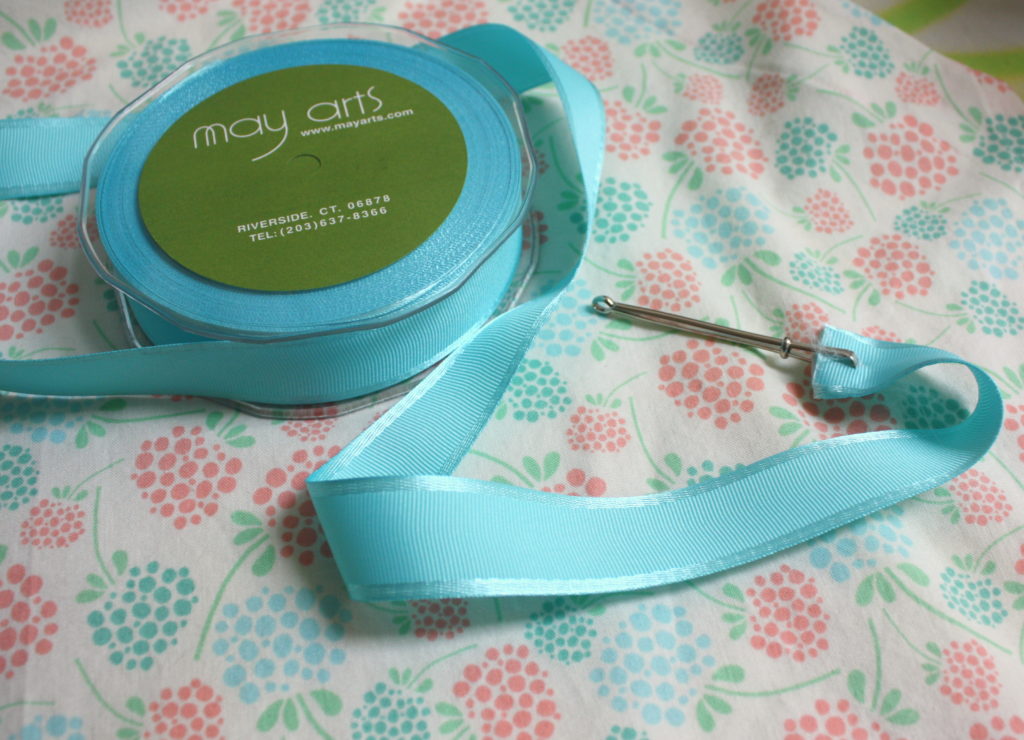
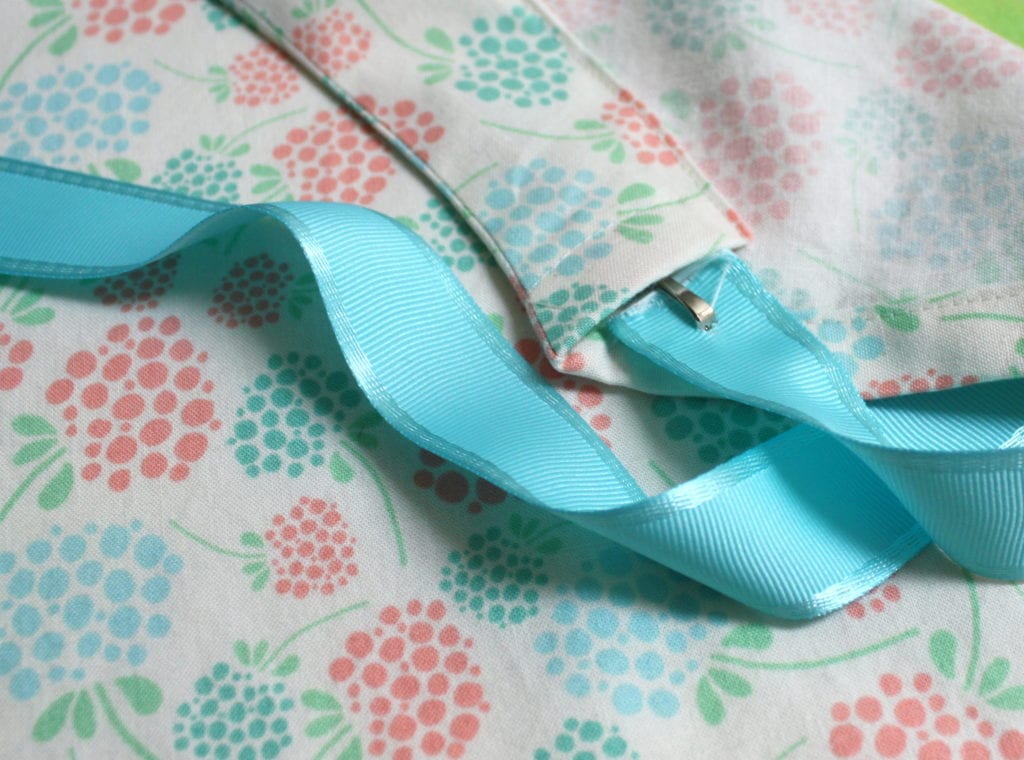
I used this cool tool called a “sewing bodkin” to draw this gorgeous May Arts 1” Grosgrain w/Satin Edge Ribbon through the casings as directed. The bodkin clamps down on the ribbon so there’s no chance of it slipping off and no there are no holes in the ribbon.
You simply insert the ribbon at the end of one casing, allow enough ribbon for the neckline, then slip it into the casing on the other side. The ribbon ends were sealed with a flame to prevent unraveling.
I sewed a strip of ribbon to the bottom of the apron turning the ends under to prevent raveling to add a pop of color.
These are so quick and easy they’d be a great project for housewarming and Christmas gifting.
Thanks for joining us on the May Arts blog! Happy Sewing!
By Charlene Driggs
Other Supplies Used:
- Camelot Fabric – Folklore Collection by Heather Rosa
- Sewing Machine/Matching Thread
- Pattern/Instructions


