DIY Winter Photo Frame
Hi! Thanks for stopping by May Arts for some holiday inspiration. Today I have in store for you a winter photo frame that would be great for a child or even the young at heart. Just follow the directions below and this gift will go together in a flash with the help of our beautiful ribbons and Lawn Fawn supplies.
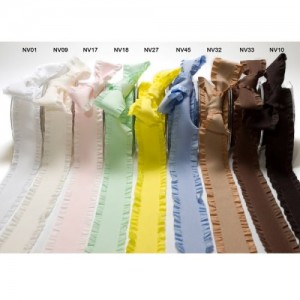
- Cut two strips of NV01 slightly longer than the length/width of your frame. Cut down the center of the ribbon, leaving you with four strips.
- Cut the ends of the strips on a 45-degree angle.
- Use Sookwang tape to adhere the ribbon to the edge of the frame, meeting the 45’s at the corners.
- Adhere pattern paper over the front of the frame how desired.
- Flip frame over. Using a craft knife cut the photo hole open. Put glass back in place.
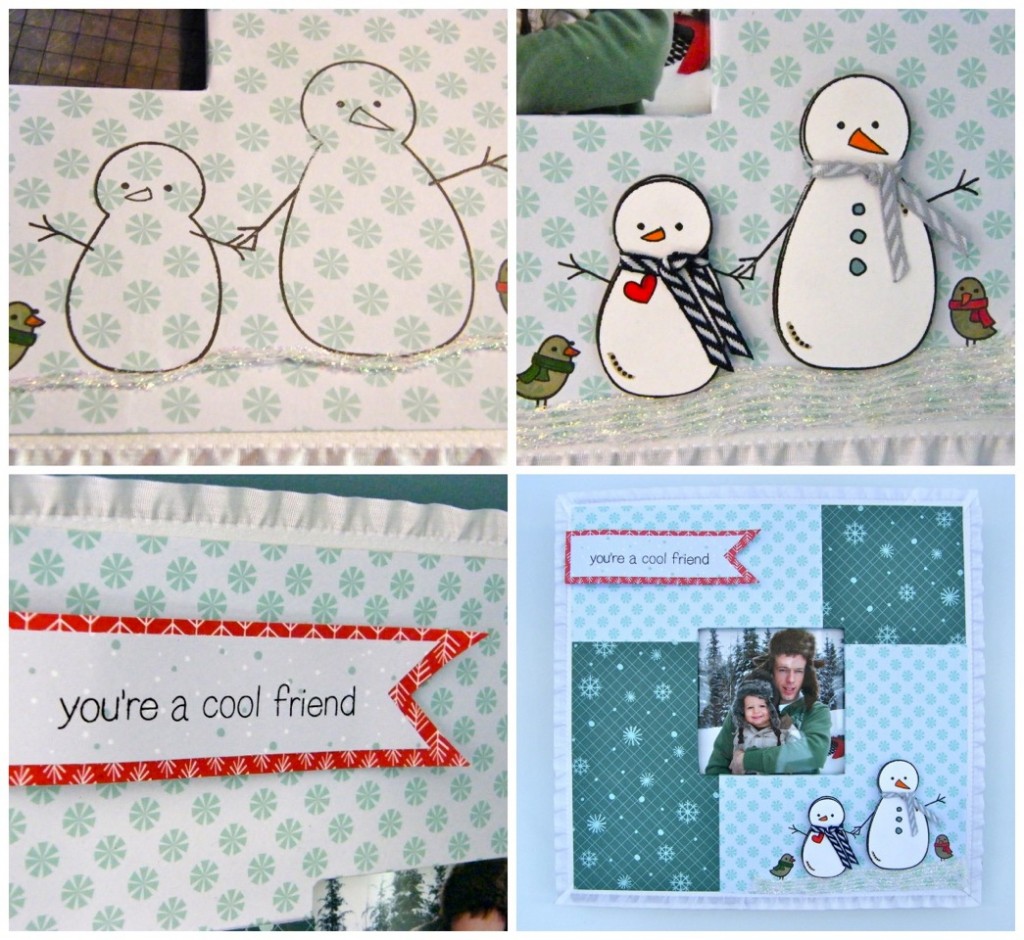
- Stamp snowmen image directly onto frame. (You may want to do this step prior to adhering paper but I forgot). Glue Metallic String detail to bottom of frame to create a snowy ground.
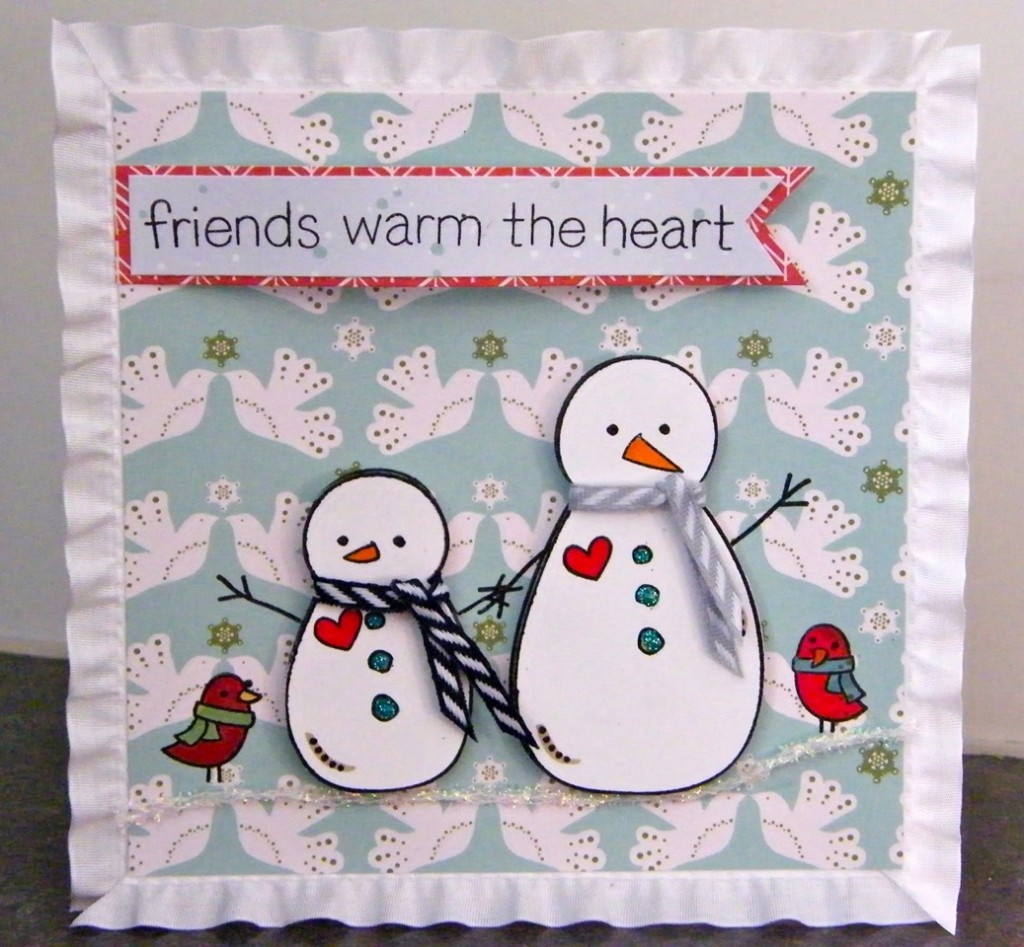
- On a separate piece of white cardstock stamp the snowmen bodies and color. Add diagonal stripe ribbon as scarves. Use Helmar Zap Dots to pop dot snowmen in place.
- Create a phrase banner and pop dot to upper left corner of frame.
- Insert a snowy day photo and your gift is complete!
Don’t have a frame on hand to make over? Follow the same set of instructions to create a card.
Blog post by: Virginia Fynes
May Arts Ribbon Used:
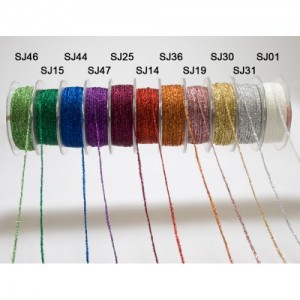
- SJ09 Metallic string
- NV01 Faux Suede Ruffle
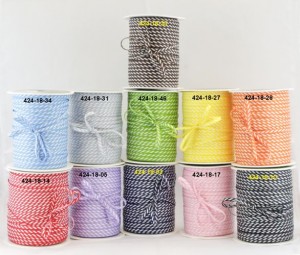
- 424-18-31 Mini Candy Cane Stripes
- Partners in Craft Supplies Used:
- Lawn Fawn Frosty Friends Stamp set, Fa-La-La Pattern Paper
- Helmar Zap Dots
Other Supplies Used:
- Wide Photo Frame (remove glass to decorate)
- Stampin’ Up markers
- Sookwang tape


