May Arts Ribbon Design Team Call – Finalists’ Entries {and a giveaway}
I have been so excited to share with you the finalists’ entries from this years design team call! Everyone has done such a great job! I am truly honored to have these very talented women applying to be a Ribbonista!
Below you will find for each finalists:
- A photo of their project
- A brief introduction to their creation
- A link to the full tutorial on their own blog
Please take the time to review each one, because here’s the fun part! I want to know who your favorites are!
Now…make no mistake…as always, the May Arts Ribbonistas are chosen by this Ribbon Lady and no one else. But, I always want to know what you think. And, in the end, I love a fun excuse for a giveaway! So, the prize up for grabs is:
3 spools from our new releases!
That’s right! I will select 3 of my very favorite ribbons from our summer releases & send them to 1 lucky winner! All you have to do is post your comment telling me all of your top picks! The winner will be announced on July 23rd 2012, along with the brand new May Arts Design Teams!
So, without further delay here are the final projects:
Written Finalists:
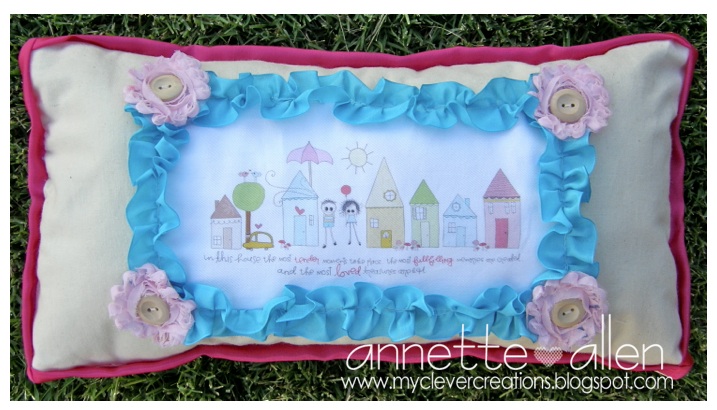
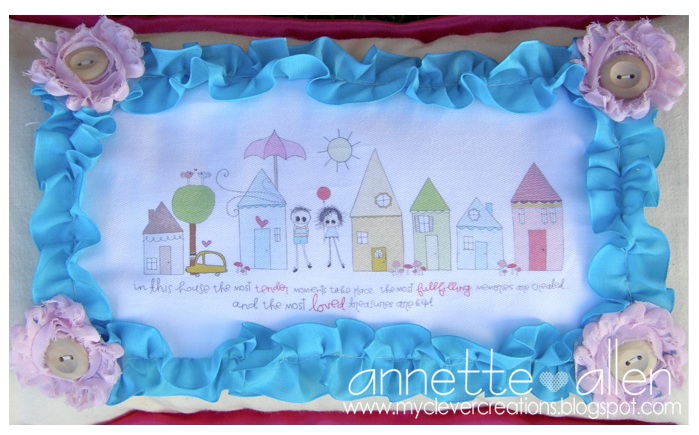
When I was thinking of a project I was thinking something that would be girly and fun to use. I have a fetish for decorative pillows and recently could not find what I was looking for. So when I had to think of a fun idea for my final submission this is what I came up with. This is bright, fun, easy to make and will light up the room.
Click Here for the tutorial.
Wedding season is upon us and its easy to get creative with May Arts Ribbons! I love my paper and ribbon dresses and this was the perfect opportunity to make one as a gift/card!
Click Here for the tutorial.
It’s here…the final round of the May Arts Design Team Call!! I have created a multi-part project for my final submission. Since it’s rather long, you can find a complete supply list and tutorial with pictures here for easy download/printing.
Click Here for the tutorial.
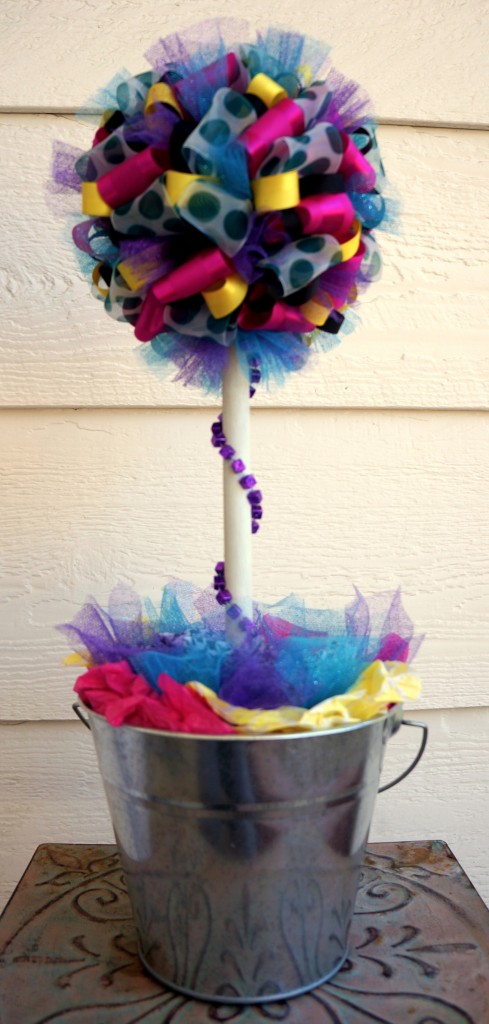
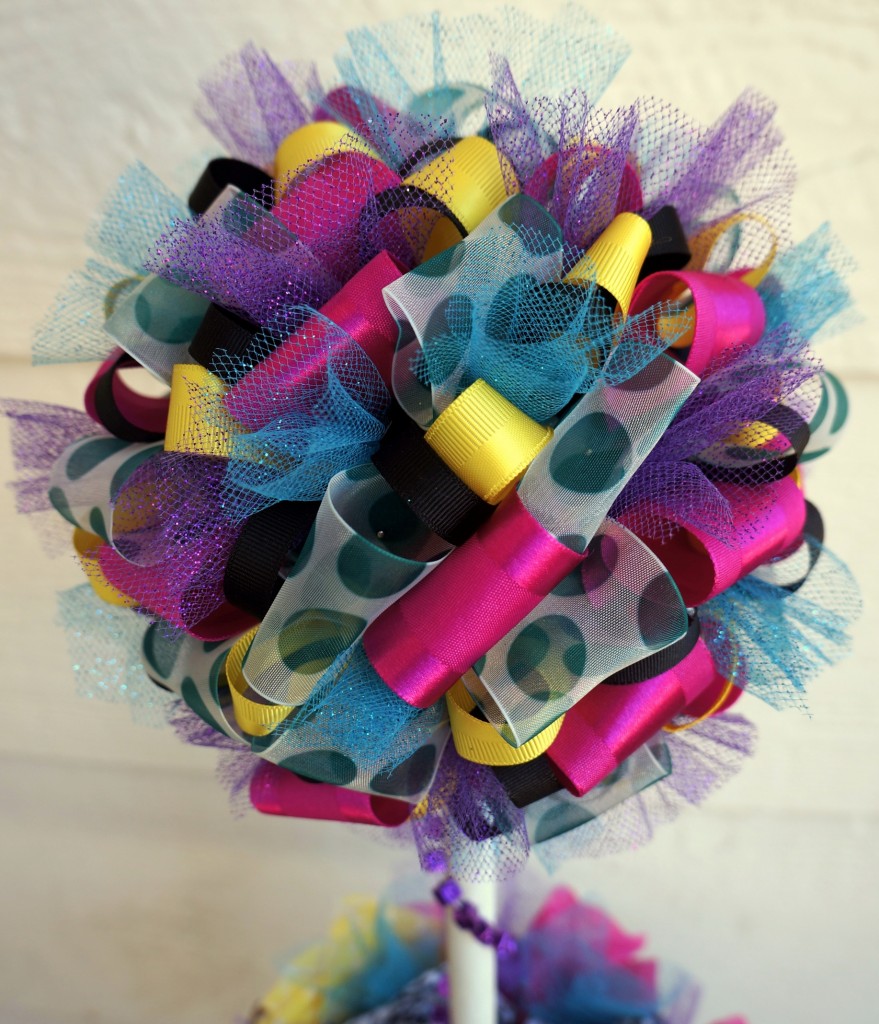
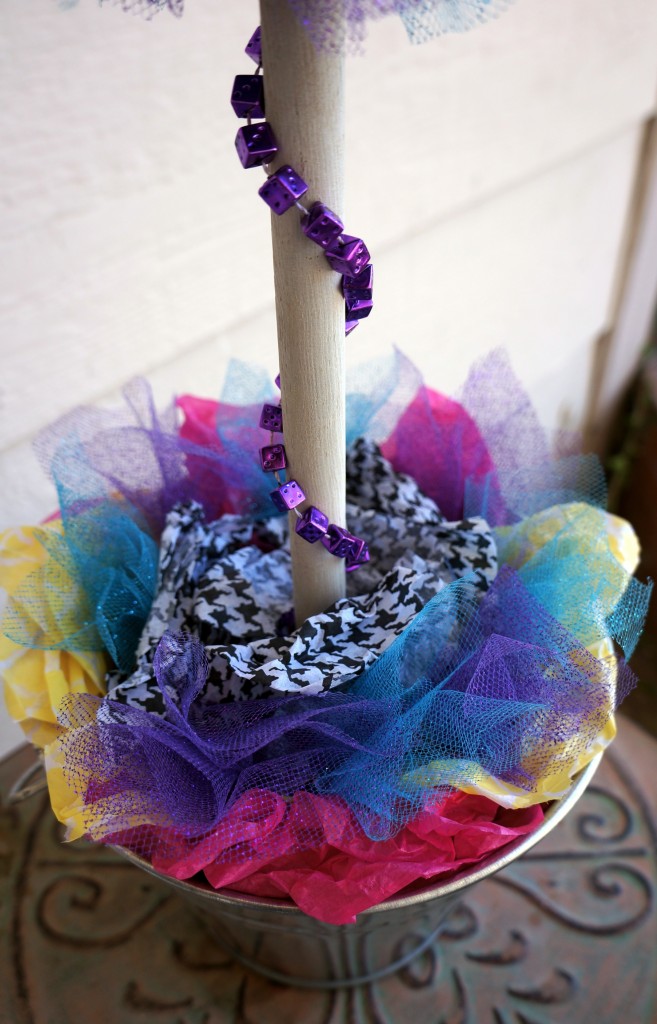
Here is my finished project for my “Sweet Summer Topiary”. Since I have a penchant for “first time” projects and anything off of the ol’ 12×12, this one is no exception. I also included a stepped out tutorial with photos. This project was amazingly easy to do and even easier to “teach”. This topiary is for my youngest daughter’s room. When my older 2 girls saw the finished project, they said they wanted one too.
Click Here for the tutorial.
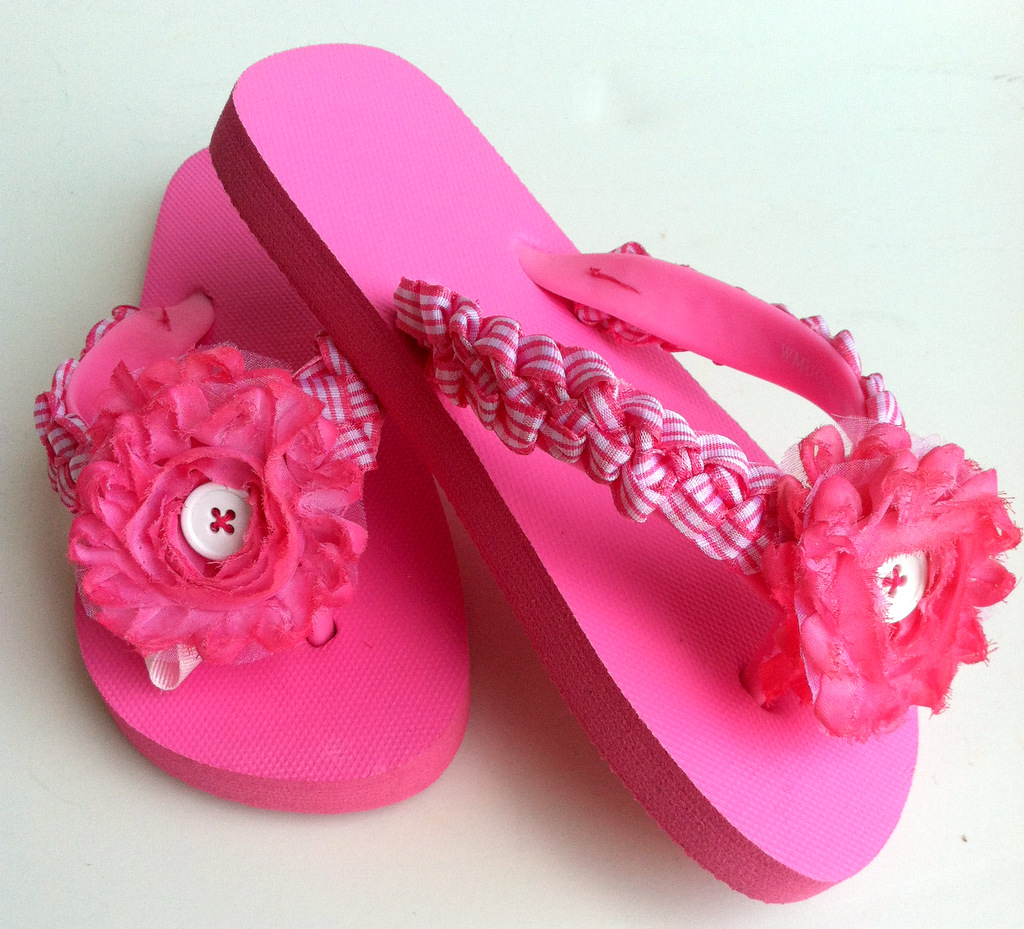
I’m so excited to share this project today! I made my daughter some sweet little flip flops… or as she calls them… “floppies.”
Click Here for the tutorial.
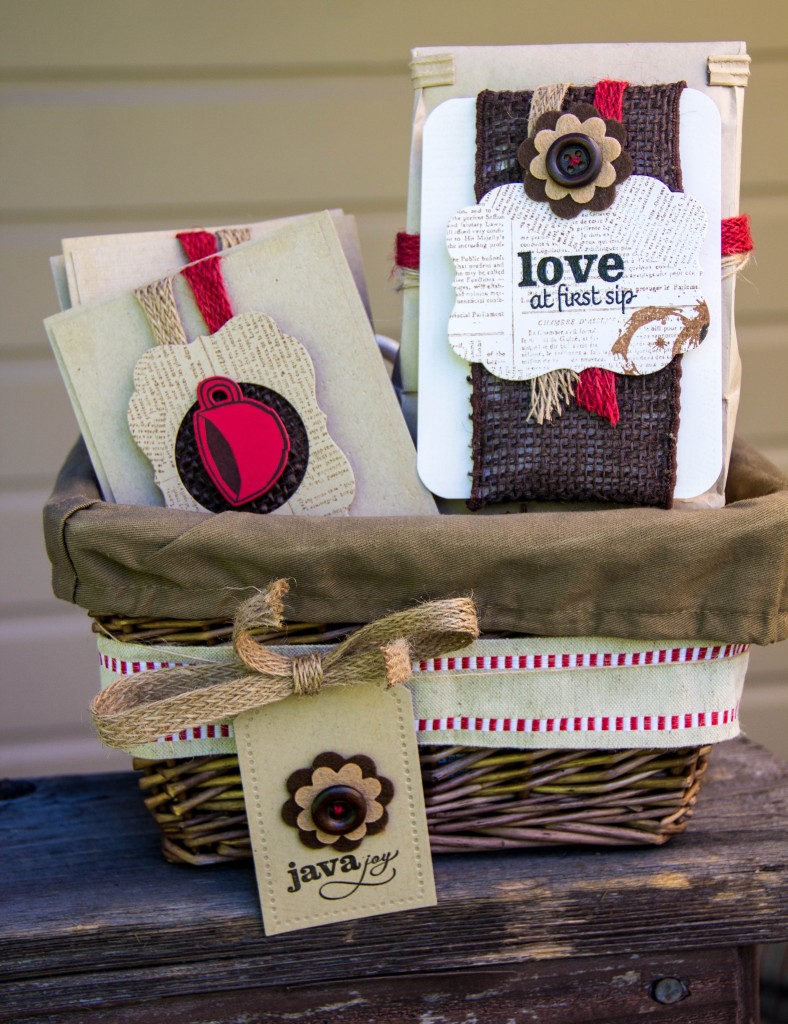
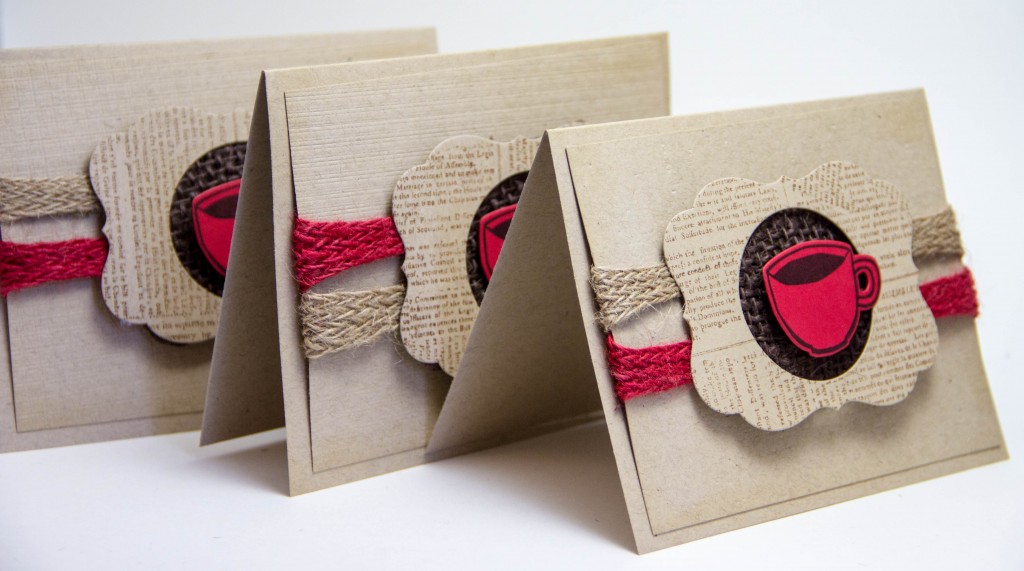
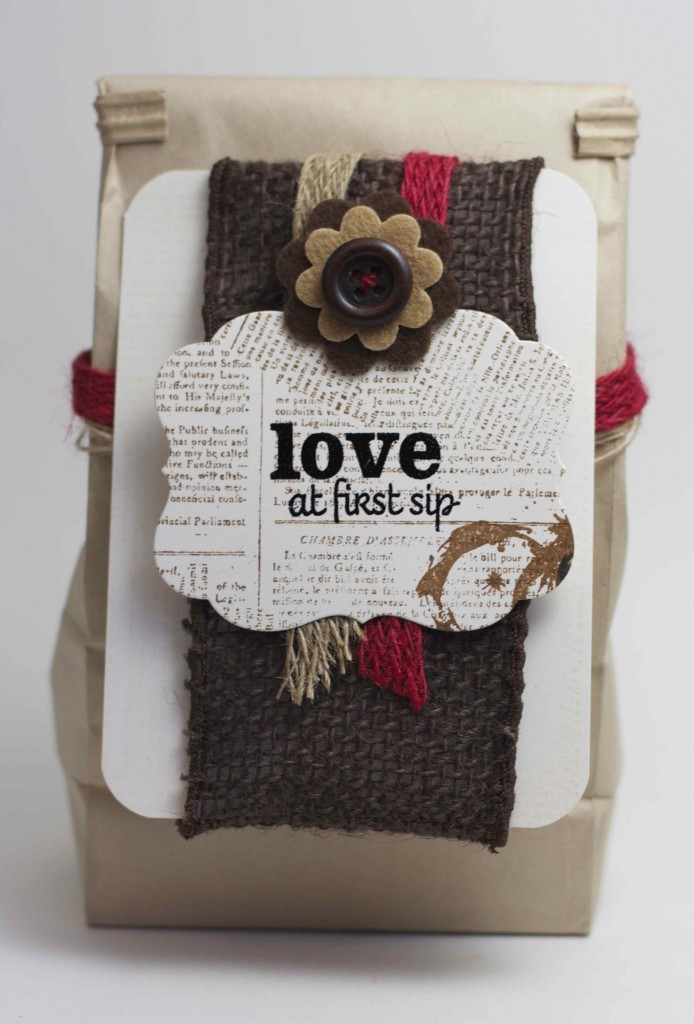
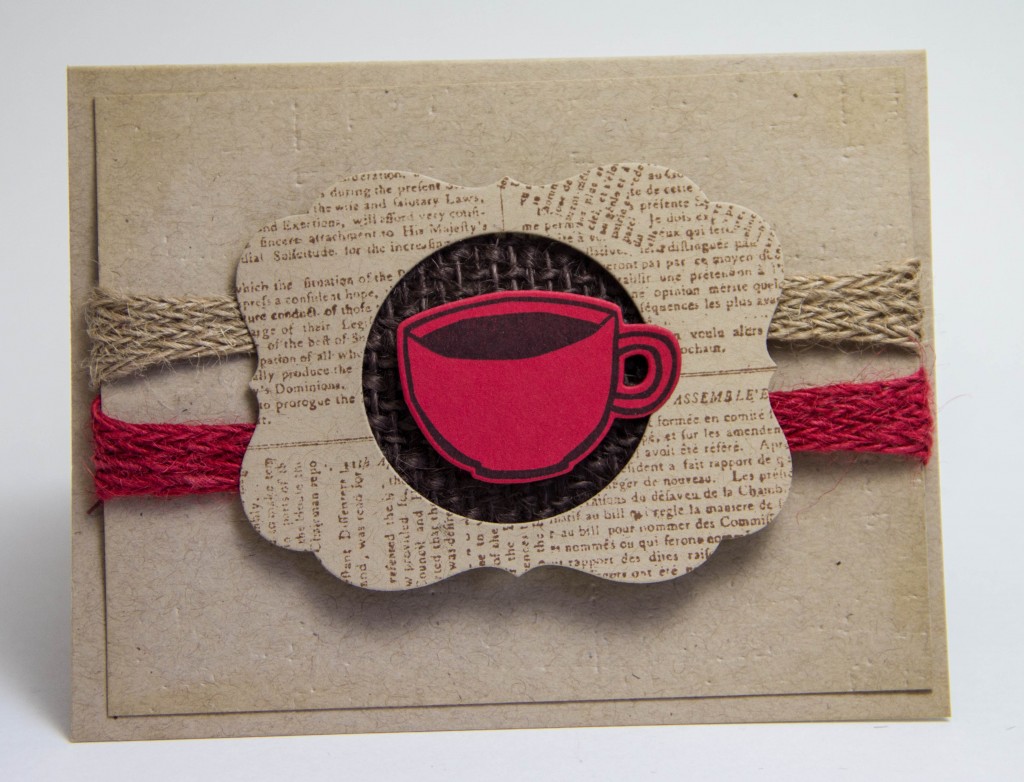
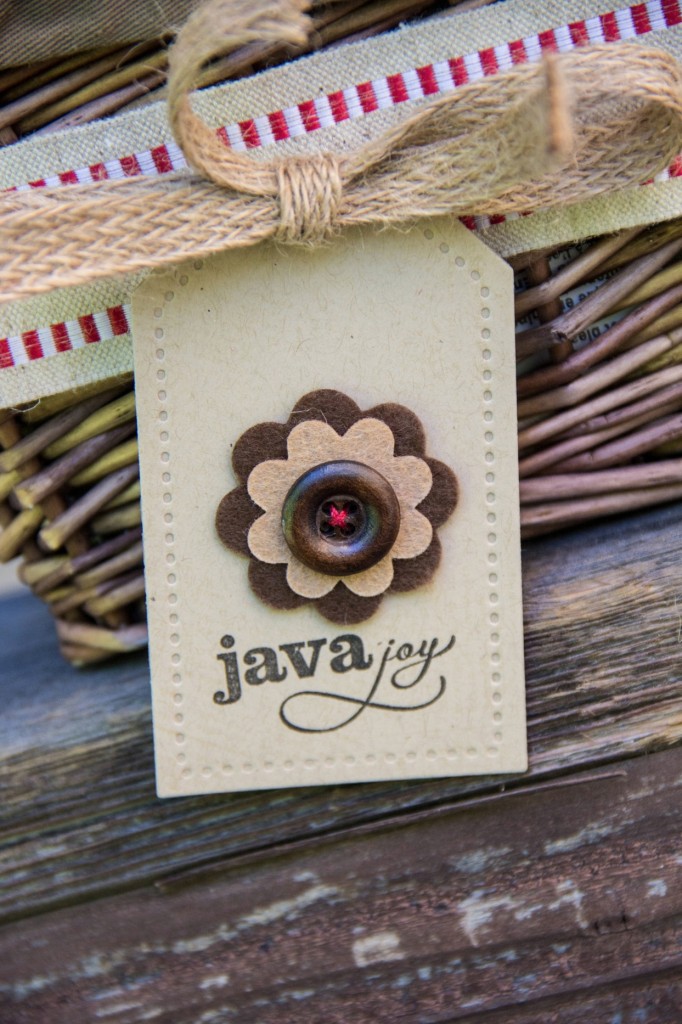
I’m so excited to share with you what I made for the second round… coffee lover crafty girl meets May Arts burlap ribbons, seriously a match made in heaven. My tutorial is how to use May Arts burlap ribbon to create texture and background on a set of coffee themed cards.
Click Here for the tutorial.
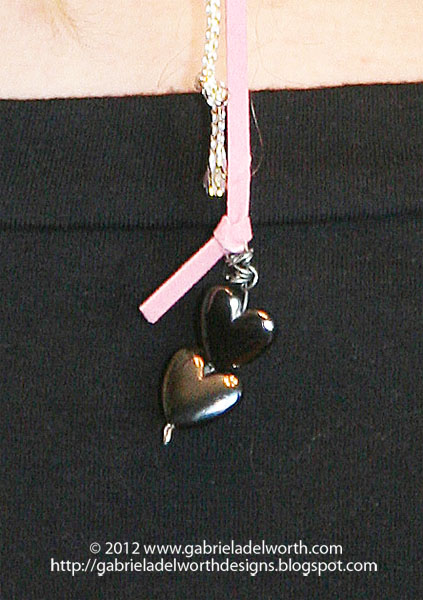
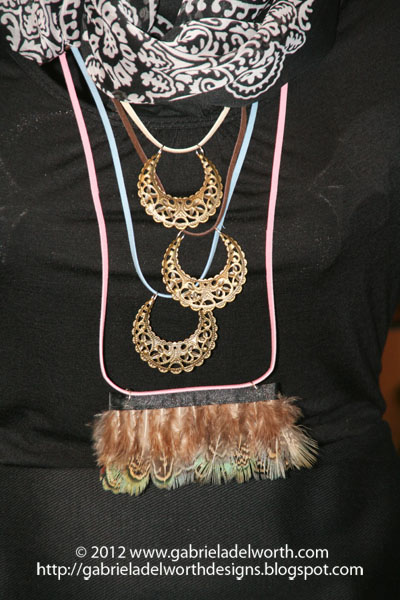
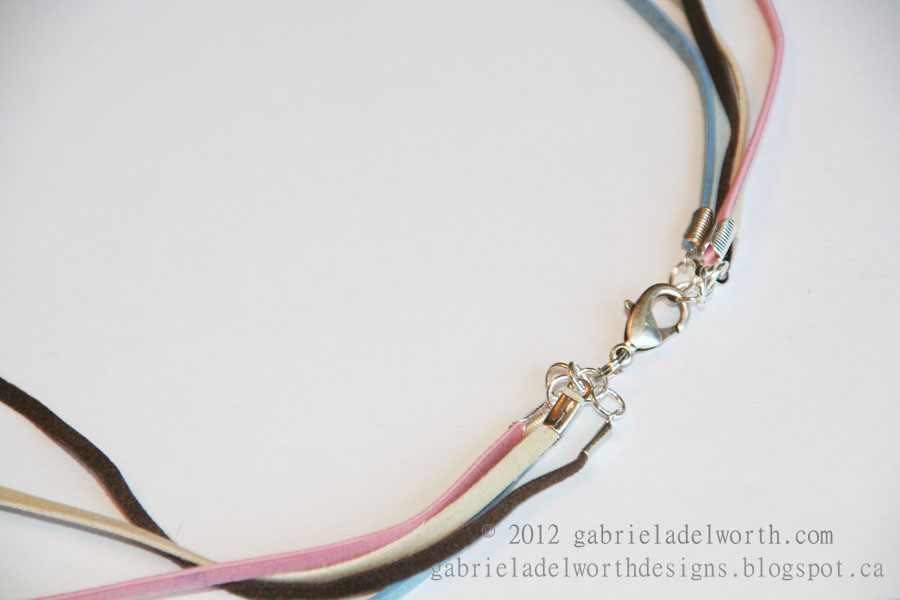
It has been a very hot start of the Summer and keeping cool is a priority. My hair is up for most of the season either in a bun or a pony tail. I find myself looking for new accessories all the time. As I had the chance to chose products from Bethney’s collection I went for suede and sheer braid trim.
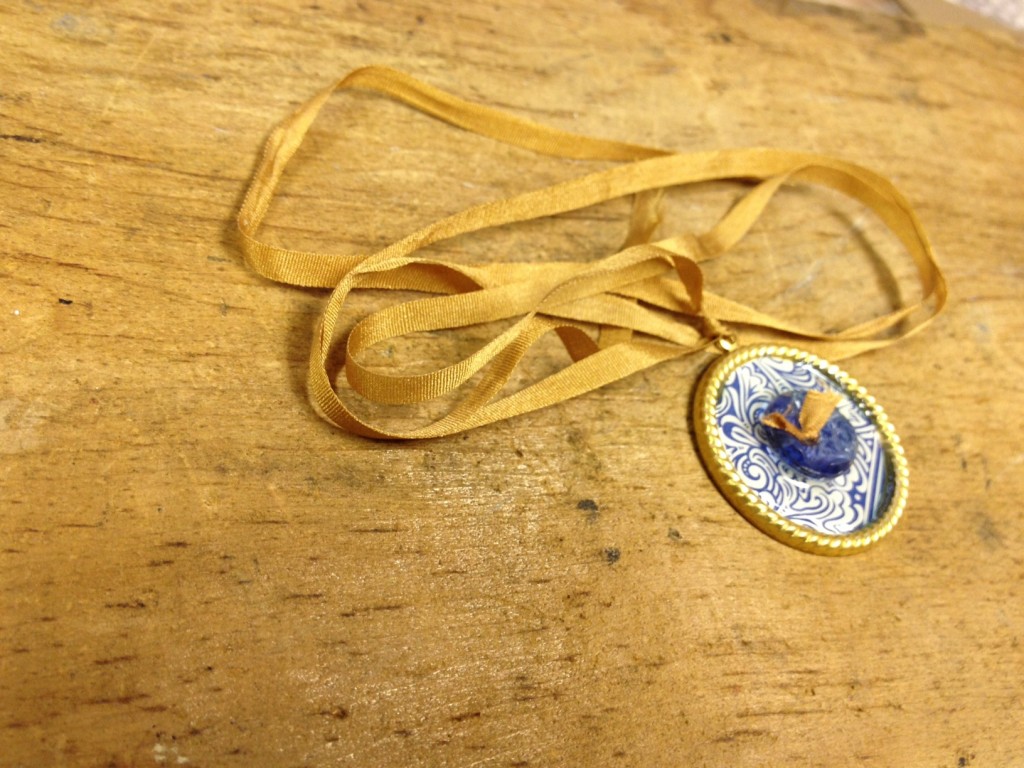
Jewelry is one of the accessories we wear the most, isn’t it? We can’t seem to have enough pieces to complement our wardrobe. Bethney from May Art Ribbon has the most exquisite selection of high quality ribbon products and has invited me to be a guest designer. I feel very honored to be able to work with her products. Today I will be showing you two projects I designed: hair ties and jewelry.
Click Here for the tutorial.
Click Here for the tutorial.
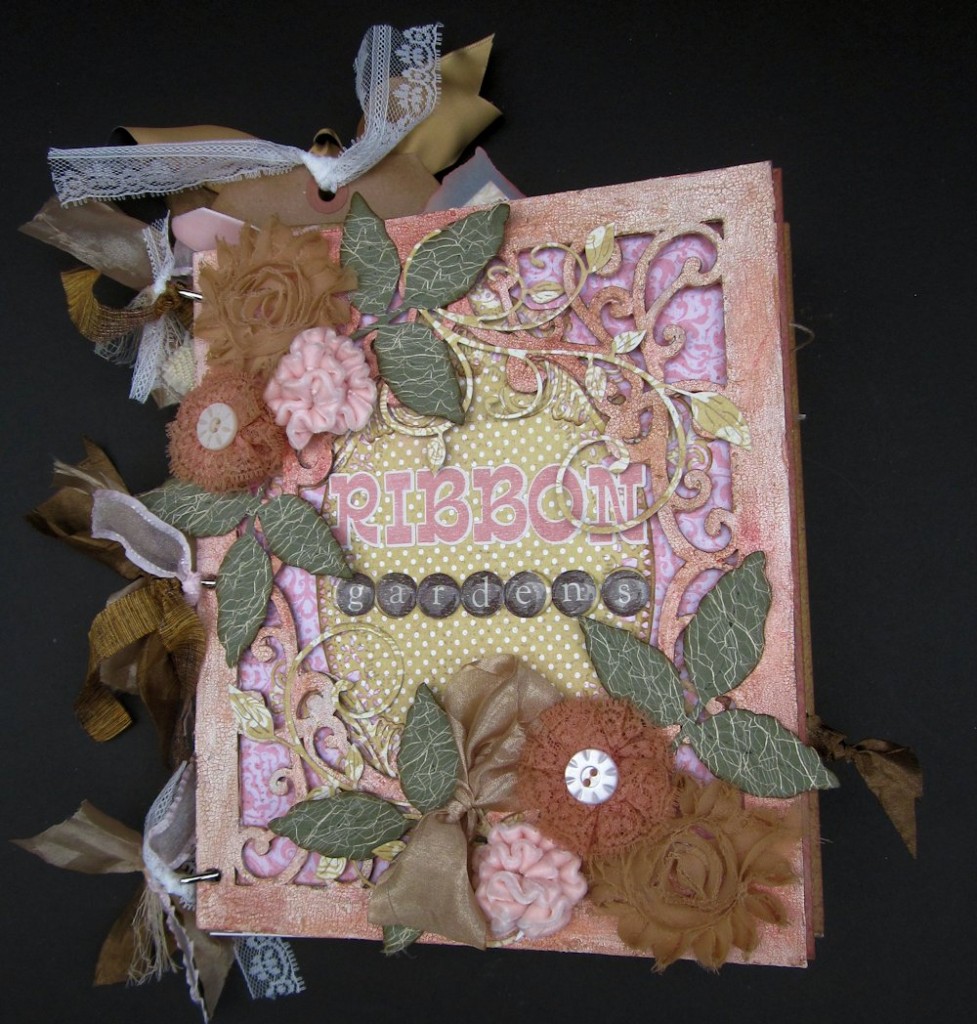
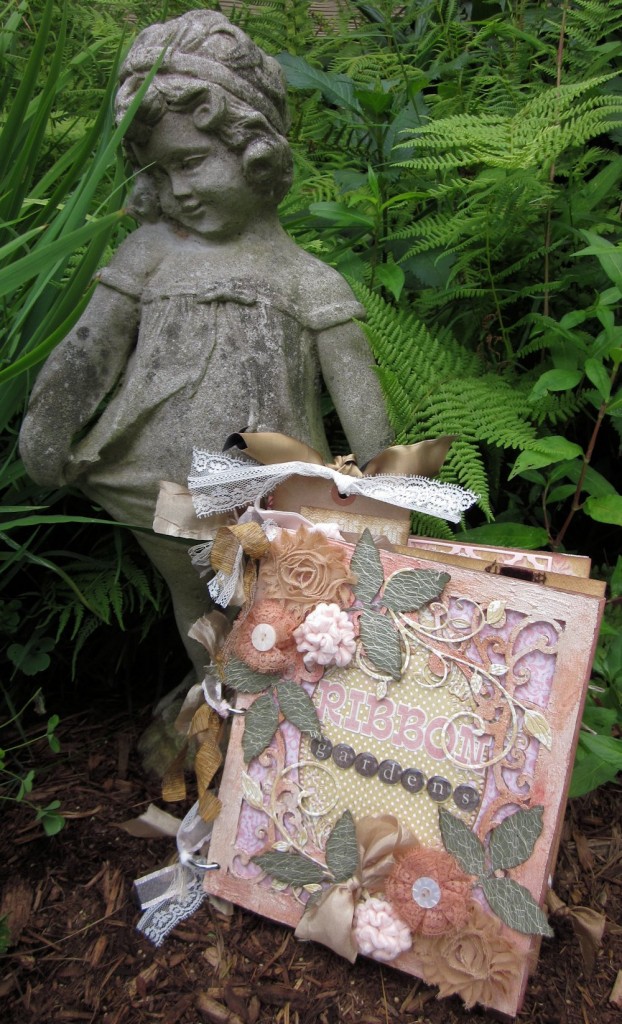
You know I love making my own flowers – and making my own flowers with yummy May Arts Ribbons?!! Ah, it just doesn’t get any better. I wanted a way to showcase a wide variety of flowers, and teach you how to make them all. My project is a mini album, which includes tags with the Reader’s Digest version of the tutorials. (Don’t worry, the full tutorials, with lots of pictures are all in this post).
Click Here for the tutorial.
I’ve got a tutorial for you- my submission for Round 2 of the May Arts Design Team call! (yes, I was giddy to have made it this far!)
Today I’m showing you how to make those cute corkscrew barrettes that you can pay a fortune for at department stores!
Click Here for the tutorial.
Hot Air Balloons are all the rage right now visit my blog and I will show you how you can make them yourself. I hope you enjoy my project today, now just sit back and relax and enjoy.
Click Here for the tutorial.
This tutorial takes you step by step through creating your very own beautiful May Arts Woven Ribbon journal. The pleated satin ribbon really makes this journal shine as a gorgeous gift for a friend or a special place to tuck away your own thoughts, dreams, or even your busy schedule! I hope you take a look and give this wonderful project a try!
Click Here for the tutorial.
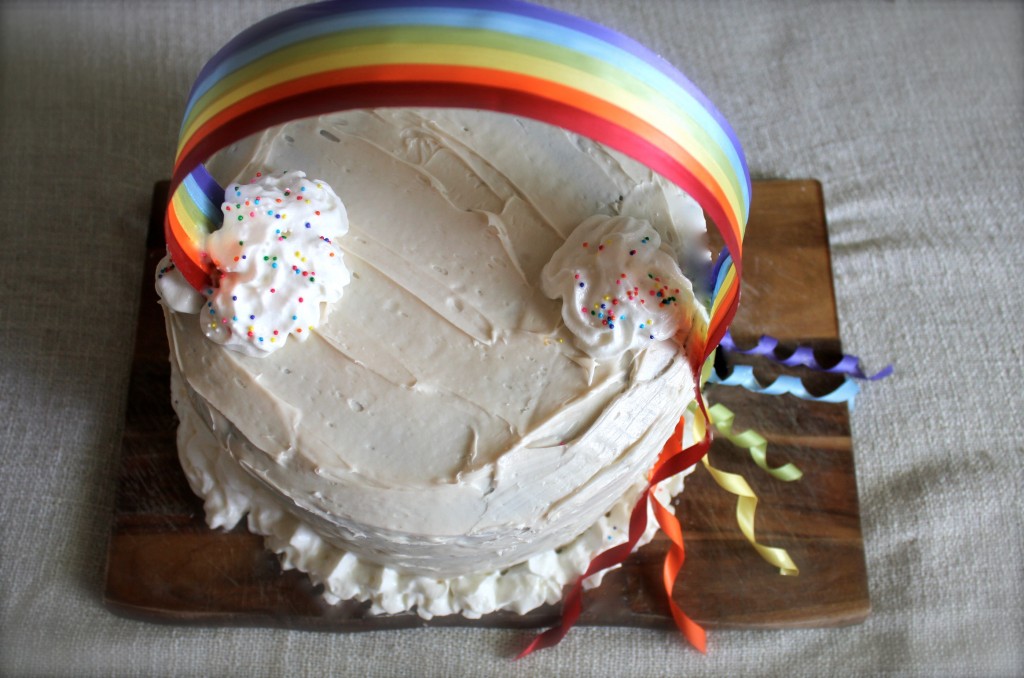
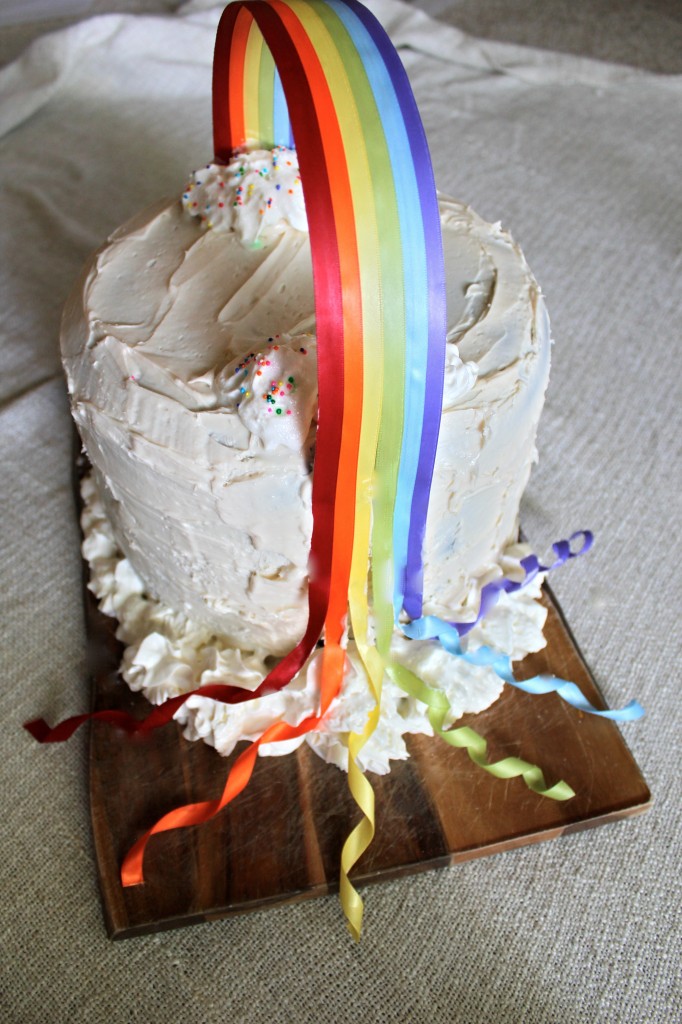
For my final project I decided to make a rainbow ribbon cake topper. I can’t pipe frosting to save my life, so I thought this would be an easy way to dress up a cake with little cake decorating expertise. It definitely added some serious pizzazz, with the height of the rainbow over the cake and the cascade of curls down the side.
Click Here for the tutorial.
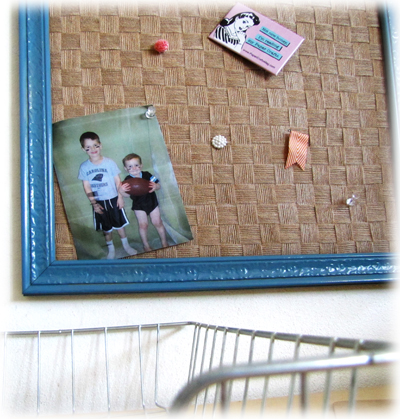
A few re-purposed and inexpensive items such as an empty frame and a piece of foam plus some beautiful May Arts Ribbon are all you need to create custom, colorful bulletin board from scratch! I’ll show you how to make one, as well as show you some fun, trendy and custom push pins!
Click Here for the tutorial.
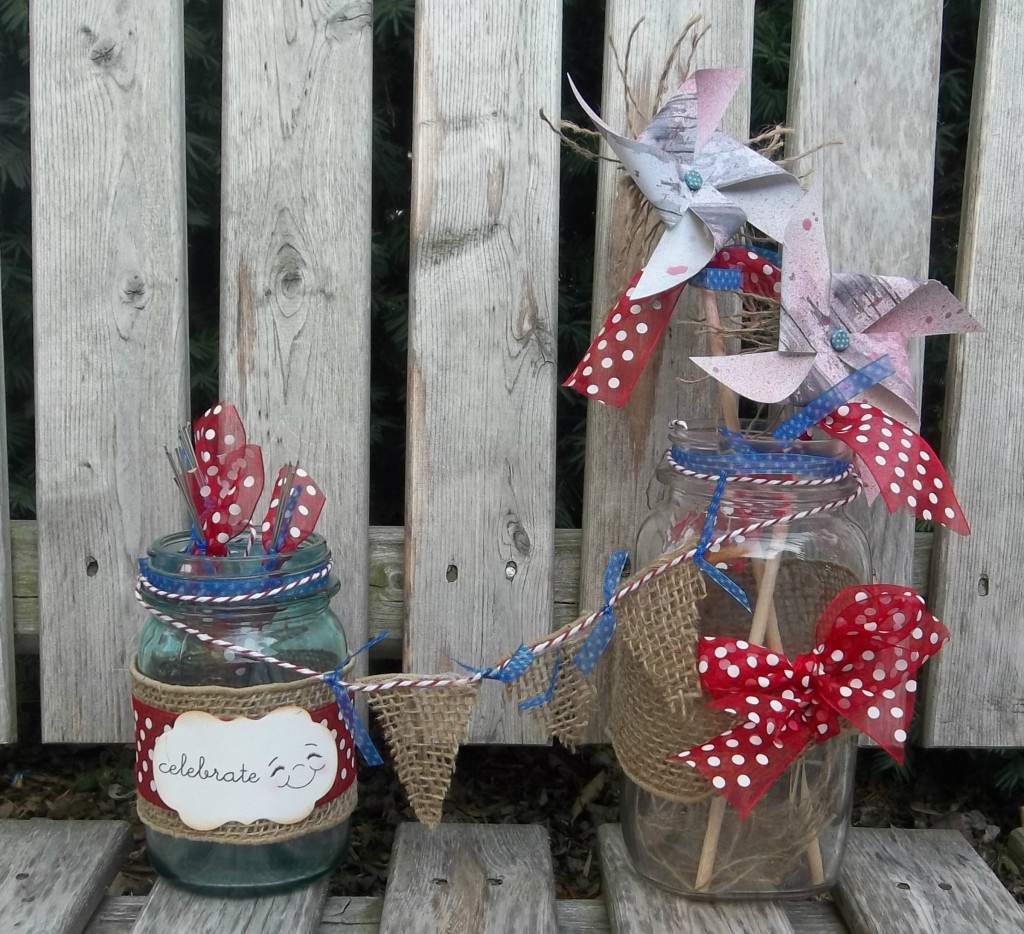
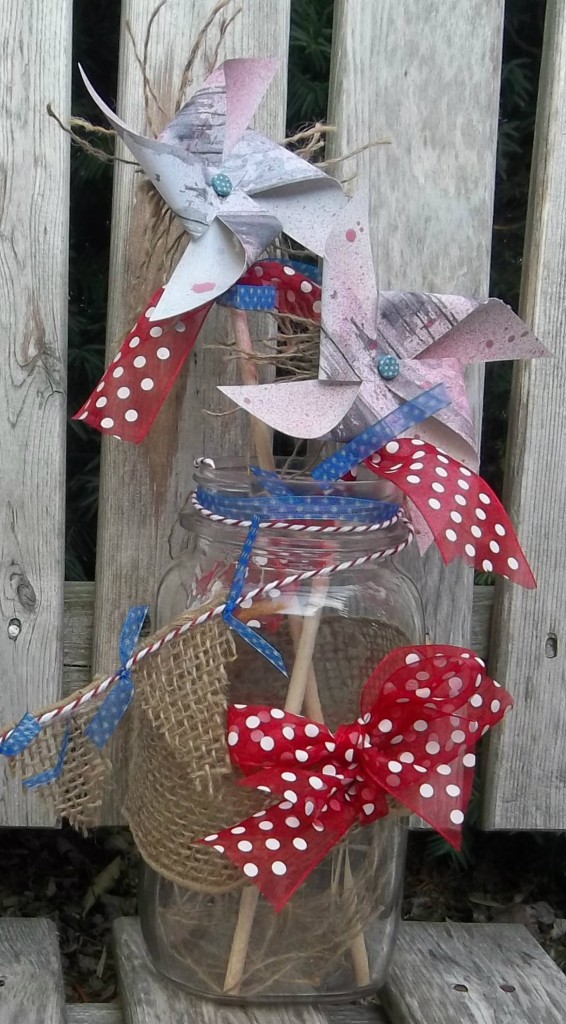
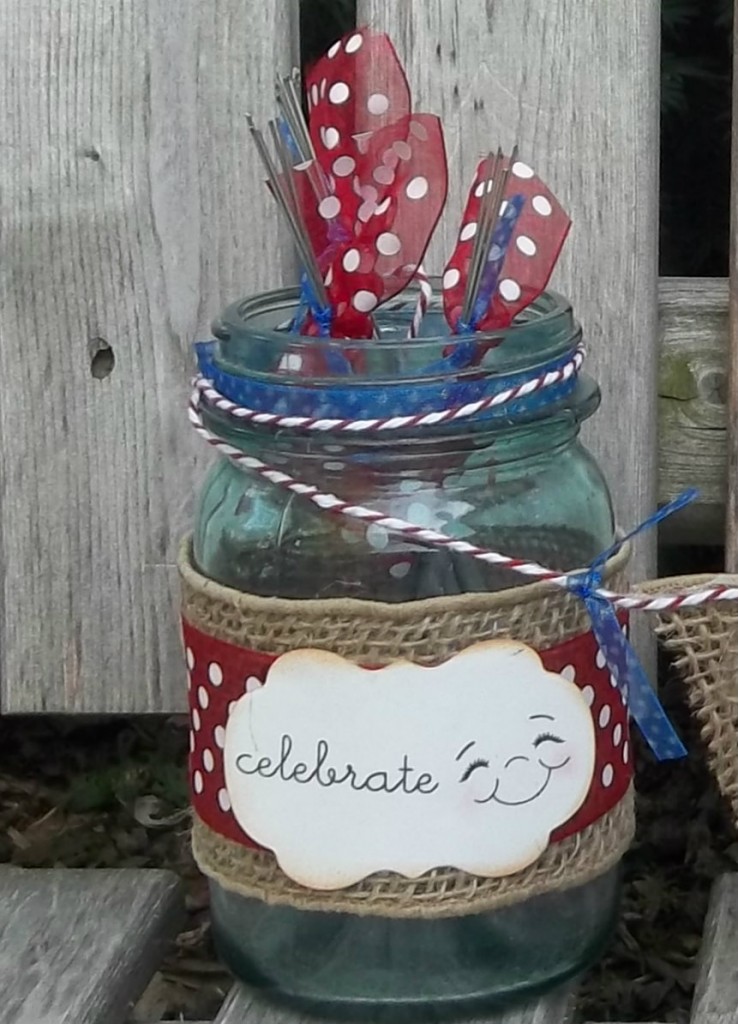
I thought this would be a great fun project that could be adapted for any holiday or occasion! A great centerpiece but yet when you are all done the kids can enjoy the fun surprises in the jars! Who doesn’t love sparklers and pinwheels! A simple thing for everyone to enjoy! 🙂
Click Here for the tutorial.
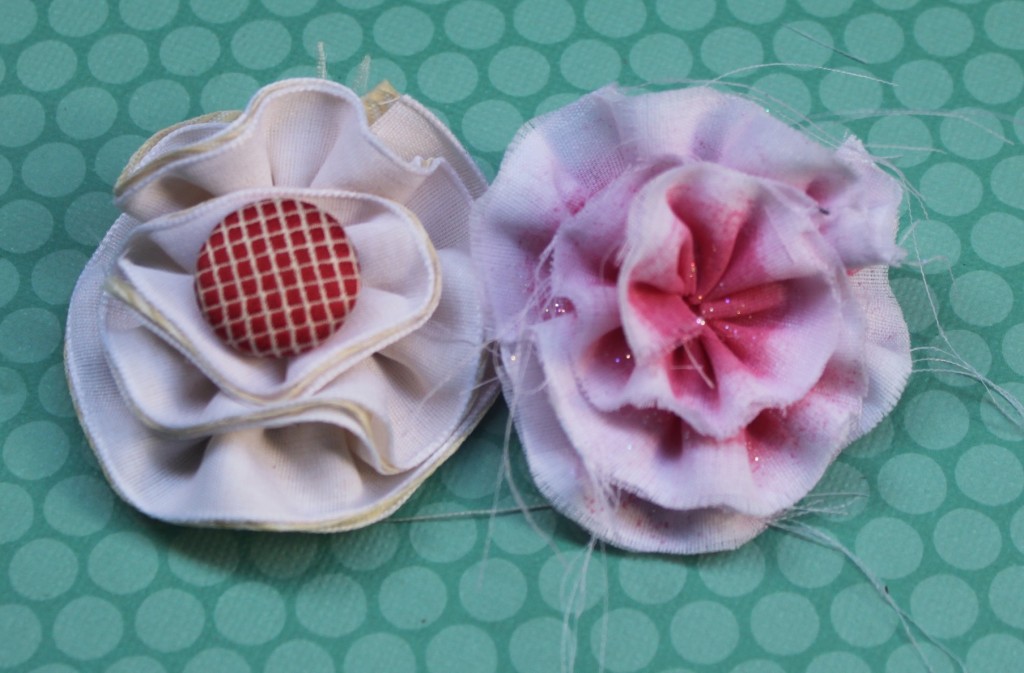
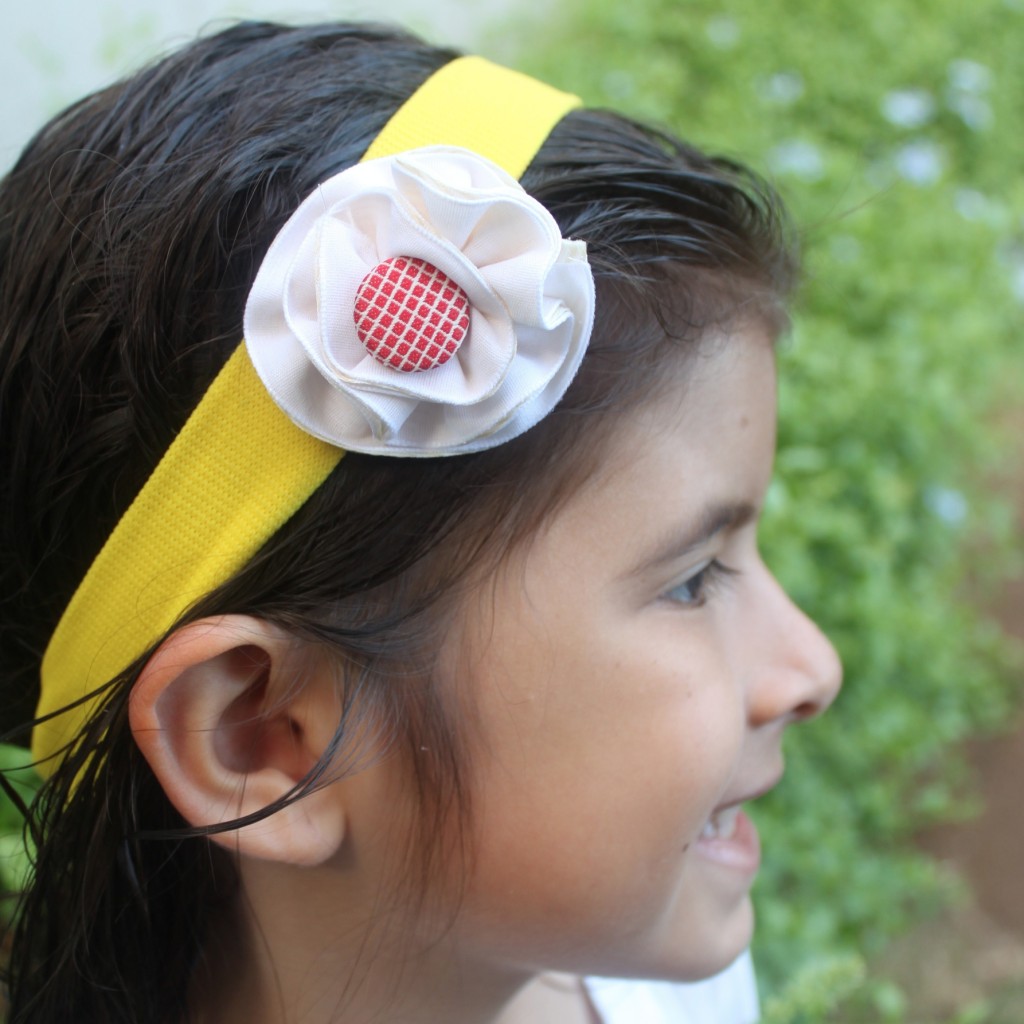
For my project I knew I wanted to make a ribbon flower. It’s simple and adds flair to all kinds of projects BUT I didn’t just want to give a tutorial on just that because there are so many out there. I also wanted to show how to dress up a simple ribbon flower to suit the mood of any project. So in the end I ended up with two tutorials. One on how to make a “simple ribbon flower” and another on how to jazz them up.
Click Here and Here for the tutorials.
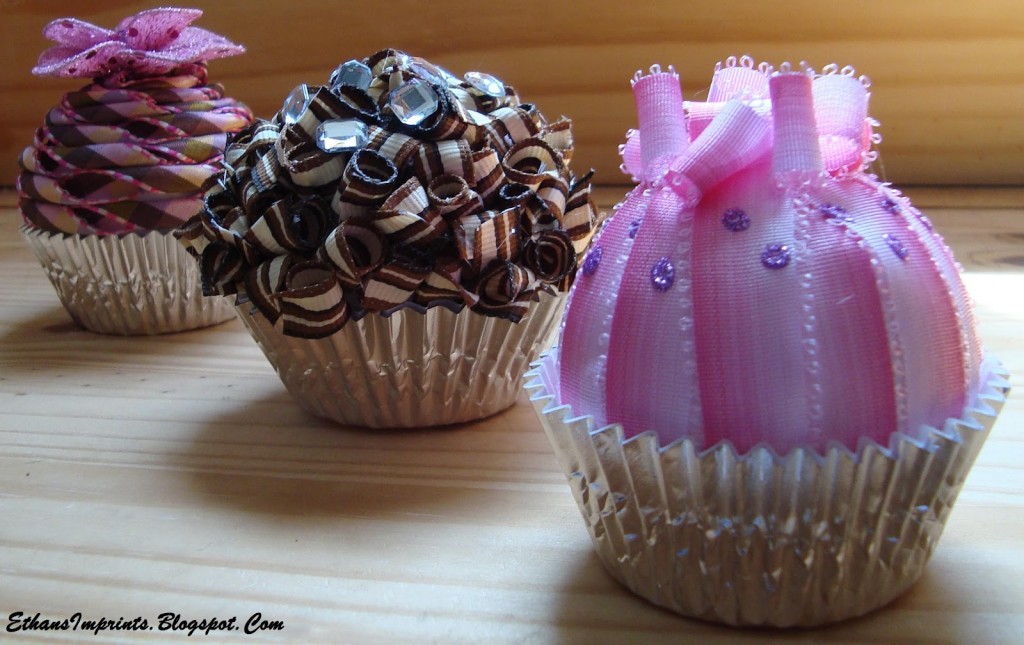
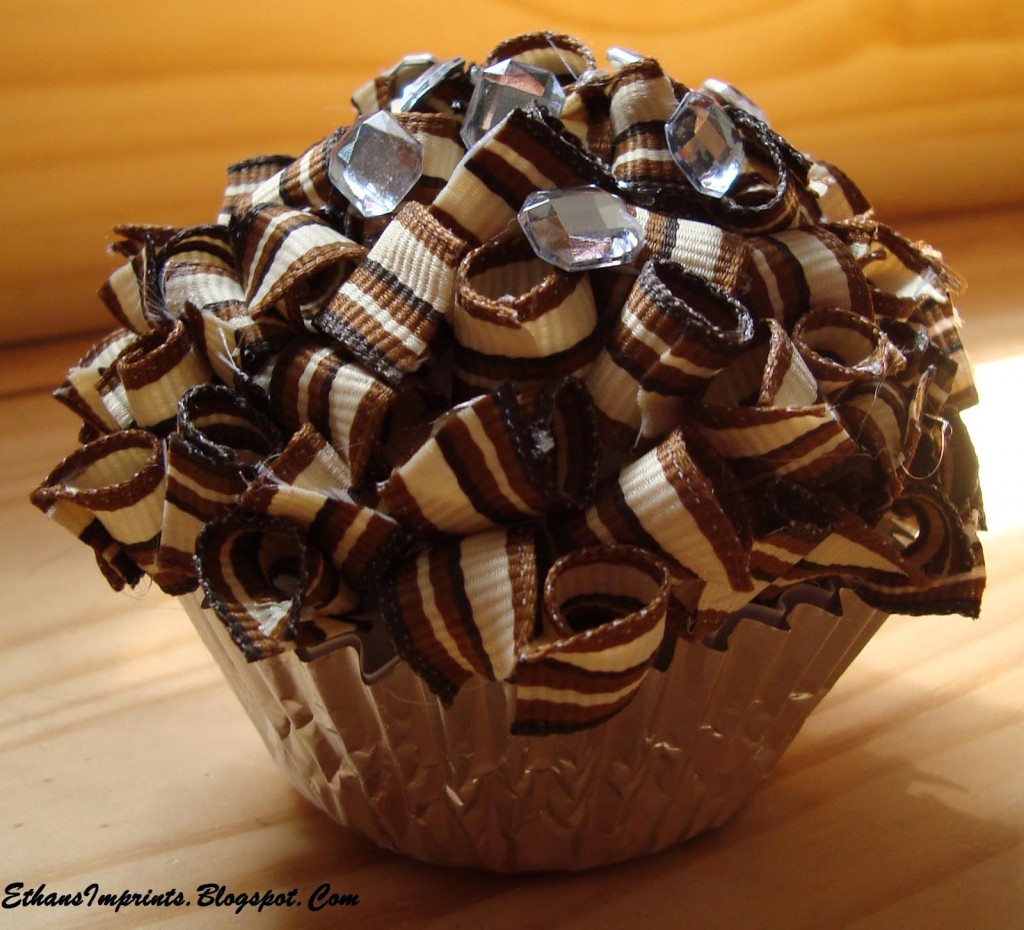
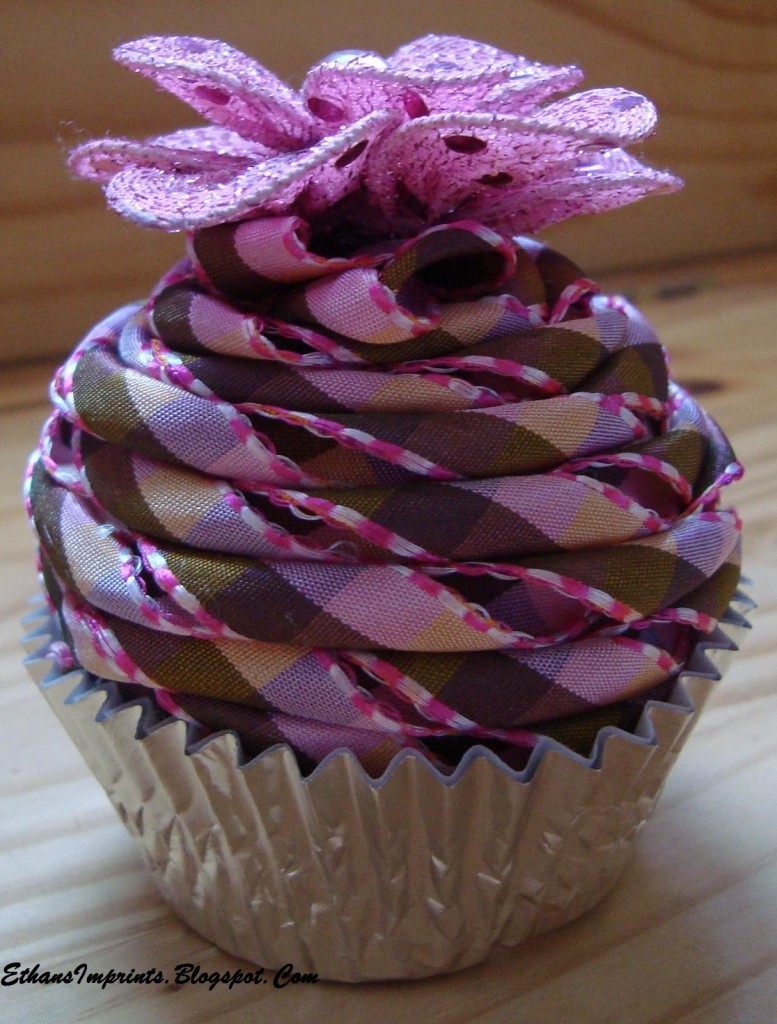
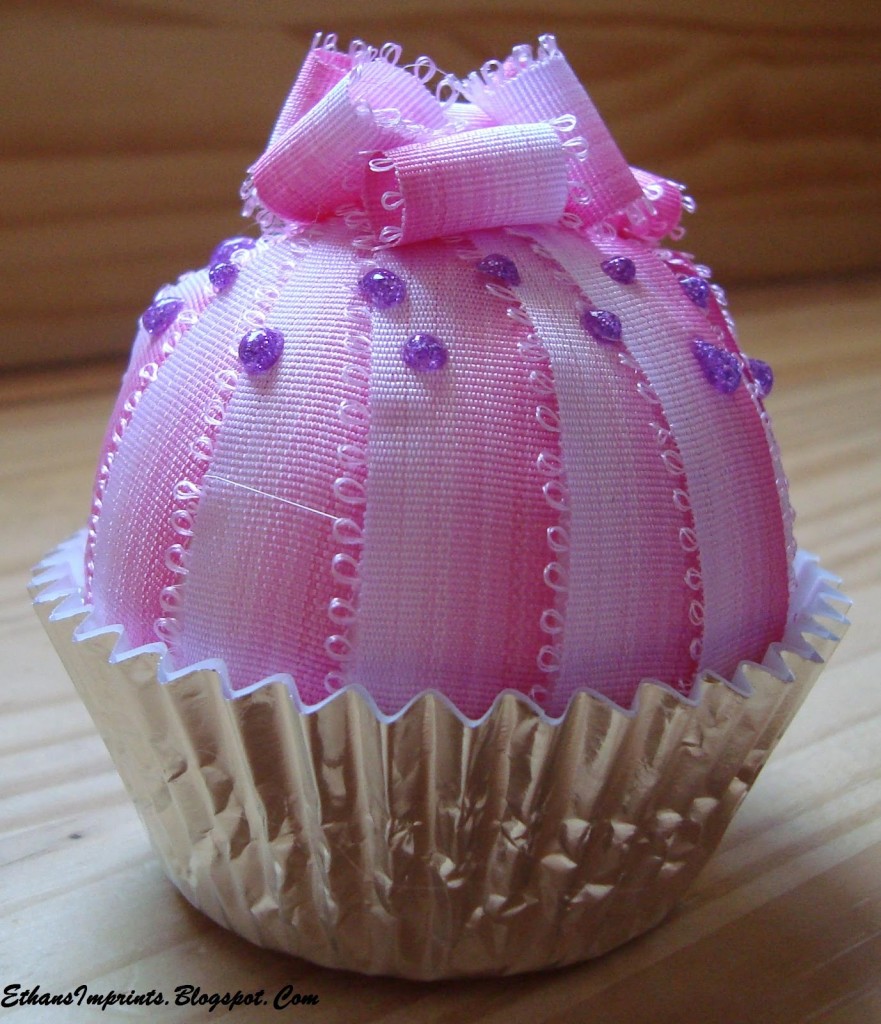
Who doesn’t love cupcakes? I know I love them! These little cupcakes make a perfect centerpiece for an exploding box, party favors, ornament, or a little keepsake for someone’s birthday! I will be showing you all how to make each one of these cupcakes in the next few days.
Click Here, Here & Here for the tutorials.
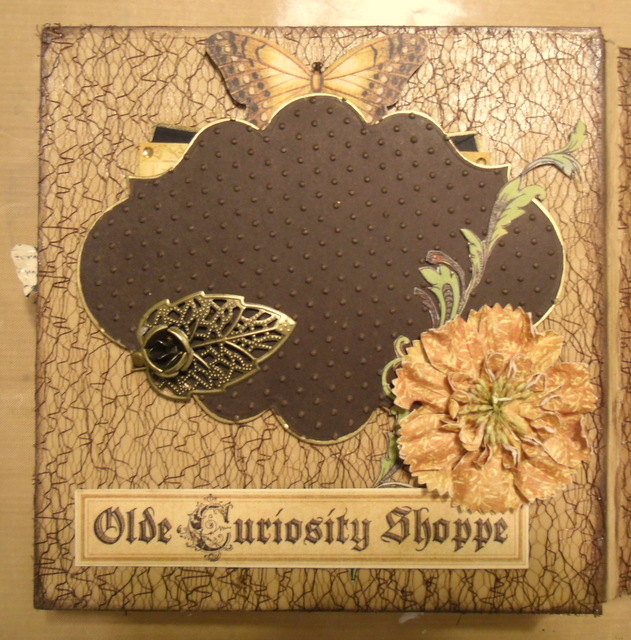
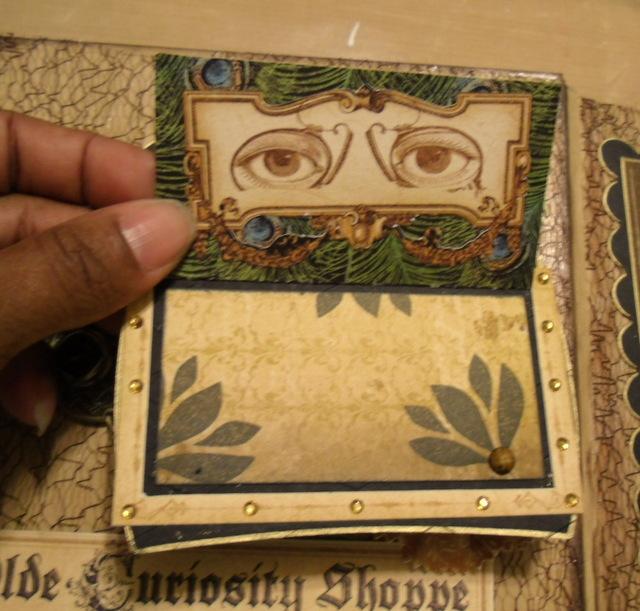
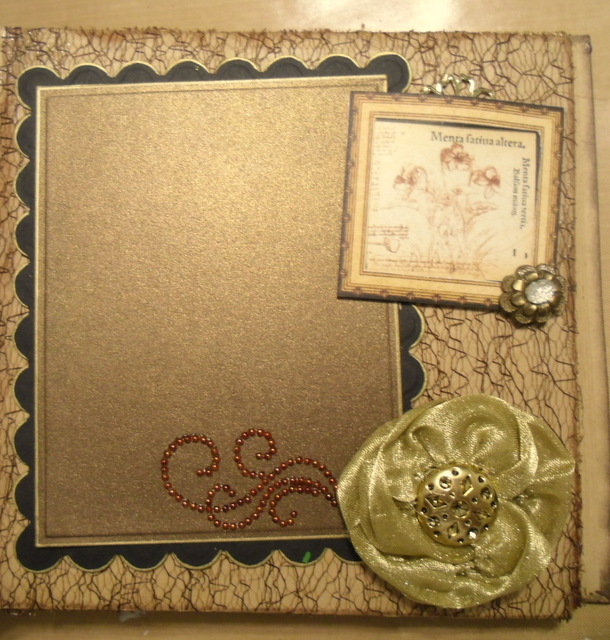
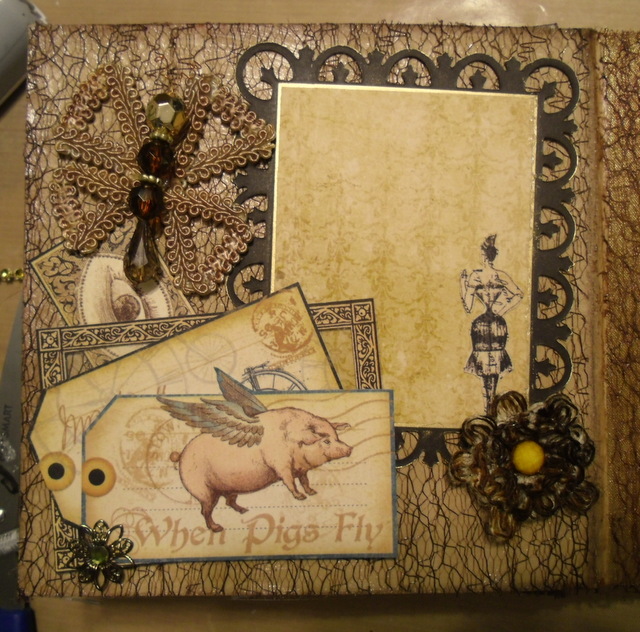
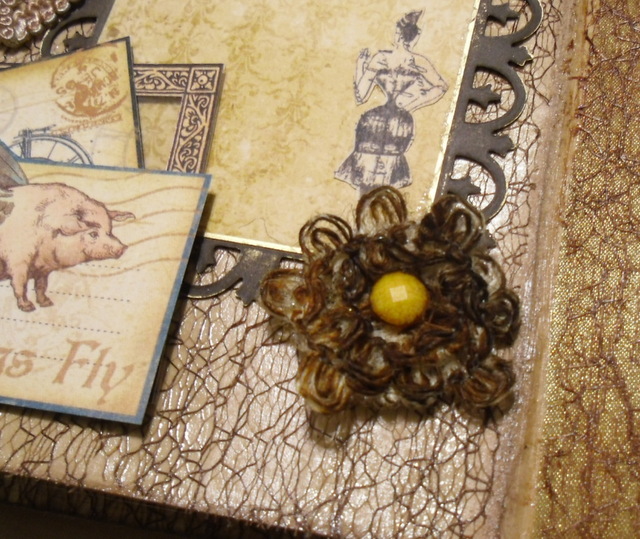
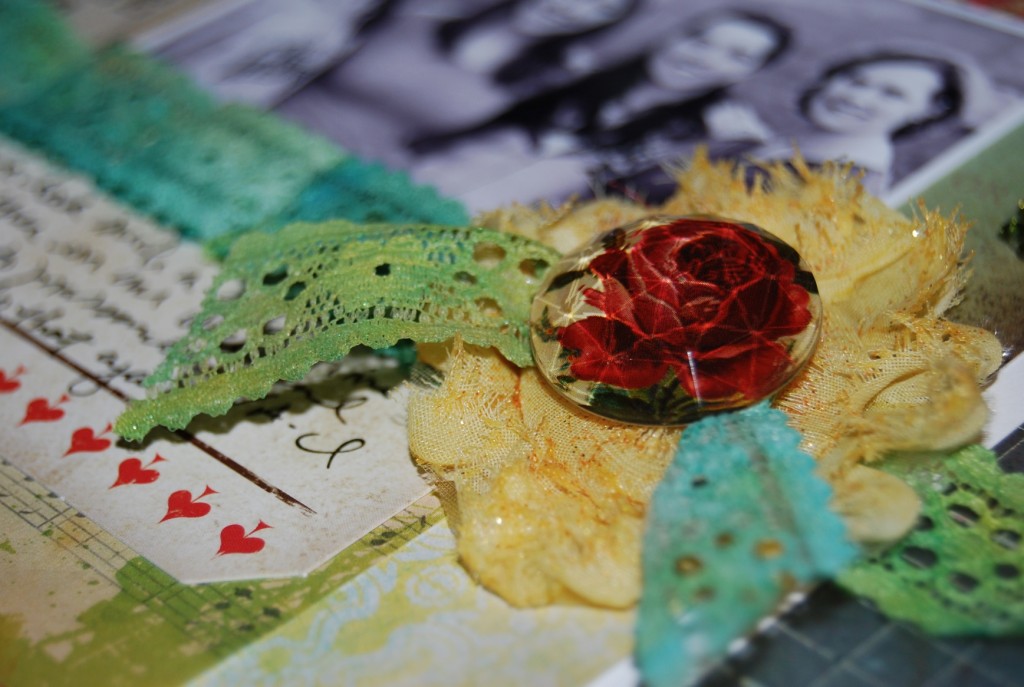
Hi everyone I want to share a mini album I made using a chipboard book and G45 Olde Curiosity Shoppe paper and several May Arts Ribbon. My goal was to find and show everyone unique and interesting things you can do with ribbon. You can do so much more than just tie fancy bows on cards with them. So enjoy as you take a stroll through my album and see how I used the different ribbons…
Click Here for the tutorial.
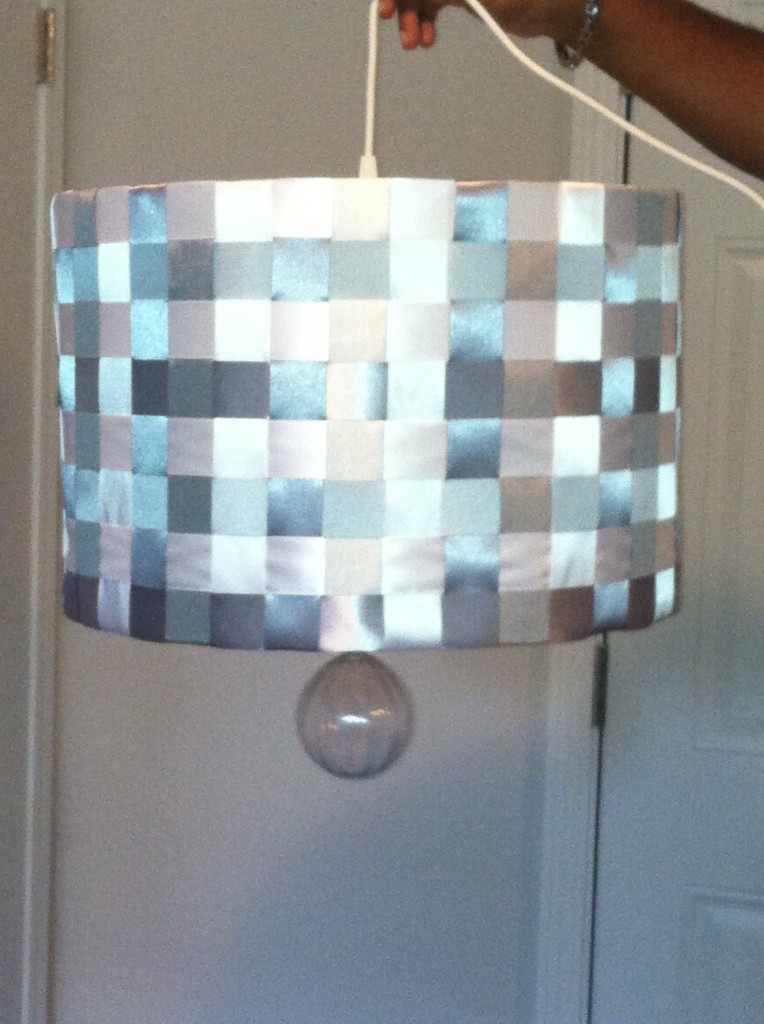
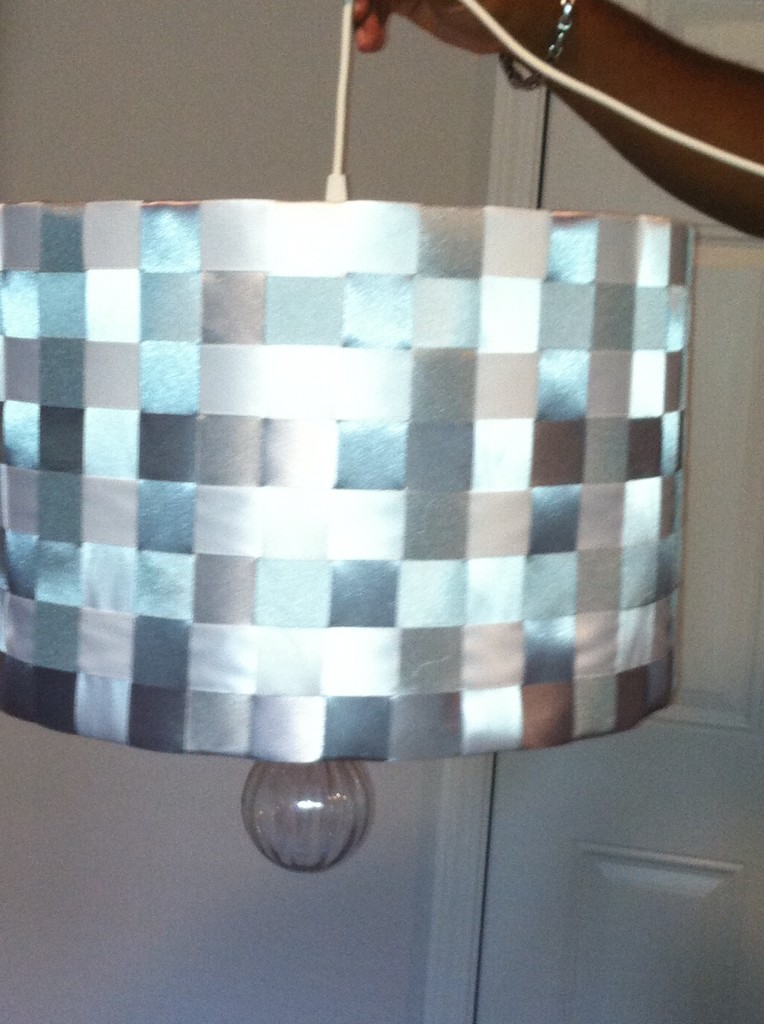
I created a chandelier (pendant light) using a drum shade and ribbon. I love unique light fixtures. My bedroom colors are silver and a soft lavender. The furniture is silver (lots of cans of spray paint). I think the silver and white chandelier will be a great addition to my room.
Click Here for the tutorial.
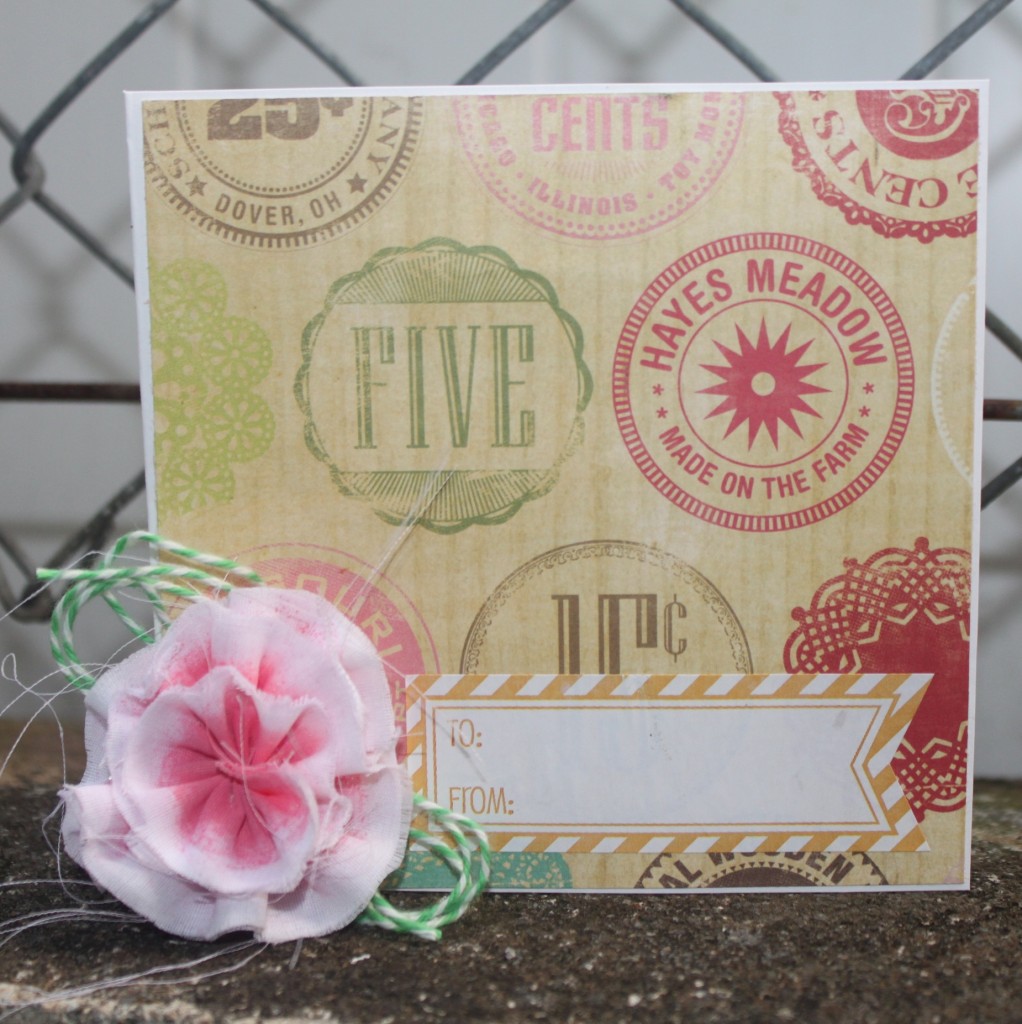
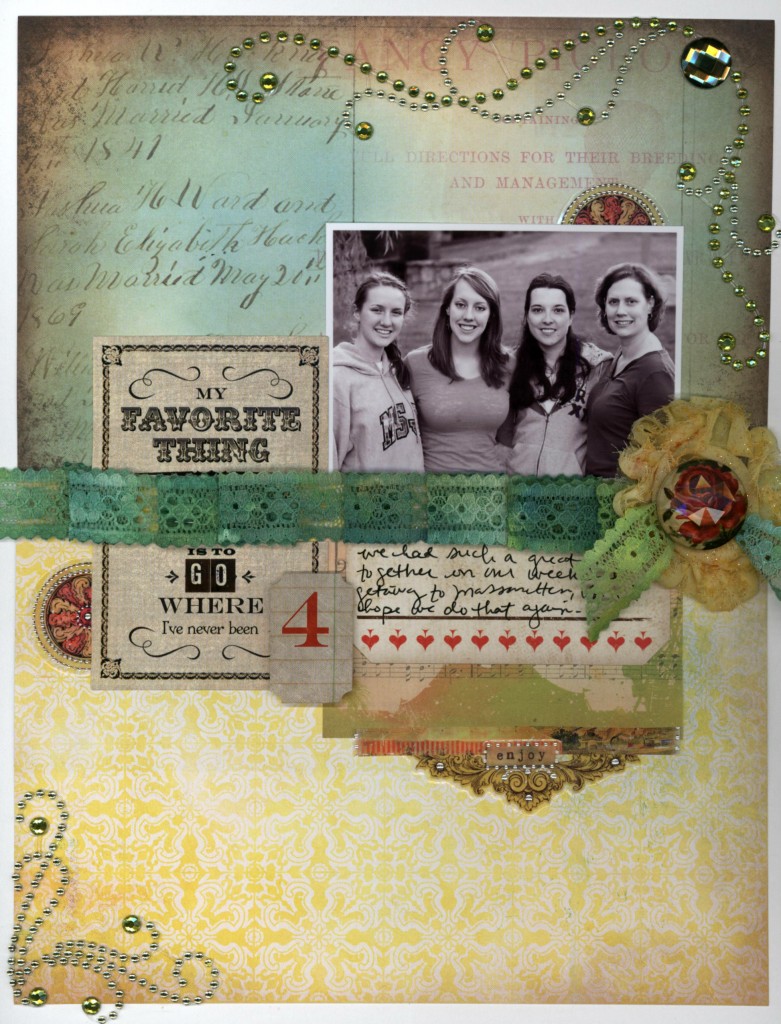
Why not try and get creative this month by using mist and paint on those beautiful ribbons and lace to make them your own. I love playing with paint and mist because you can always change the colors of your ribbons/lace to make them work for you. While some might think that painting and misting is quite scary, it doesn’t need to be and I’m here to show you how easy it can be!
Click Here for the tutorial.
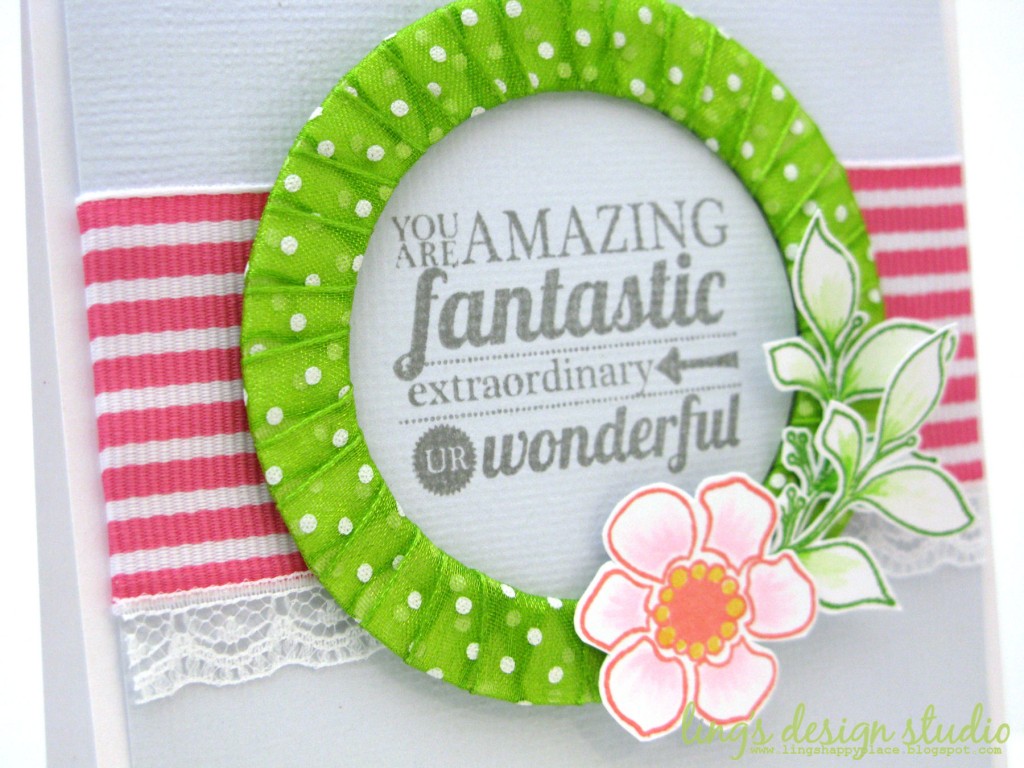
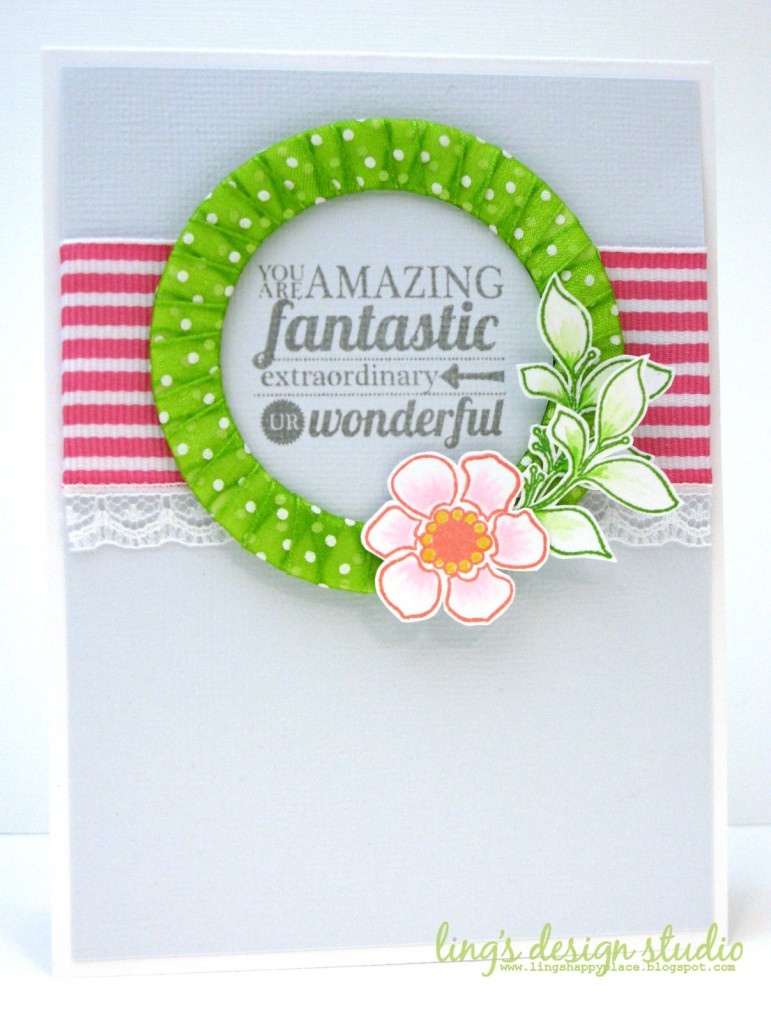
Hi everyone. I am Vera Wirianta Yates. This past year been such a blessing for me to be part of May Arts DT. I love it so much that I am reapplying again for a second term. 🙂 For my project I decided to make card as that’s what I love to do. I love to share with people how to use ribbons in card besides using them as a bow. On my project I use the ribbons as border and to create my own wreath embellishment. I hope you like them and be inspired to use ribbon on your project. Thanks so much.
Click Here for the tutorial.
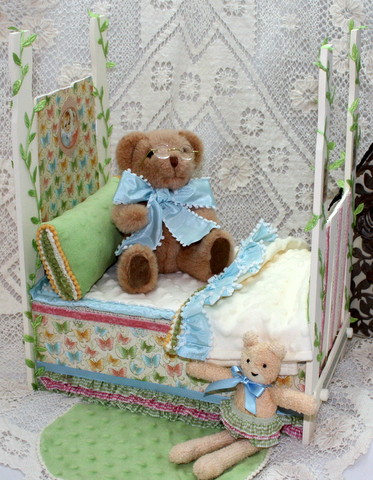
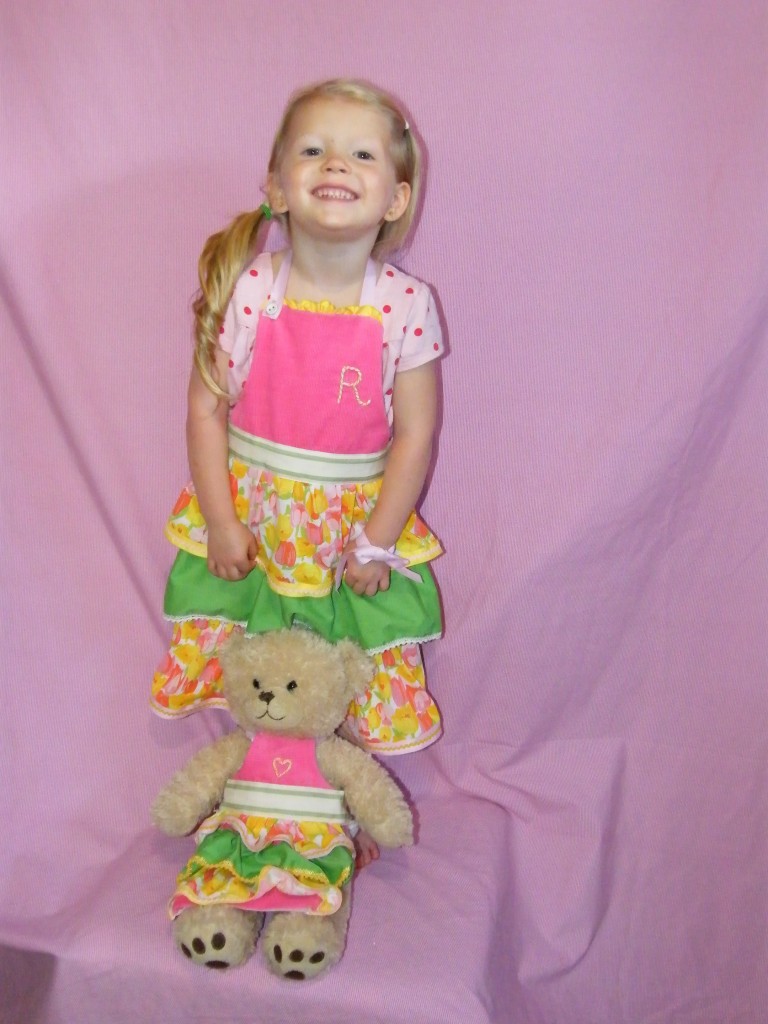
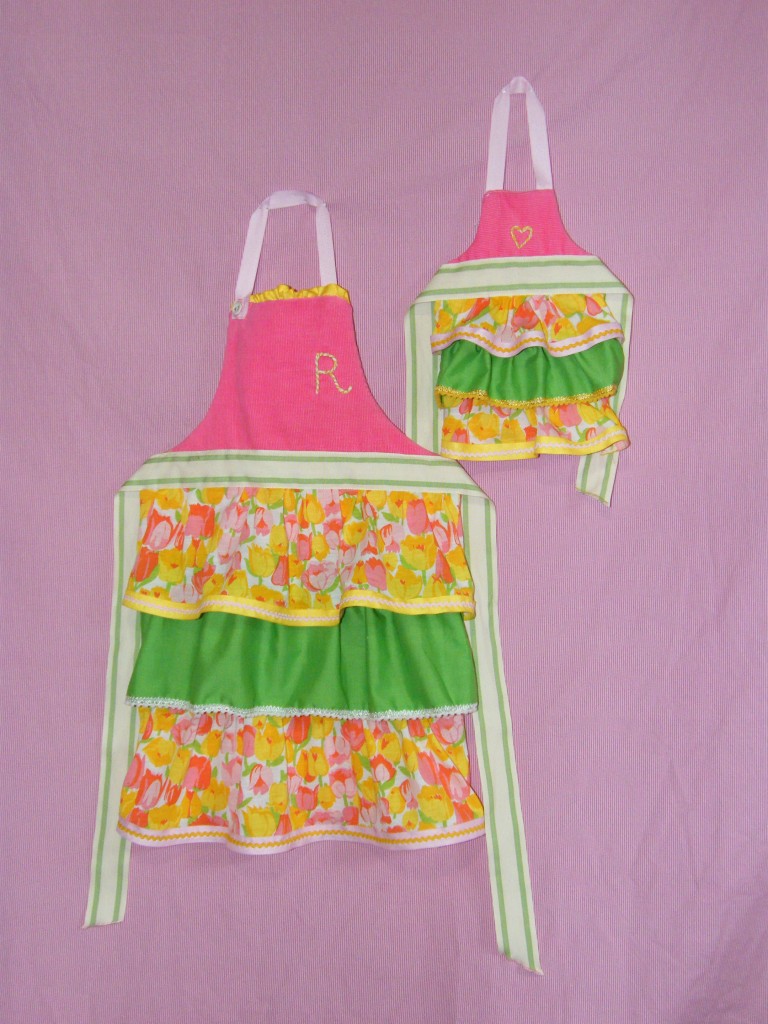
Do you have a tiny tot that loves to help in the kitchen? Does your wee one have a special someone that needs to tag along too? What a great way to keep their clothes tidy with matching aprons! Please follow along with this tutorial to create a precious frilly apron, trimmed with the sweetest ribbons for your tot and teddy too.
Click Here for the tutorial.
Video Finalists
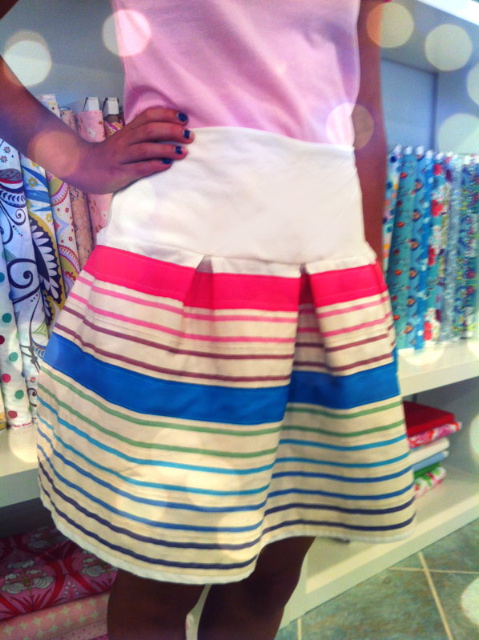
I love using the ribbons in items that are utilitarian as well decorative, and I think this piece is perfect example of that. Like I mentioned in the post you could use an old sheet as the base for the skirt, so that lends a little “green” factor to the whole thing. I was also thinking that one could make a simple zippered pouch to match from the smaller version of those ribbons. The imagination could keep on going…
That the ribbons becomes like a fabric pattern is pretty cool.
Click Here for the tutorial.
I made this video using a technique I made up called Fishtail Ribbon Technique. I was inspired to create this technique by the fishtail braids that I used to wear in my hair when I as a little girl.
Click Here for the tutorial.
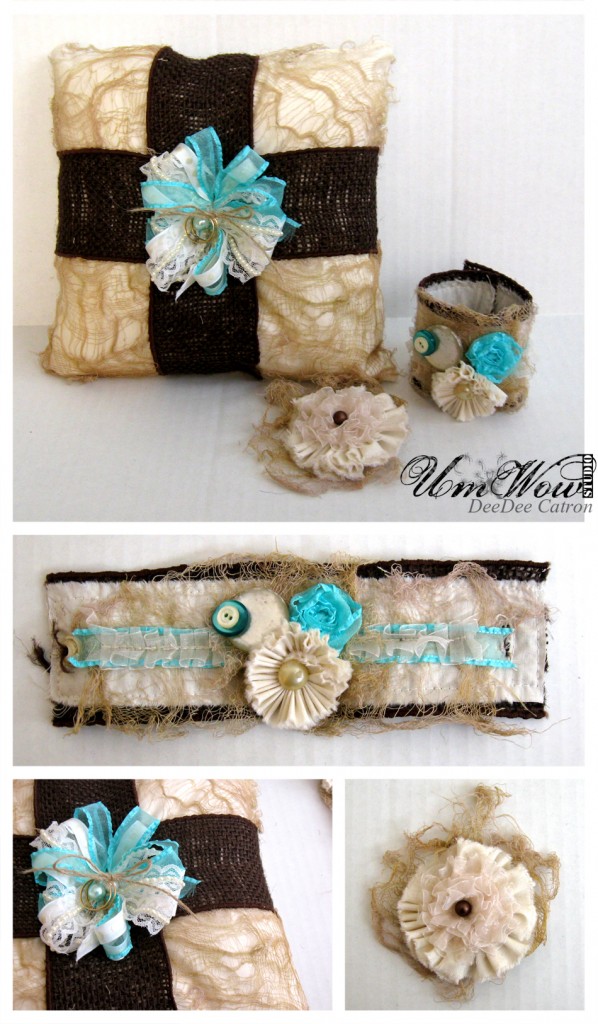
Here is a video tutorial on making a ribbon flower. Use them on scrapbook pages, cards, as center pieces, as clothing and hair accessories, or in this case as the center of a ring barer pillow. With the use of May Arts ribbons each one is completely customizable and unique. You can make them full and luxurious, or quaint and dainty. For this particular piece I used 350 5/8″x50y SHEER/RUFFLE EDGE (350-58-94), 384 3/4″x20y LACE/PEARL CENTER, and the SD 3/8″x50y – SOLID/CENTER DOT. Two beautiful cream/ivory ribbons and a luxurious turquoise ruffled edge. I used one yard of each. Also have a small one inch circle of cardstock and your glue gun handy. It’s finished off with a piece of burlap twine, two pearls and a bicone bead. The finished ring barer pillow is accompanied by a wrist cuff and a hair piece for the bride. A few other products used include the.398 2.5″X10Y BURLAP/WIRED, and the 392 58″X10Y SHEER / BOX PLEAT (392-58-09), muslin, glue, a needle, thread and a sewing machine, pillow fluff, vintage buttons, cardstock, cheese cloth and vintage photo distress stain.
Click Here for the tutorial.
Click Here for the tutorial.
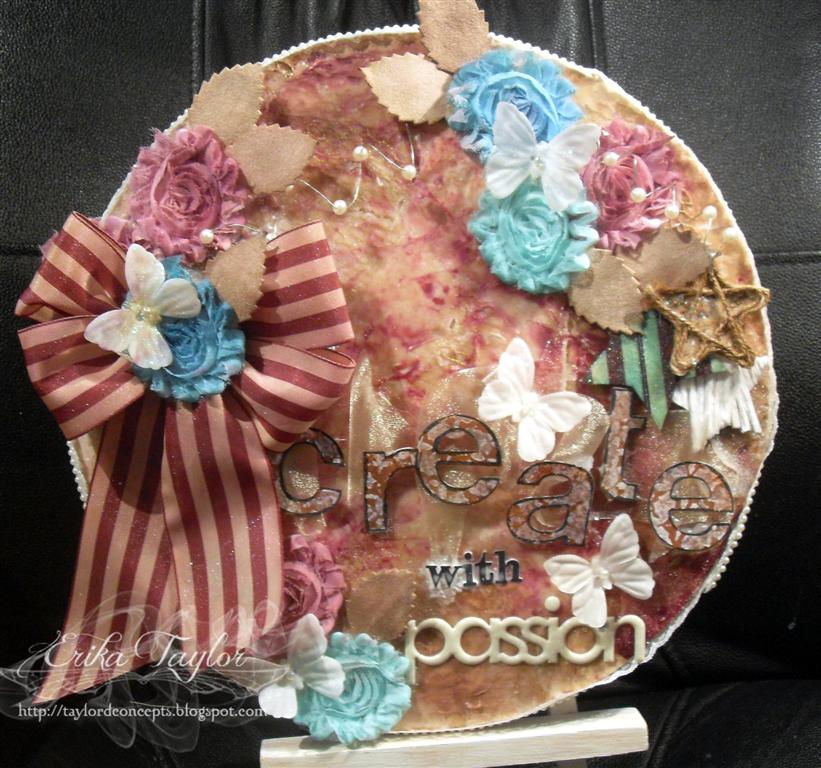
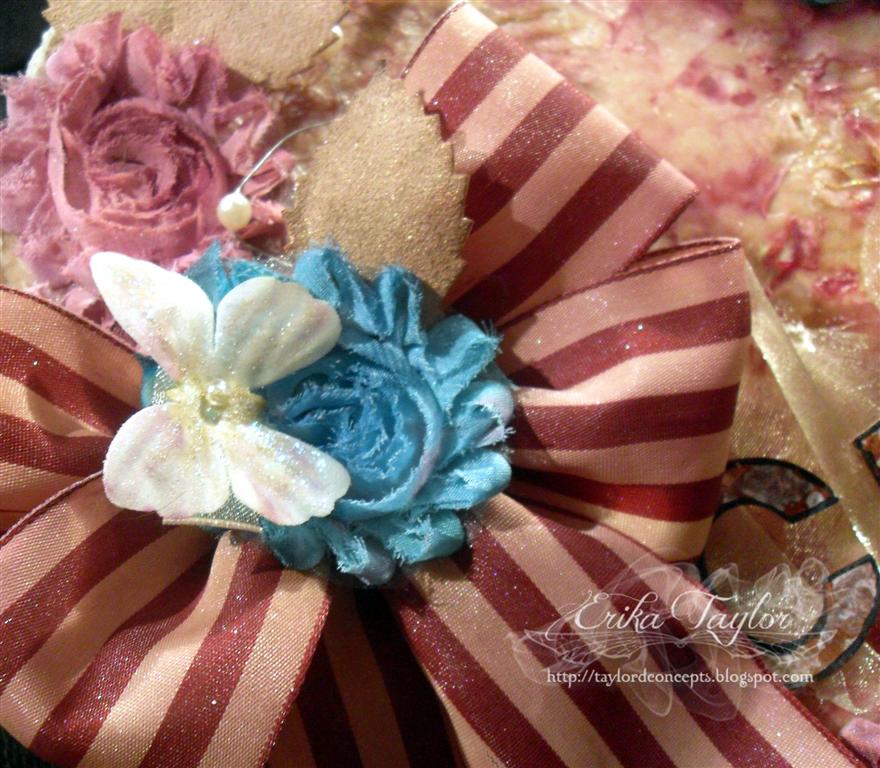
I’ve created a round canvas where beside alphas and some ink, it is ALL May Arts. I wanted to showcase how to create backgrounds for mixed media projects using ribbons and trim as well as a few easy embellishments. It is a fun way to use ribbons and add serious texture to any project.
Click Here for the tutorial.
Hi! It’s Kendra here again bringing you an amazing May Arts Project. It is super simple to make and takes less than an hour to complete. May Arts “Taggie” Blanket!
Click Here for the tutorial.
**Sorry we couldn’t show you the video on this one! Files got corrupted…messy, messy business! This was also why there was a delay in getting this post up for everyone! I did, though, get a chance to see it for myself. 🙂 **
Hi, I’m Leah and I have been blogging for May Arts since the very beginning. I am lucky to get the opportunity and hope to continue working with this great company. In my videos, I try my best to show the viewer the ribbons and new ways to use them. I like to focus on one type of ribbon per video to showcase that style. In my current video I feature the May Arts silk ribbons. Thanks for taking time to watch and consider my entry.
Click Here for the tutorial.
What’s more lovely than a little girl’s dress! This easy shaped card sports 3/8″ lace layers to create a ruffled dress, and 3/4″ striped twill as a ribbon candy “sash” to dress it up! The sunny yellow card would be perfect for celebrations, or made into a pink princess dress or a white wedding gown!
Click Here for the tutorial.
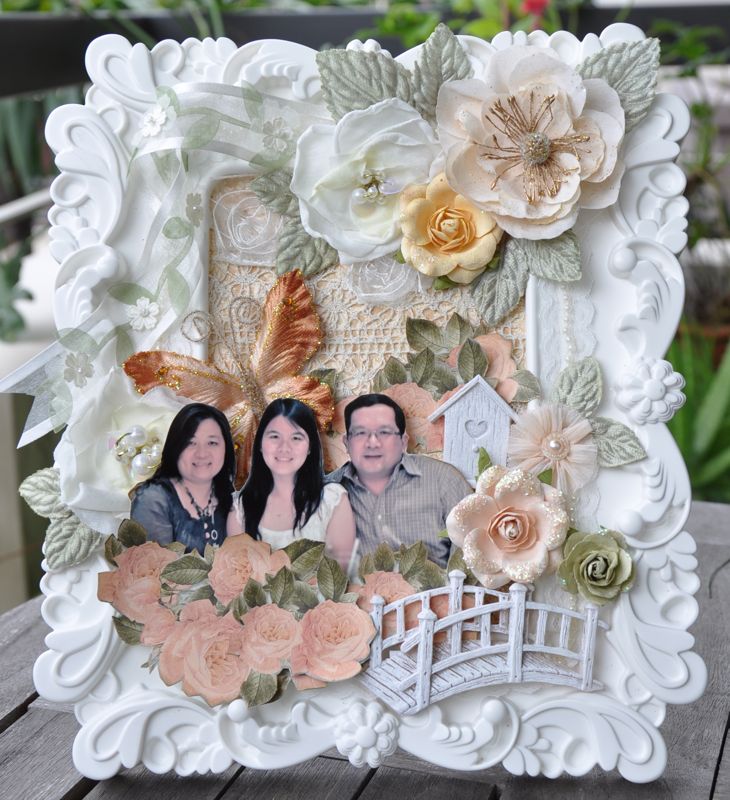
I decided to show how you can transform a photo frame into a lovely customized piece of home decor in a floral romantic style. I chose 4 May Arts ribbons to create with, all of them in a vintage lace or trim style in pale shades of ivory and cream to complement the white photo frame. I also kept the embellishments for the project in pale tones of cream, peach and mint so as to allow the photograph to show through. The May Arts ribbons were used to add textured, interest and dimension to the project. I laid the ecru trim on the base of the photo frame, creating a textured background. The beautiful lace with inset pearls was used to border the frame, giving dimension and elegance to an otherwise flat surface. The florette lace I cut out individual florettes and used these as floral embellishments and finally, my favorite ribbon with the white flower and green leaves was twirled around the corner of the frame, giving a soft garden accent to the project.
Click Here for the tutorial.
Phew! Now that is a lot of ribbony goodness! Remember, be sure to post those comments for a chance to win 3 spools from our summer releases! And be sure to check back on July 23, 2012 to find out who will be the new May Arts Ribbonistas!
Good luck to everyone!
xoxo!
-The Ribbon Lady


