Bow Making For Cards
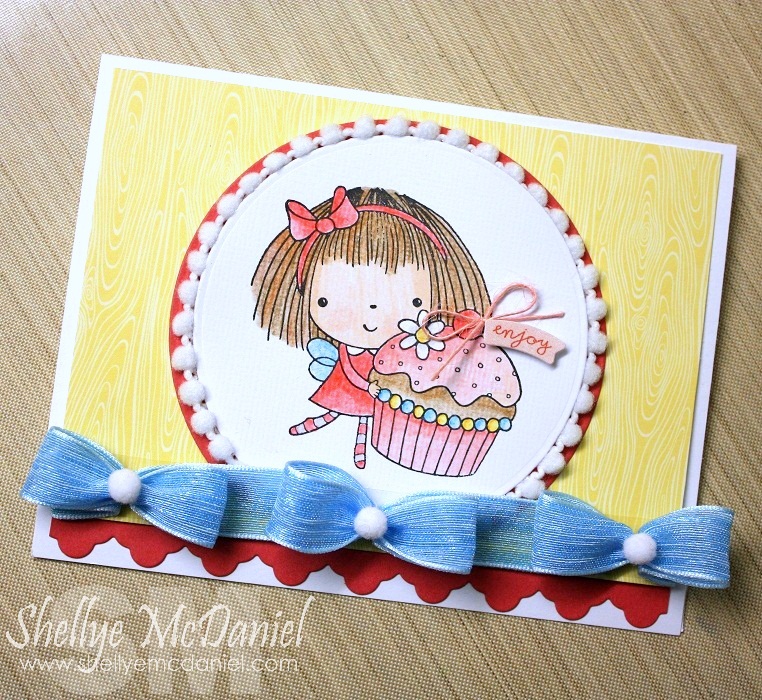
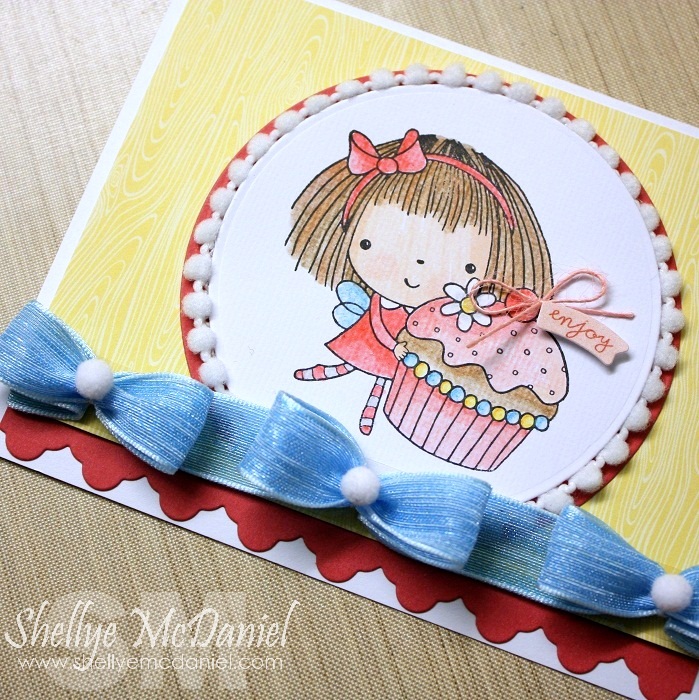
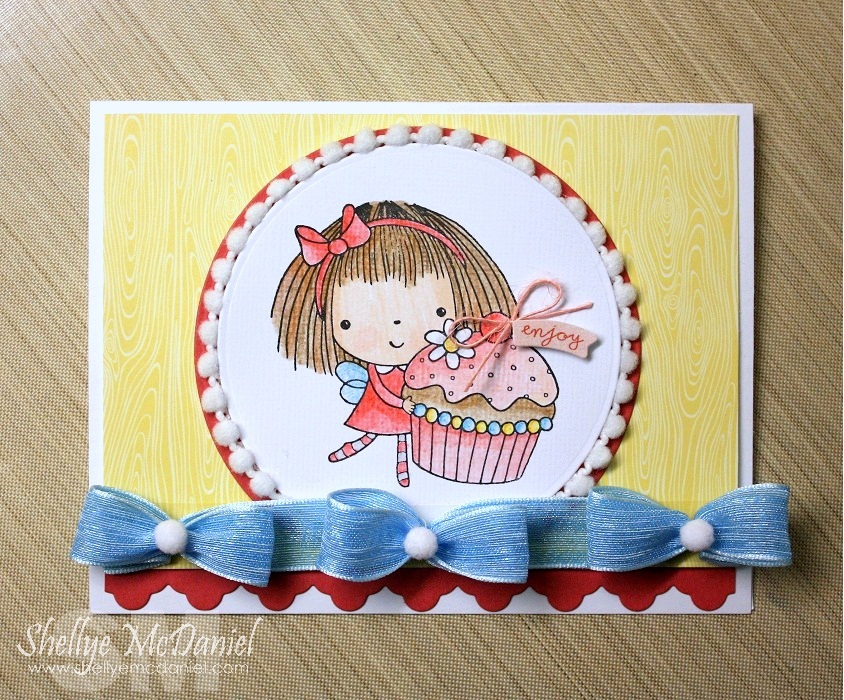
Today’s card was actually inspired by the brand new Wired String w/ Raffia Bows that was recently released by May Arts Ribbon! I wanted a nice, fluffy bow to complete the whimsical theme of this sweet card, so I set out to make my own.
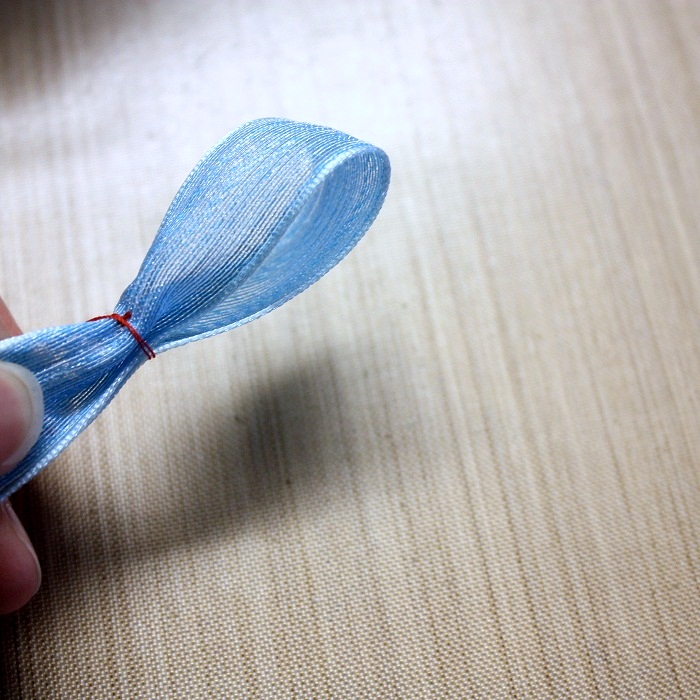
To begin, leave a tail of ribbon before beginning your first loop. Loop a section of the ribbon so that it measures approximately 1″ – 1.5″.
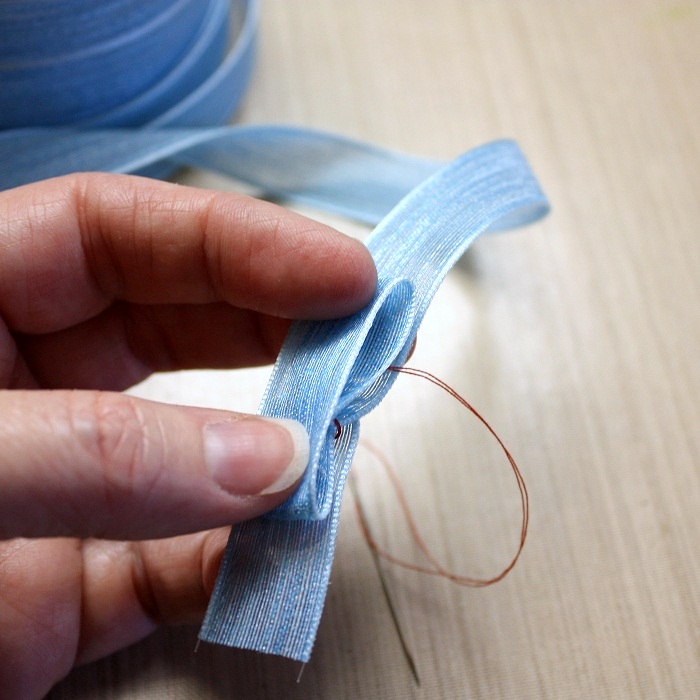
Using a needle and thread (I’ve used red for tutorial purposes only), make a running stitch at the base of the loop as shown above; do not cut the thread.
Next, gently pull the thread to make a gather.
Open the loop so that it is flat against the length of the ribbon as shown above.
With the needle and thread still attached, wrap the thread around the center of the loop and pull until it creates a gather. Stitch the thread into place, knot and then cut. Repeat with as many loops as you would like. Attach to the front of your card with fabric glue or use a high-tac adhesive.
After stamping and watercoloring the image for the card, I die-cut around the motif with a circle die and then edged in Mini Pom Pom Trim.
Partners in Craft Supplies:
- Sticker- Authentique Paper
Other Supplies Used:
- “Sweet Thing” Stamp- Penny Black
- Watercolors Pencils- Faber Castell
- Fabric Glue- Beacon
- Mini Pom Poms- Misc.
- Patterned Paper- Jillibean Soup
- Cardstock- American Crafts
- Circle & Scallop Border Dies- My Favorite Things


