Christmas Craft: Burlap Snowflake Ornament

Are you ready for Christmas? I cannot believe it has come up on us again this year! I feel like I say that every year. I tried to get a little head start this year by creating some ornaments before we actually put the tree up.
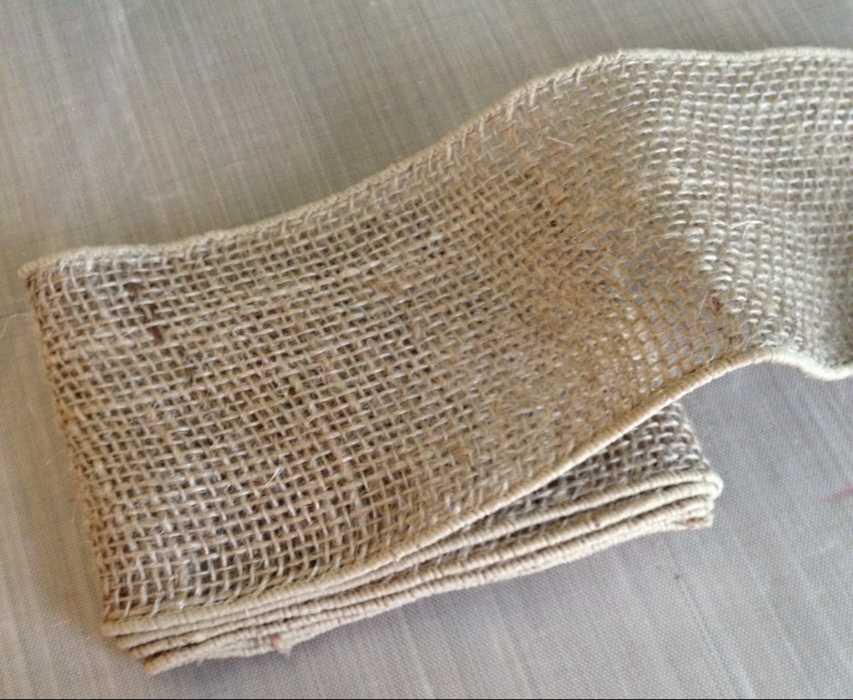
This little snowflake ornament is PERFECT to re-create with the 4 inch burlap ribbon! I must admit, I found the idea on Pinterest, but wanted to see if I could re-create it for my own tree this year. It looks complicated, but it was easy enough, and you can make this one too!
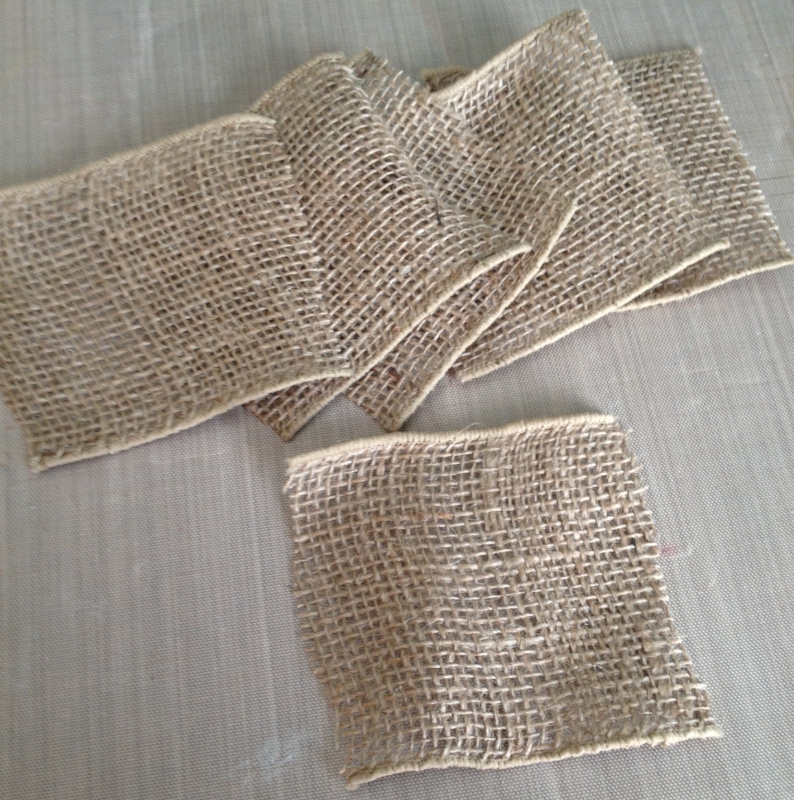
Cut out six 4 inch squares of stiffened burlap.
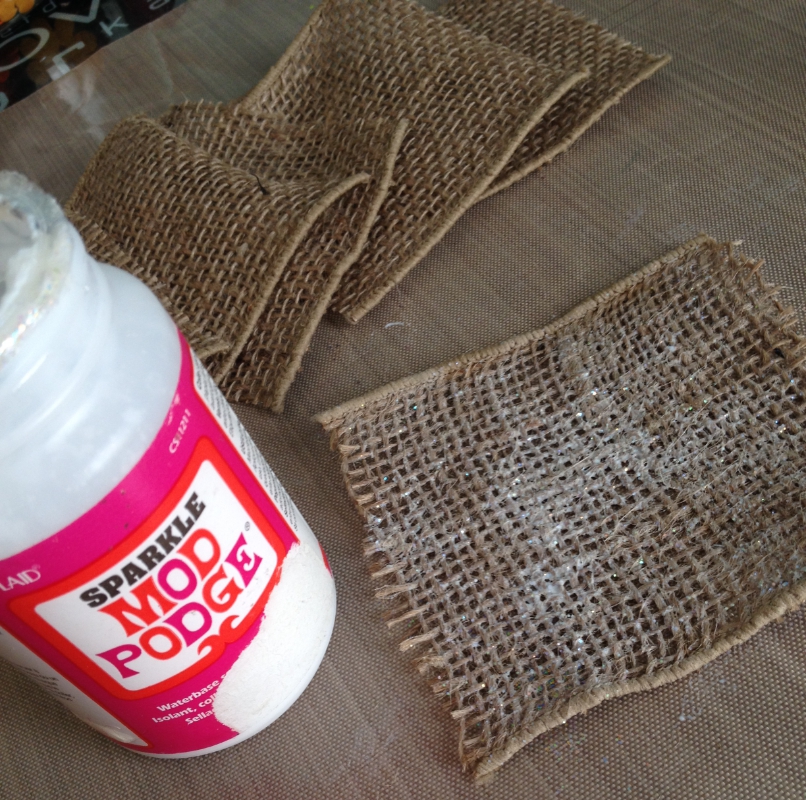
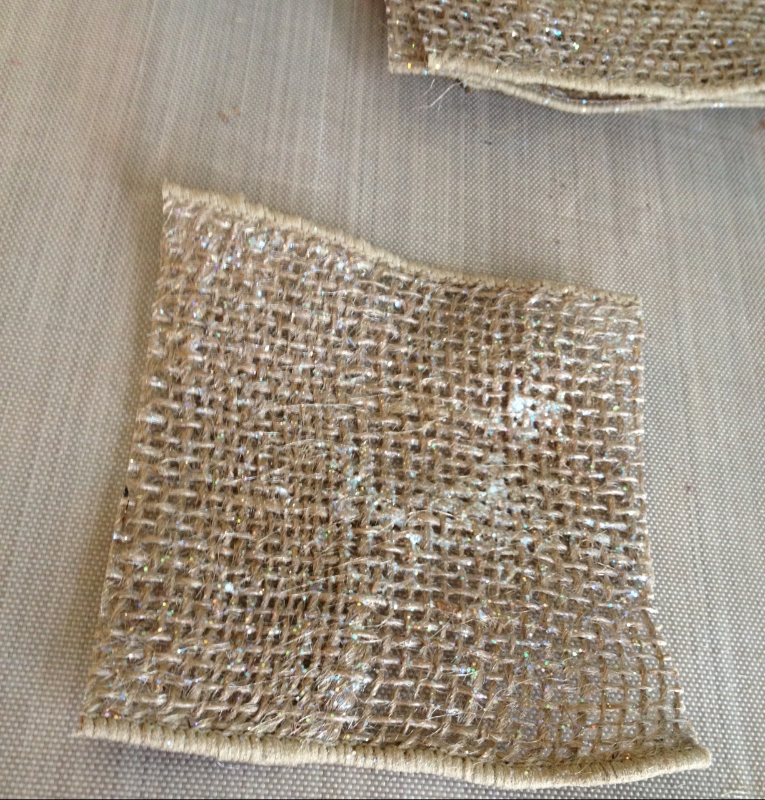
I coated burlap with some sparkle mod podge (because I love things that sparkle!) and let dry.
Once it’s dry, trim the ends up evenly and cut off frays.
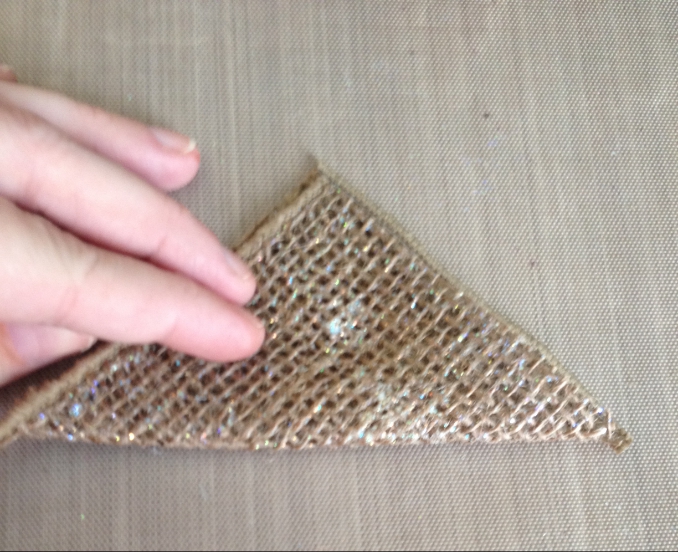
Fold a burlap square in half, diagonally to form a triangle.
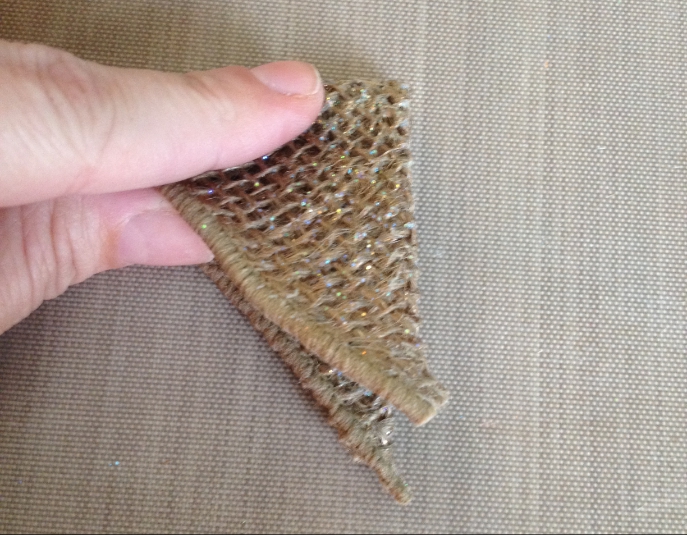
Fold the triangle in half again.
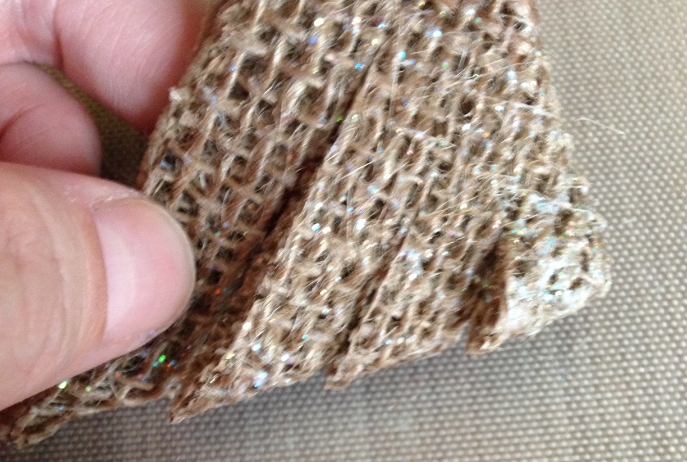
Cut three lines in the “folded” area of the triangle, parallel to the edge of the triangle, stopping just short of the edge (about 1/4″).
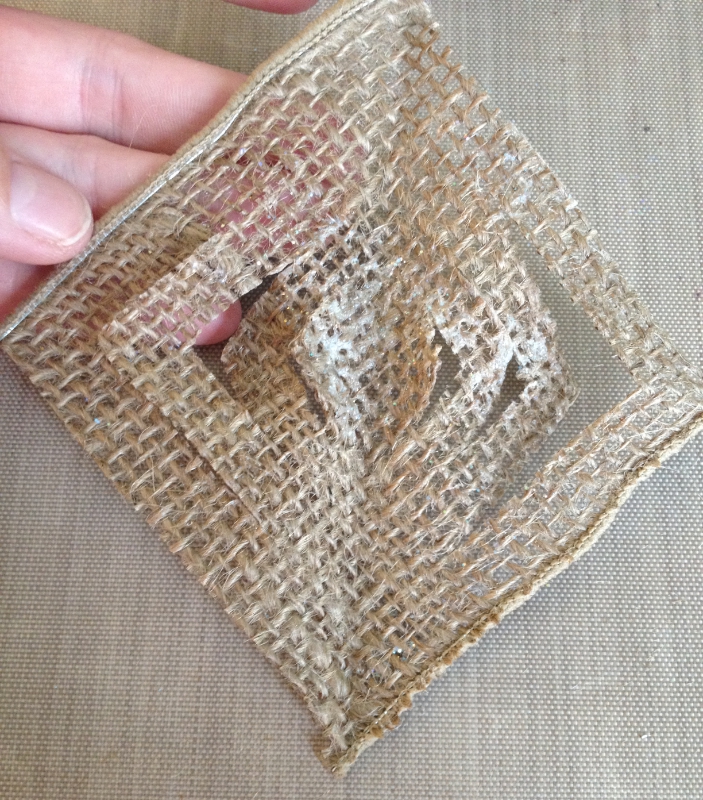
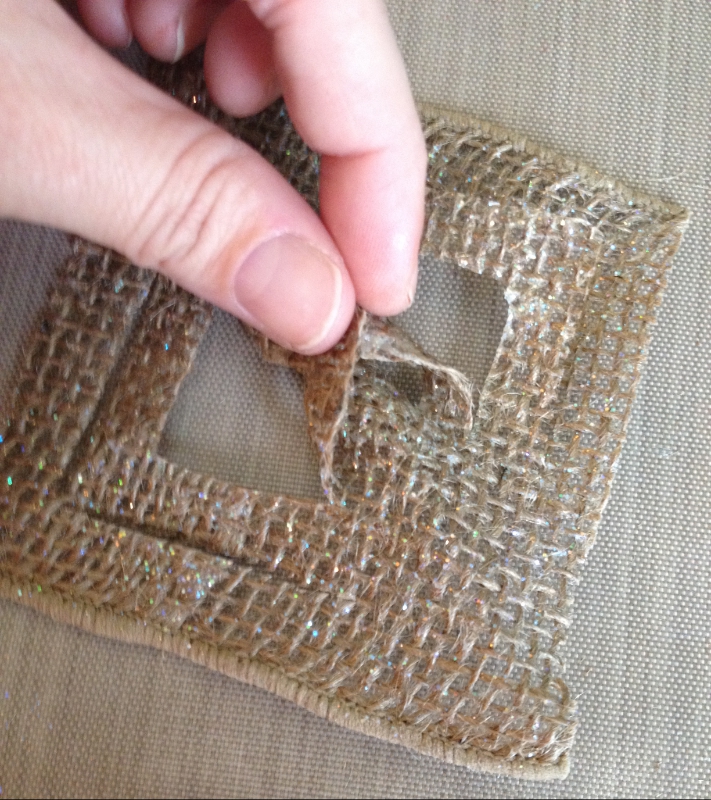
Unfold the triangle. You should see cut lines in the shape of a diamond.
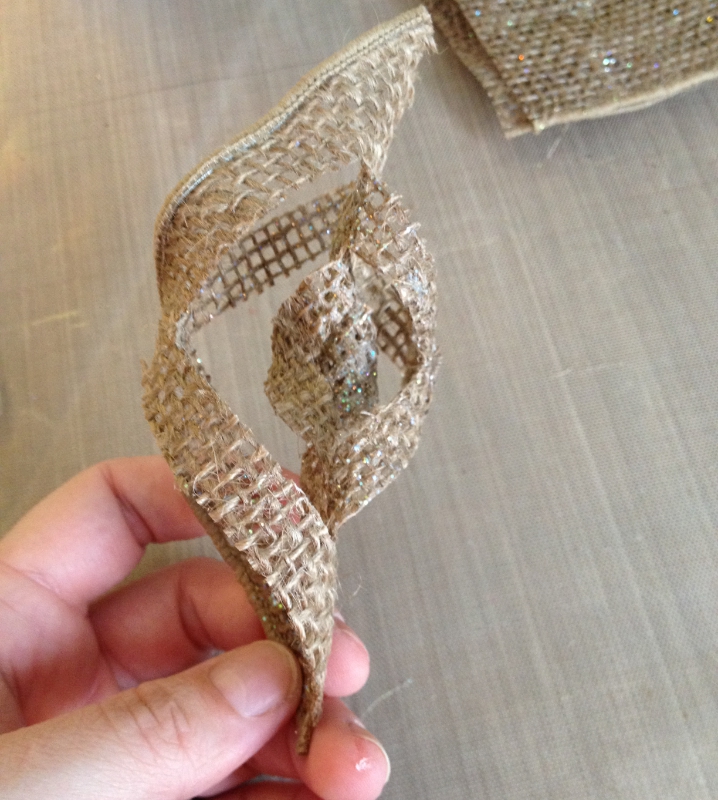
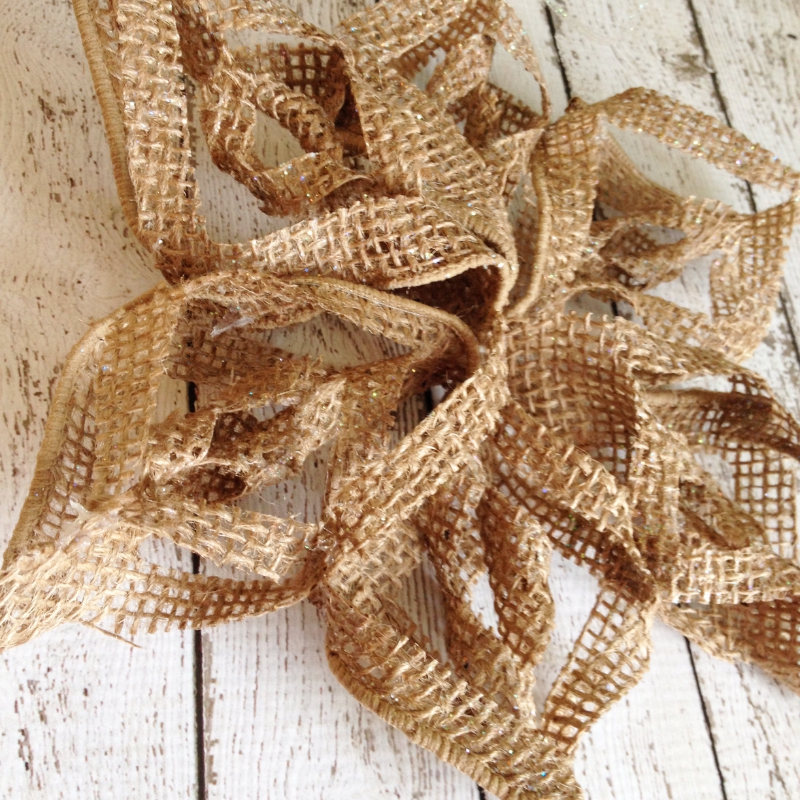
Glue the edges of the center cut lines together forming a rounded 3D shape.
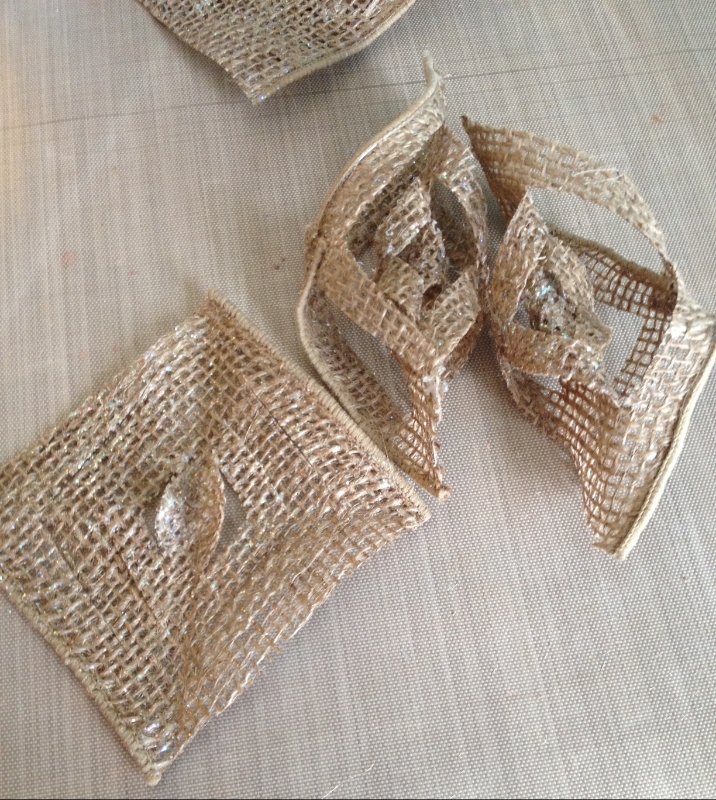
Turn the burlap square over to the other side and glue the next two edges together as before. Keep turning over the burlap and gluing the edges to form a curve shape.
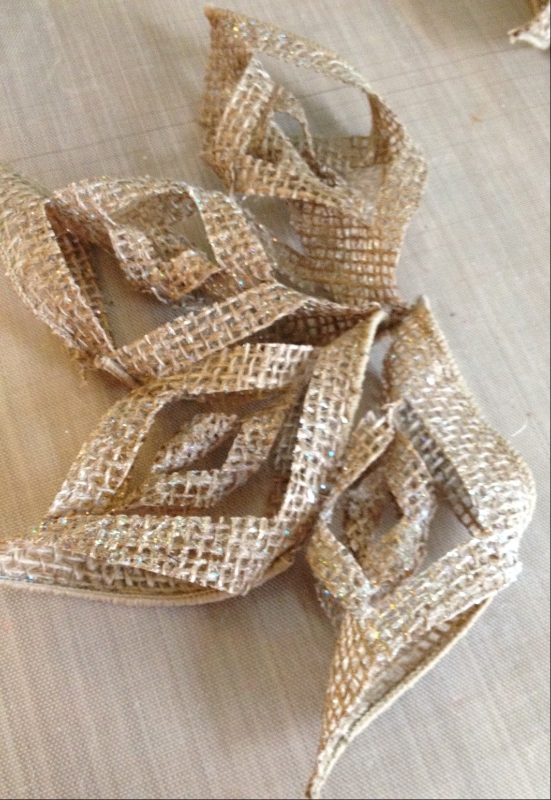
Repeat the same process for each of the remaining 5 burlap squares.
Glue the snowflake together where each of the six burlap strands meet.
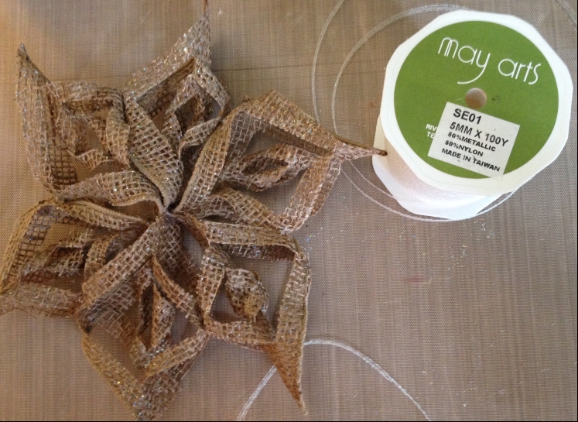
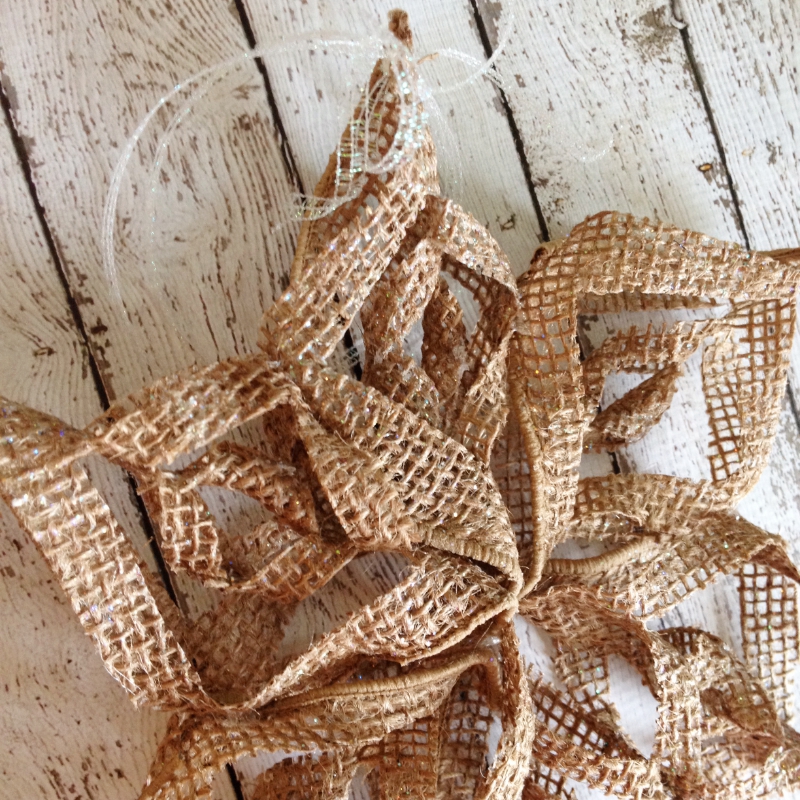
Use some thin ribbon and tie a loop in the top to hang from.
That’s it!
Now your ornament is ready to hang on your tree!
By Emily Lanham
Other Supplies Used:
- Mod Podge Sparkle


