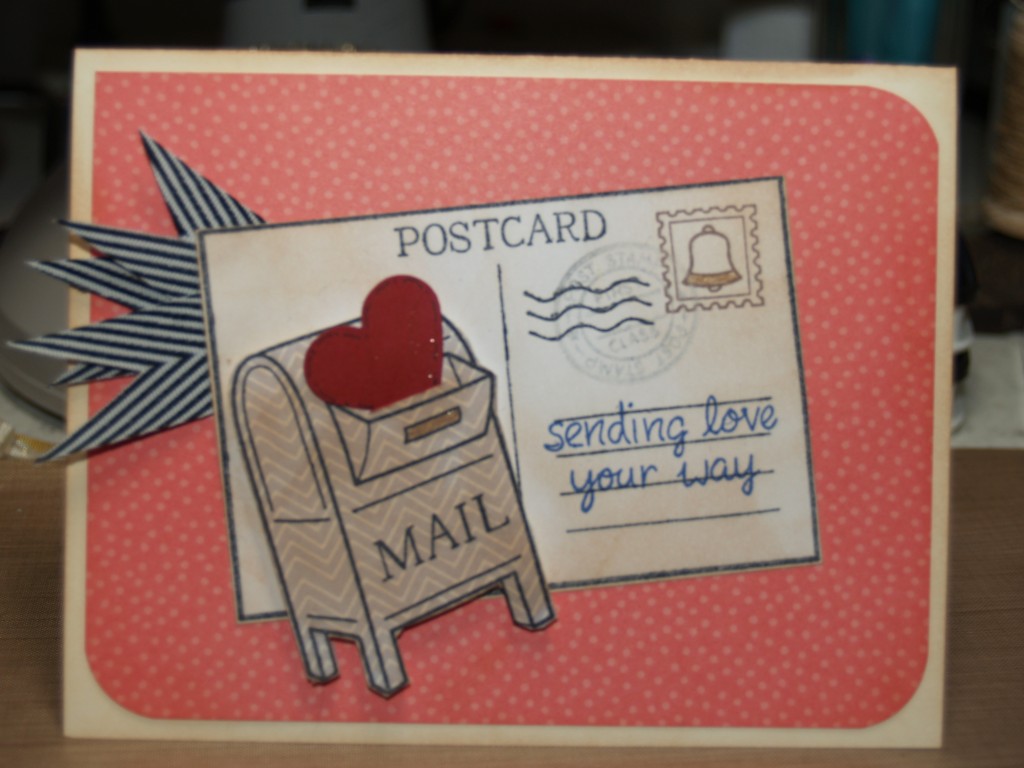
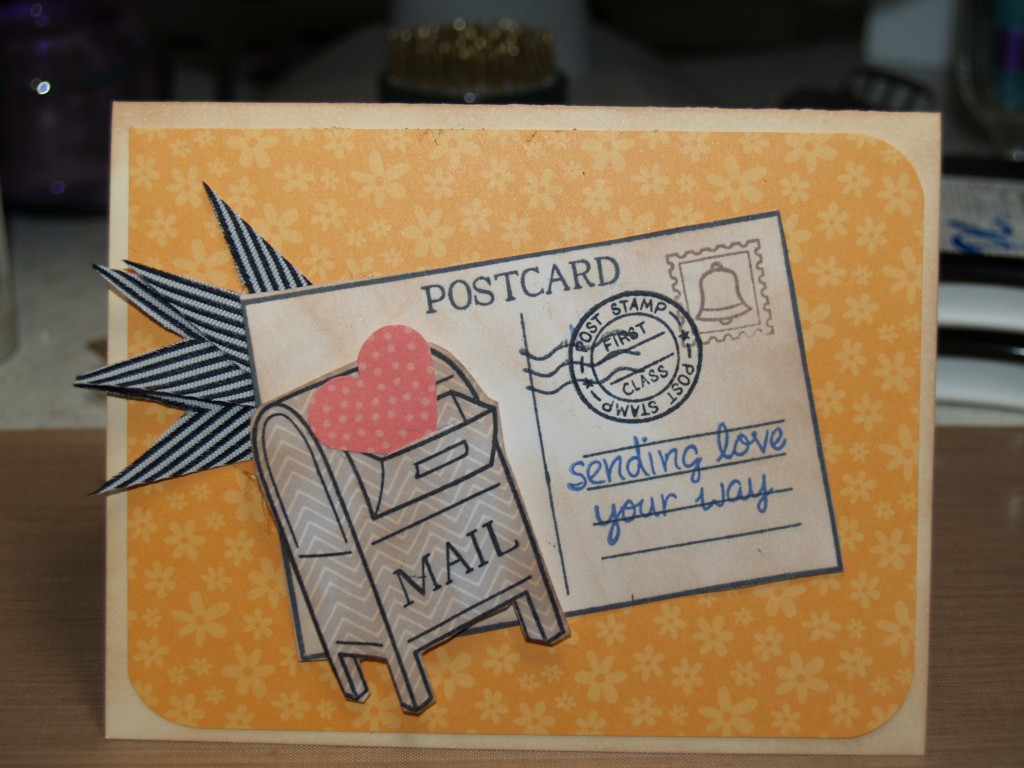
DIY Card – Making a Banner with Chevron Ribbon
Supplies:
- A2 card base and a 4 x 5 ¼ printed paper for your card front
- 3×3 printed card stock for the mailbox, 4×4 plain cream cardstock for the postcard and a scrap of red for the heart
- Black, Dark Blue and Cocoa Rich Memento Ink, Versa Mark
- Chevron Striped Twill #382-34-10
- Pop dots, corner rounder and heart punch
- Lawn Fawn’s You’ve Got Mail Stamp Set
Instructions:
Fold your card base, using the corner rounder cut 3 of the 4 corners of your printed paper mat, then attach to your card front. Stamp the post card on 4×4 cream cardstock, now add the other stamps (postmark, bell stamp, wavy lines and sentiment) using colors of ink per sample then cut out, you can also accent by shading with the brown ink to give it a more vintage look. Cut your ribbon per sample and attach to the upper left over, once you have that go ahead and attach to the front of your card at a slight angle. Next you’ll stamp the mailbox on the printed paper, cut out cut a slit in the door of the mailbox to insert the heart your cut using either a punch or by hand. Using foam dots attach the mailbox per sample. If you like you can edge your card with a foam applicator and the brown ink and call it a card.
Blog post by: Peggy Cain


