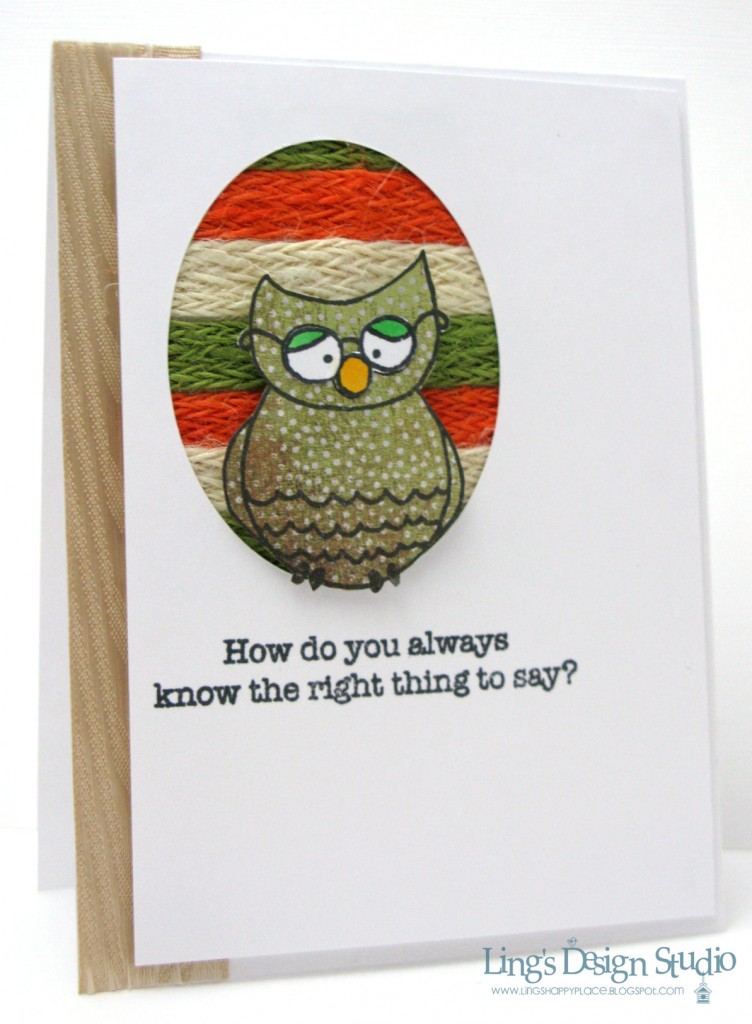
How to Card – The right thing to say
Hi everyone. Vera’s here from Ling’s Design Studio. Today we’re teaming up with Sweet Stamp Shop and I have a sweet card to share with you.
Supplies:
- Owl from Sweet Stamp Shop Melvin & Vernie set
- Sentiment from SP & Company Mustache Madness set
- Patterned paper: Basic Grey
- May Arts Woven Burlap 408-05-16
- May Art Woven Burlap 408-05-09
- May Arts Woven Burlap 408-05-38
- May Arts Solid/Satin Pattern QF202
- Helmar Scrap-dots
I love the woodgrain pattern on the solid satin ribbon and use that as a border on the base of the card. I didn’t wrap the ribbon around. Simply cut the ribbon on the top and on the bottom evenly with the card base. I make sure that I put adhesive tape right on the edges of the card, to make sure the ribbon wouldn’t fray.
Then cut a panel smaller than the card base and cut an oval on the panel. Stamp sentiment underneath the opening. Once that done, on the back of the panel, I put adhesive around the oval opening and then layer the burlap ribbon to cover the opening. These burlap ribbons are so fun to play with. It added lots of texture without being too bulky. Add pop-dots and adhere the panel to card base.
To complete the card, I paper pieced the owl image and adhere it to the oval opening using Helmar Scrap-dots (I find this work better than the regular pop-dots to adhere paper to burlap material).
Hope you like the card. Thank you so much for stopping by here at May Arts. Enjoy your day.
Blog post by: Vera Yates


