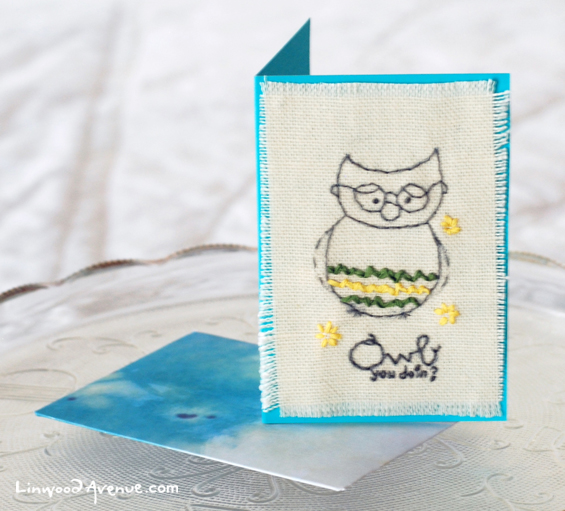
DIY Embroidered Owl Card
Miniature cards are a fun way to drop someone a quick note to say you are thinking about them. They can be tucked into a present or added to a flower arrangement. For this tutorial I have a made a mini card with a custom envelope that will put a smile on anyone’s face. The best part about this tutorial is the technique can be used over and over with different stamps.
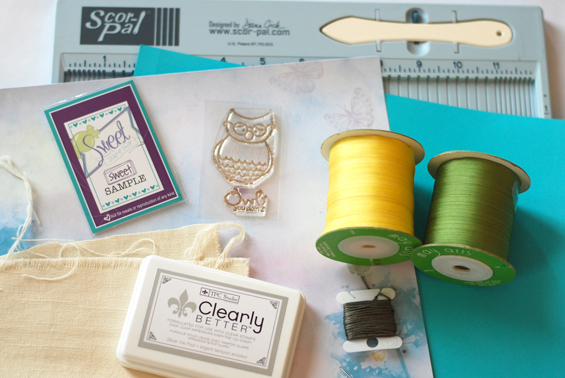
supplies
– 1 yd – 1/8″ green silk (SK16)
– 1 yd – 1/8″ yellow silk (SK27)
• Sweet Stamp Shop – owl stamp
• DCWV paper squares (1 solid, 1 patterned)
• Scor-Pal
• Light colored stamping ink
• Loose weave fabric square
• Embroidery hoop
• Embroidery needle
• Glue
INSTRUCTIONS
Step 1 – Stamp owl onto center of a scrap piece of fabric and place into embroidery hoop. Make sure to stamp with fabric weave running up and down.
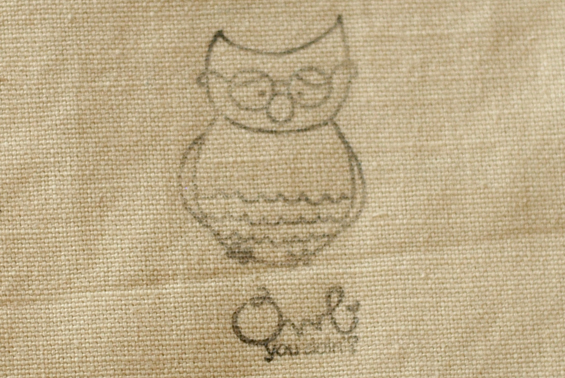 Step 2 – Using 1 strand of floss and a running stitch, outline owl and text, leaving the feathers blank.
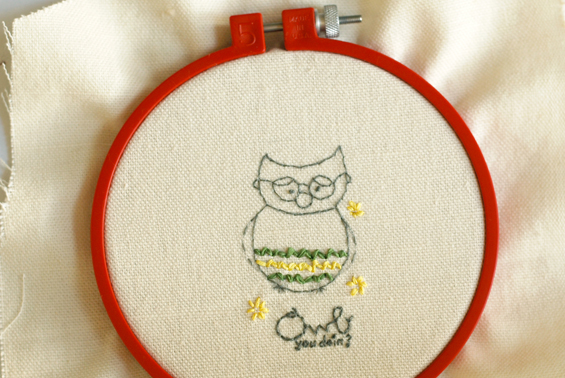
Step 3 – Thread the lengths of silk into your needle and stitch over lines of feathers as shown in photo. Add small flowers by stitching 5 small dashes in a circle.
 Step 4 – Using your solid colored piece of card stock, cut a section 5.5″ x 4″. Place into your Scor-Pal with the 5.5″ side running horizontal. Score at 2.75″ and fold in half to create a card with a folded size of 2.75″ x 4″.
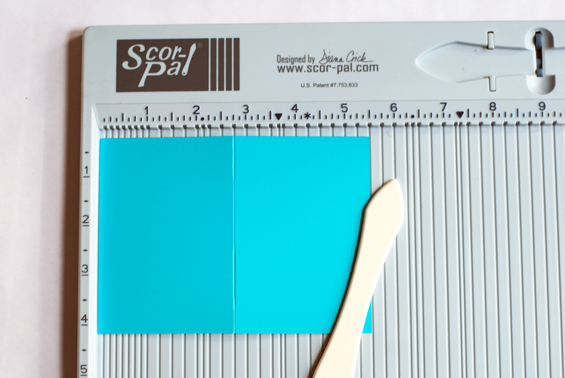 Step 5 – Trim your embroidered fabric owl down to 2.75″ x 4″ and slightly fray all four sides of the fabric by pulling out a few strands.
Step 6 – Place a dot of glue near each corner of the front of the card and adhere owl fabric.
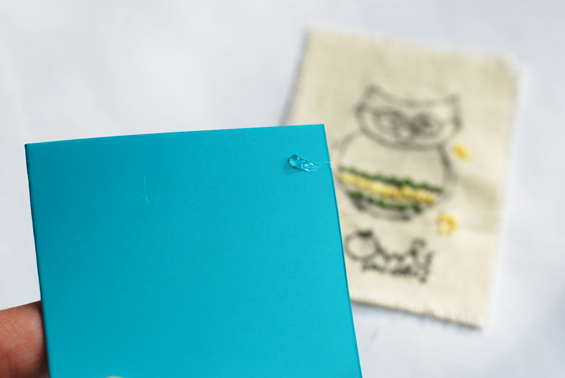 Step 7 – To create envelope, cut patterned paper using template below. Score on four inside lines and fold to form envelope. Add a sticker or glue dot to secure envelope closure.
Blog post by: Tiffin Mills
Download the pdf to this tutorial Here!
Hop on over to Sweet Stamp Shop for more inspiration!


