

Hello Friends! I hope you all are having a great crafty weekend. Today I write my first post for this amazing and fabulous company – May Arts Ribbons. I totally adore their ribbons and yes, I feel like I am in ribbon heaven.
Speaking of heaven, I am reminded of fairies. So today, I am going to share a small and simple tutorial with you all on how to make a “Fairy Dust Shaker”. I still believe in fairy tales, and there is no harm, as I know one day mine will come true. 🙂 Getting a chance to be a design team member at May Arts was like a fairy tale dream for me and seeing it actually happen is nothing but my fairy tale dream coming to life.
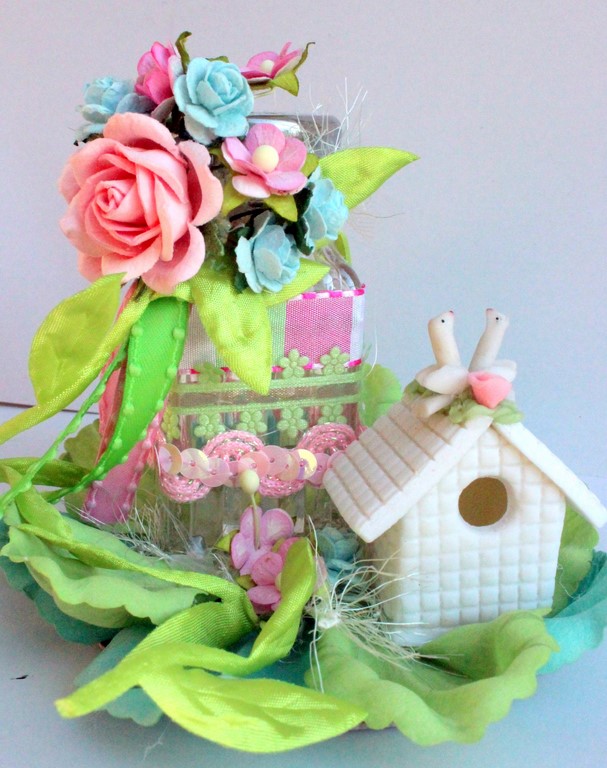
This video will showcase a very quick method on creating a Fairy Dust Shaker for your little girl or may be as a Party Favor. They are super quick to make and look amazing. After all, a little sprinkle of fairy dust can make impossible things happen!
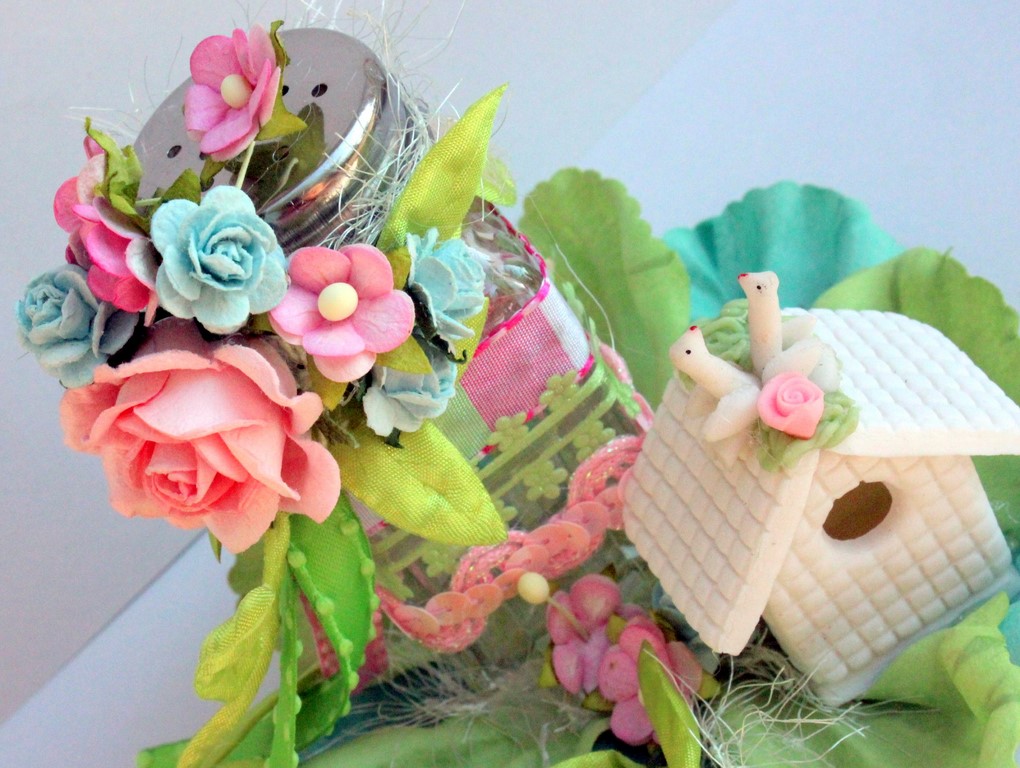
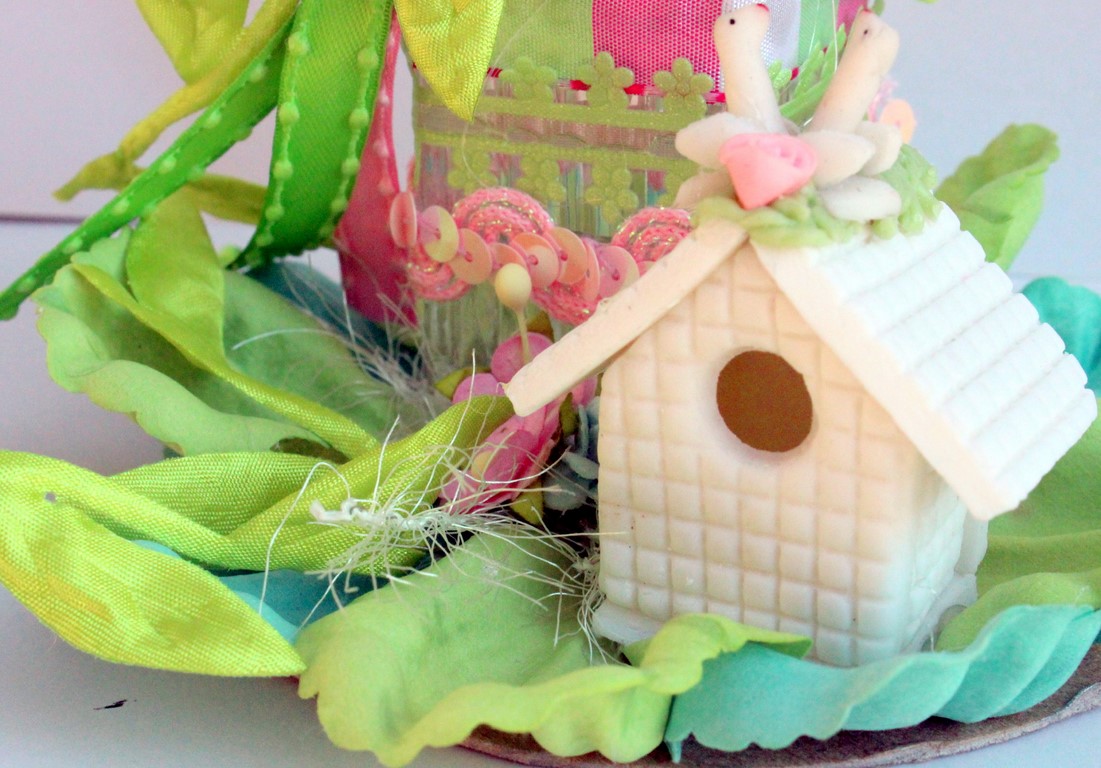
Hope you are inspired to create something ribbony today. 🙂
Other Supplies Used:
- Salt shaker from Thrift store
- Ceramic small miniature house
- Prima Flowers
- Wild Orchid Flowers

CONGRATULATIONS on your first post Mallika!!!
You used such a lovely combo of ribbons & trims to make your SUPER CUTE & FUN project!!! Thank you for the inspiration and video tutorial.
This is such a pretty little project. It was fun watching you craft from start to finish. I learned something new…I had no idea hot glue would hold on glass…good to know!